![]()
The development of the popular Puddletag audio tag editor is back. Ubuntu adds back the software package in its own repository, but still doesn’t provide updates. For those prefer this app, here’s how to install and keep it up-to-date via PPA.
Due to lack of development, Puddletag was removed from Ubuntu 20.04 repository along with the old Qt4 and Python 2 dependencies.
Thankfully, a group of other contributors take up the job to continue the project, by porting to Qt5 and Python3. And, it now keeps updating with bug-fixes and new features.

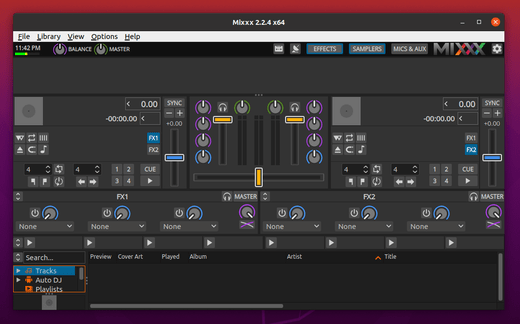
Puddletag 2.2.0 in Ubuntu
Install Latest Puddletag in Ubuntu 20.04 & Ubuntu 22.04:
As mentioned, Puddletag in available in Ubuntu repository but always old. So, i uploaded the packages into this unofficial PPA so far with support for 64-bit Ubuntu 20.04, Ubuntu 22.04, Linux Mint 20.
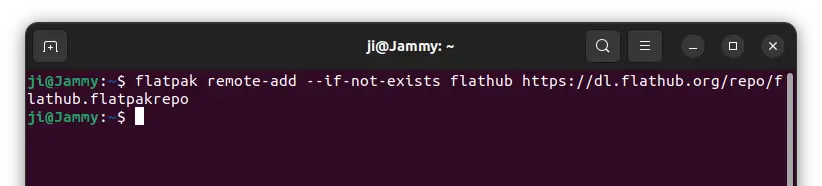
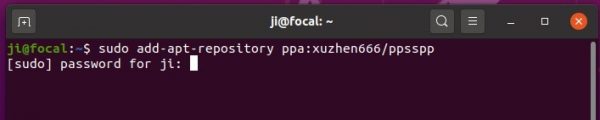
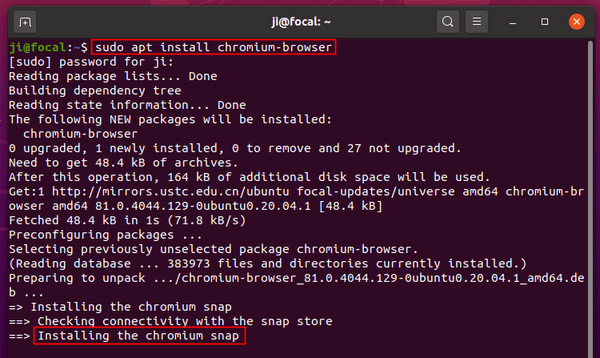
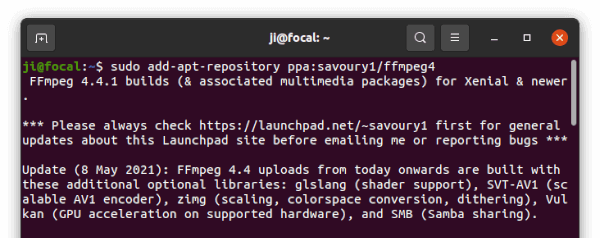
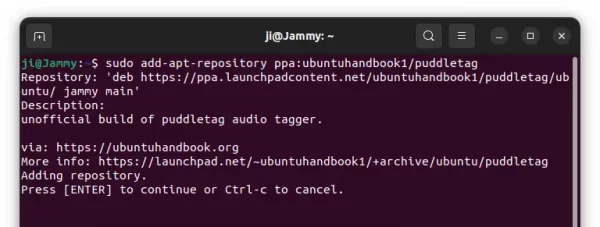
1.) Open terminal either from system application menu or by pressing Ctrl+Alt+T on keyboard. When terminal opens, run command to add the PPA:
sudo add-apt-repository ppa:ubuntuhandbook1/puddletag
Type user password (no asterisk feedback) when it prompts and hit Enter to continue.

2.) While adding PPA, it refreshes package cache automatically since Ubuntu 20.04. But Linux Mint does not. So, you may manually update the cache via command:
sudo apt update
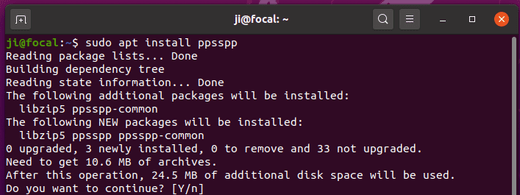
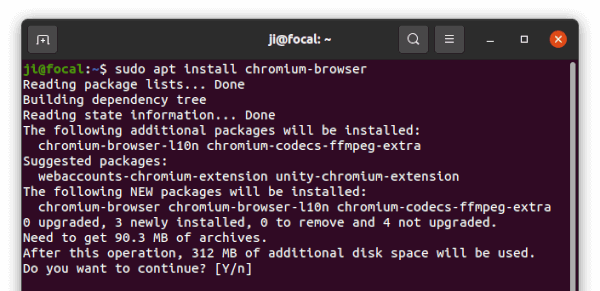
3.) Finally, install Puddletag audio tag editor for the first time by running command:
sudo apt install puddletag
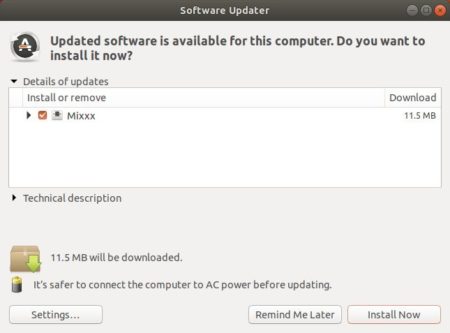
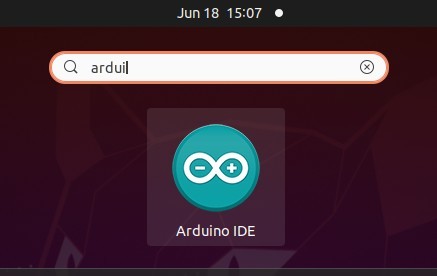
Or you may search for and launch “Software Updater“, to upgrade the software if an old version was installed.
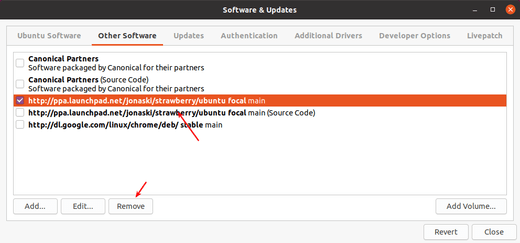
Uninstall Puddletag & PPA:
To remove the PPA, either go to Software & Updates > Other Software, or run command:
sudo add-apt-repository --remove ppa:ubuntuhandbook1/puddletag
And remove puddletag by running command:
sudo apt remove --autoremove puddletag