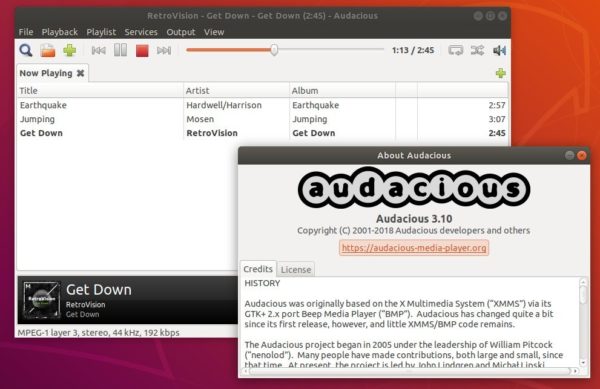
After nearly a year of development, Audacious audio player 3.10 was finally released yesterday. Here’s how to install it in Ubuntu 18.04, Ubuntu 16.04, Linux Mint 19 and 18.
Audacious 3.10, code-named “Not Quite There Yet”, added following new features:
- Shuffle history is remembered at exit to avoid repeating songs
- Exported M3U and PLS playlists now use relative paths by default
- Recursively adding subfolders to the playlist is now optional
- The URL history shown in the Add/Open URL dialogs can be cleared
- Toolbar buttons in the GTK UI now show tooltip hints
- The adplug input plugin has a new settings window
- The Search Tool can be configured to scan for new files at startup
- The number of results shown in the Search Tool is now configurable
- The Delete Files plugin is clearer about which files will be deleted
- Icons from the desktop theme are used more consistently
- Scalable icons are now used on Windows for better high-DPI support
- The bottom info bar now matches the color tone of dark themes
- The soxr resampler has some new, more detailed settings
There are also many UI improvements and various bug-fixes. See the previous link for details.
How to Install Audacious 3.10 in Ubuntu:
You can install the new release packages in Ubuntu 18.04, Ubuntu 16.04, and their derivatives via the unofficial PPA.
1. Open terminal by either pressing Ctrl+Alt+T on keyboard or searching for ‘terminal’ from software launcher. When it opens, run command:
sudo add-apt-repository ppa:nilarimogard/webupd8
Type your password (no asterisks feedback) when it prompts and hit Enter to continue.

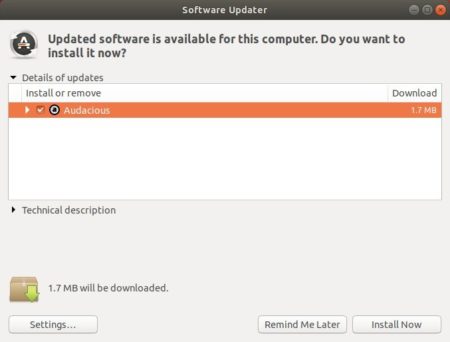
2. Then you can upgrade Audacious via Software Updater:
or run commands one by one in terminal to install or upgrade the audio player:
sudo apt update

sudo apt install audacious audacious-plugins
Uninstall:
You can easily remove the PPA either by going to Software & Updates utility -> Other Software tab, or by running command:
sudo add-apt-repository --remove ppa:nilarimogard/webupd8
To remove audacious, either use your system package manager or run command:
sudo apt remove --autoremove audacious audacious-plugins