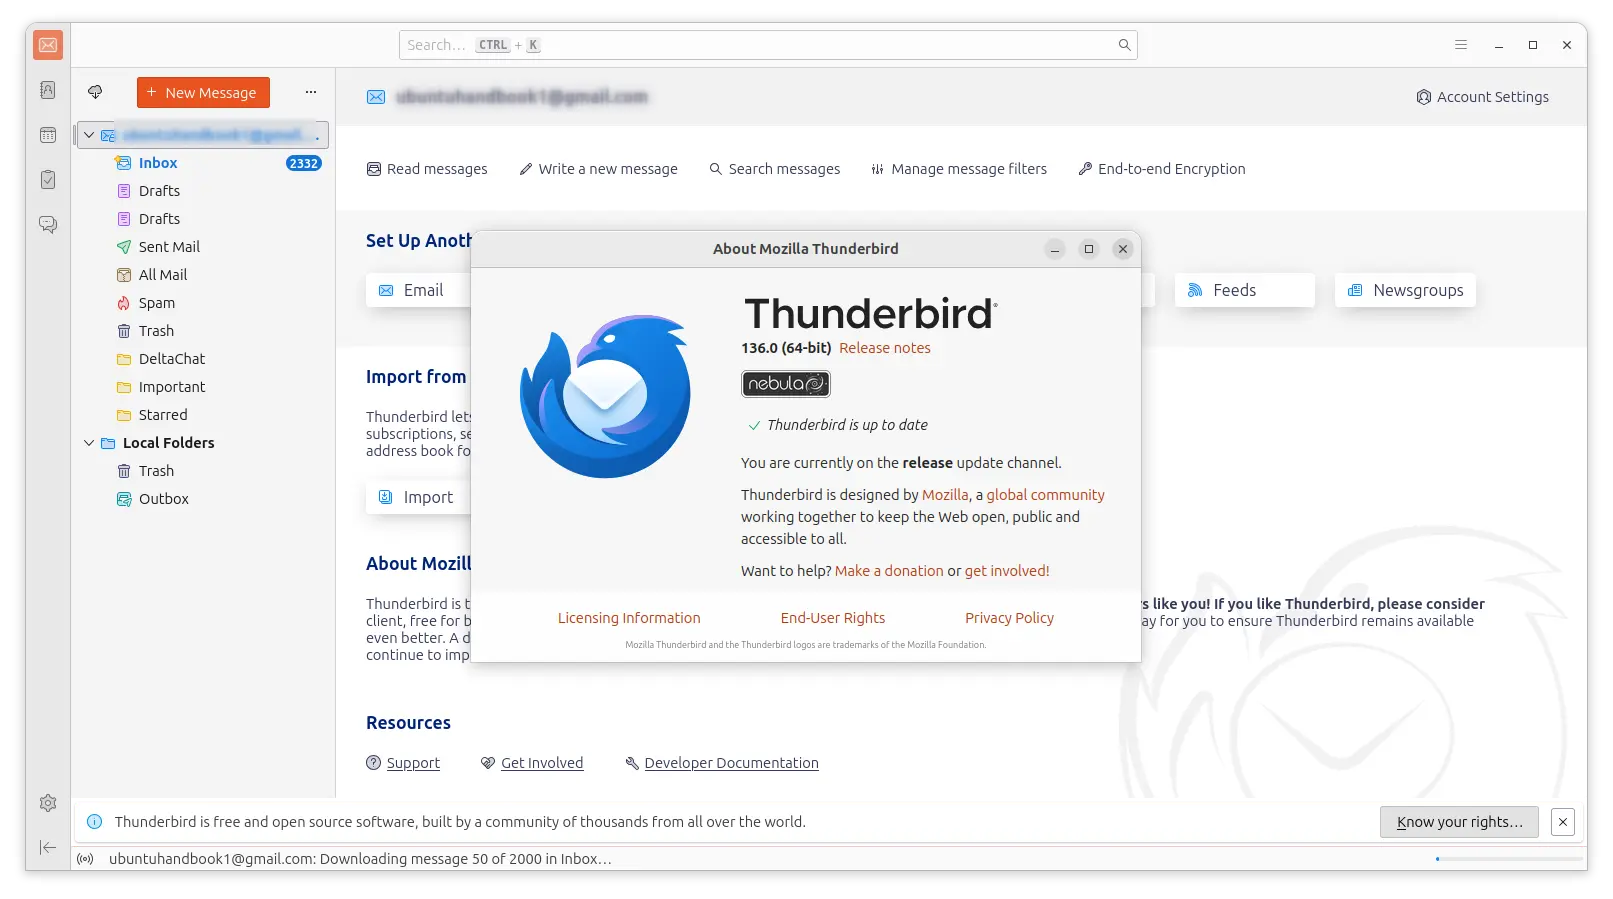
Archives For News

Free open-source software updates and Linux news

Microsoft Edge web browser finally adds Linux support after more than a year of dev and beta tests. Here’s how to correctly add the Microsoft repository and install Edge browser in Ubuntu 18.04, Ubuntu 20.04, Ubuntu 22.04, Debian 11, and their based systems.

After this tutorial, you should be able to open the latest stable Edge from start menu (activities overview). And, with the Microsoft repository it allows to keep it up-to-date by receiving updates via “Software Updater”.

How to Install Microsoft Edge in Ubuntu:

For those who don’t want to struggle with Linux commands, just download the latest version of .deb package from THIS PAGE, then double-click to install via “Software Install”.

1. Download & install the GPG Key:

Before adding the repository, you need to first download & install the GPG key so system will accept signatures from Microsoft.

Press Ctrl+Alt+T on keyboard to open terminal. When it opens, paste the command below and hit Enter to run:

wget -O - https://packages.microsoft.com/keys/microsoft.asc | gpg --dearmor | sudo tee /usr/share/keyrings/microsoft.gpg

The command will download the key from Microsoft, then convert it into encrypted GPG, and finally store the file under “/usr/share/keyrings/” directory.

Download, convert, & install the key

IMPORTANT: After downloaded the key, terminal may stuck with blinking cursor! It’s waiting for you to type user password for sudo command, because the “[sudo] password for $USER:” prompt is somehow not displayed. Just type your password (no feedback) and hit Enter.

2. Add Microsoft Edge repository:

After installing the GPG key, run the command below one by one to add the repository to your system.

a.) Remove old repository if any via command:

sudo rm /etc/apt/sources.list.d/microsoft-edge*.list

b.) Add the stable repository:

sudo sh -c 'echo "deb [arch=amd64 signed-by=/usr/share/keyrings/microsoft.gpg] https://packages.microsoft.com/repos/edge stable main" > /etc/apt/sources.list.d/microsoft-edge.list'

The command will create and write the source line into “/etc/apt/sources.list.d/microsoft-edge.list” file, signed by the key installed via step above.

Add microsoft repo, sign the key

3. Finally refresh package cache and install Edge browser:

After all, update the system package cache via command:

sudo apt update

And install the web browser:

sudo apt install microsoft-edge-stable

Once installed, search for and open it from activities overview screen and enjoy!

How to Remove Edge & its repository:

With the repository, it allows to receive updates for Edge using “Software Updater” utility. If you want to remove it, open terminal and run command to delete the source file:

sudo rm /etc/apt/sources.list.d/microsoft-edge.list

Also, remove the key file if you want:

sudo rm /usr/share/keyrings/microsoft.gpg

To remove the Edge web browser, run command:

sudo apt remove --autoremove microsoft-edge-stable

Firefox web browser 82.0 was released today with improved picture-in-picture, faster page loading and start-up time.

Firefox 82.0 release highlights:

  • New look and position for the Picture-In-Picture button.
  • Picture-In-Picture now has a keyboard shortcut for Mac users.
  • Improve resource usage during video playback, battery life for Windows user.
  • 20% faster when loading websites with flexbox-based layouts.
  • 17% quicker when restoring a session.
  • 10% quicker when opening new windows in Windows.
  • Explore new articles when you save a webpage to Pocket from the Firefox toolbar.
  • WebRender support on more Windows machines.
  • Various security fixes and more.

Get Firefox 82 in Ubuntu:

The latest packages will be made into security & updates repositories for all current Ubuntu releases in a few days.

At that time, you can upgrade Firefox through the Software Updater utility:

If you can’t wait, download the Linux package from mozilla website.

qBittorrent

qBittorrent BitTorrent client 4.3.0 was released as a new major version with new features and various bug-fixes.

The new release uses Qt 5.15.1 which offers far better HiDPI support. Theming support has been enhanced, however previous theme bundles will not work properly before the provider updated them.

What’s new in qBittorrent 4.3.0:

  • Many UI elements colors are themeable now
  • Allow changing GUI icons from theme bundles
  • Notify user when torrent moving finished
  • Shortcut CTRL + I opens Statistics window
  • Add RSS functionality in Web UI
  • Drop “.unwanted folder” feature
  • Expose libtorrent peer_turnover, max_concurrent_http_announces, no_connect_privileged_ports settings
  • And various bug-fixes

How to Install qBittorrent 4.3.0 via PPA in Ubuntu:

The official qBittorrent PPA has built the new release packages for Ubuntu 18.04, Ubuntu 20.04, and derivatives.

1. To add the PPA, open terminal by either pressing Ctrl+Alt+T on keyboard or searching for “Terminal” from application menu. When it opens, run command:

sudo add-apt-repository ppa:qbittorrent-team/qbittorrent-stable

Type user password (no asterisk feedback) when it prompts and hit Enter to continue.

2. If an old version was installed on your system, upgrade it via Software Updater,

upgrade qBittorrent

or run following commands to install /upgrade qBittorrent in terminal:

sudo apt update

sudo apt install qbittorrent

Uninstall:

To remove qBittorrent PPA, either go to Software & Updates -> Other Software, or run command in terminal:

sudo add-apt-repository --remove ppa:qbittorrent-team/qbittorrent-stable

To remove the bittorrent client, either use your system package manager or run command:

sudo apt-get remove --autoremove qbittorrent

MuseScore, free open-source sheet music player and editor, released version 3.5.2 with bug-fixes.

MuseScore 3.5.2 release highlights:

  • Fix unexpected page stretching in “Edit style” dialog.
  • Fix an issue of harmony playback preferences.
  • Fix audio export (FLAC, OGG, WAV) on Windows
  • Fix a potential crash that could occur when resizing the Piano Roll.
  • Edits to system text/tempo marking after save and reload of score did not propagate to all parts.

Download / Install MuseScore 3.5.2 in Ubuntu:

Single executable Appimage package is available for download:

MuseScore Appimage

Right-click on the Appimage, then go to Properties -> Permissions, check the box ‘Allow executing file as program’. Finally run the Appimage to launch MuseScore 3.5.2 and enjoy!

Also MuseScore flatpak package has been updated, and you can install it via following commands.

1.) Open terminal and run command to install flatpak framework in Ubuntu:

sudo apt install flatpak

2.) Add the flathub repository which hosts the flatpak package:

flatpak remote-add --if-not-exists flathub https://flathub.org/repo/flathub.flatpakrepo

3.) Finally install MuseScore via command:

flatpak install flathub org.musescore.MuseScore

If an old version of this package installed, update it via command:

flatpak update org.musescore.MuseScore

(Optional) To remove MuseScore flatpak package, run command:

flatpak uninstall org.musescore.MuseScore

CopyQ, free open-source advanced clipboard managing software, released version 3.13.0 with new script function and command line options.

CopyQ 3.13.0 release highlights:

  • New focusPrevious() script function to activate window that was focused
    before the main window.
  • Export now write data to a temporary file before saving.
  • Display command are now also applied on item preview
  • New command line option “tray_menu_open_on_left_click” to check default mouse
    button behavior for tray icon.
  • New command line option “activate_item_with_single_click” to activate items
    with single click.
  • New command line options “filter_regular_expression” and “filter_case_insensitive” to change the item search behavior.
  • New command line option “native_menu_bar” to disable native/global menu bar.
  • Updated icons and various bug-fixes.

How to Install Copyq 3.13.0 in Ubuntu:

The official PPA repository has made the latest packages for Ubuntu 16.04, Ubuntu 18.04, Ubuntu 20.04, and Ubuntu 20.10.

1. To add the PPA, open terminal (Ctrl+Alt+T) from application menu and run command:

sudo add-apt-repository ppa:hluk/copyq

Type user password (no asterisk feedback due to security reason) when it prompts and hit Enter to continue.

2. Then install CopyQ either via Synaptic package manager or by running commands in terminal:

sudo apt update

sudo apt install copyq

Once installed, start the clipboard manager from application menu and you’ll see the icon in system tray area.

Uninstall:

To remove the software, either use Synaptic package manager or run command:

sudo apt-get remove --autoremove copyq

To remove PPA repositories, launch Software & Updates and navigate to Other Software tab.

Vivaldi web browser released new stable 3.4 version that features configurable context menus, automatic reloading pages, and Vivaldia, the real 80s arcade-style game.

Vivaldi 3.4 release highlights:

  • Configurable context menus (right-click menus).
  • Add custom links to menus.
  • Automatic reload pages. Right-click on a tab, move over Periodic Reload menu entry and select reload interval.
  • Capture a screenshot directly into a new note.
  • New plus icon to select a custom image for non-synced profiles.
  • Drag’n’drop support creating Speed Dial folder
  • Vivaldia, a real 80s arcade-style game

How to Install Vivaldi 3.4 in Ubuntu:

The official Ubuntu .DEB packages are available for download at the link below:

Download Vivaldi (DEB)

Grab the deb matches your OS, then install it via Ubuntu Software or Gdebi package manager. Or run command in terminal:

sudo apt install ./Downloads/vivaldi-stable*.deb

Vivaldi also has an official apt repository, with it you can install the browser and get future updates through Software Updater utility.

Open terminal either via Ctrl+Alt+T keyboard shortcut or by searching for terminal from application menu. When it opens, run following commands one by one:

1. Download and install the repository keyring:

wget -qO- https://repo.vivaldi.com/archive/linux_signing_key.pub | sudo apt-key add -

Typer user password when it prompts and hit Enter to continue.

2. Add Vivaldi repository via command:

sudo add-apt-repository 'deb https://repo.vivaldi.com/archive/deb/ stable main'

3. Finally check updates and install the web browser via command:

sudo apt update && sudo apt install vivaldi-stable

Or upgrade from an old version via Software Updater utility.

(Optional): To remove Vivaldi apt repository from you system, launch Software & Updates and navigate to Other Software tab.

Pitivi video editor 2020.09 was released a few days ago. Here’s how to install it in Ubuntu 20.04, Ubuntu 18.04, and derivatives.

It’s been more than 2 years since the last stable release, Pitivi 2020.09 features a plugin system, easy Ken-Burns effect, developer console plugin, timeline markers, user-interface and workflow improvements, a refactored media library, new keyboard shortcuts, and much more.

How to Install Pitivi in Ubuntu:

The new release has been into Ubuntu 20.10 universe repository. For Ubuntu 18.04, Ubuntu 20.04, Linux Mint and other Linux, it can be installed via Flathub repository.

1. Open terminal from system application launcher, then run command to install Flatpak (if you don’t have it):

sudo apt install flatpak

For Ubuntu 18.04, you have to add the PPA first before installing the flatpak daemon:

sudo add-apt-repository ppa:alexlarsson/flatpak && sudo apt update

2. Then add the flathub repository by running command:

flatpak remote-add --if-not-exists flathub https://flathub.org/repo/flathub.flatpakrepo

3. Finally install Pitivi video editor:

flatpak install flathub org.pitivi.Pitivi

Uninstall Pitivi Flatpak package:

For any reason, you can remove the flatpak package easily by running command in terminal:

flatpak uninstall org.pitivi.Pitivi

Linux Kernel

Linux Kernel 5.9 was released a day ago. Linus Torvalds announced that:

Ok, so I’ll be honest – I had hoped for quite a bit fewer changes this last week, but at the same time there doesn’t really seem to be anything particularly scary in here. It’s just more commits and more lines changed than I would have wished for.

The bulk of this is the networking fixes that I already mentioned as being pending in the rc8 release notes last weekend. In fact, about half the patch (and probably more of the number of commits) is from the networking stuff (both drivers and elsewhere).

Linux 5.9 features initial Intel Rocket Lake graphics, NVMe zoned namespaces (ZNS) support, 32-bit x86 Clang build support, initial support for Radeon RX 6000 “RDNA 2” graphics cards, and more.

How to Install Linux Kernel 5.9 in Ubuntu:

The mainline kernels do not include any Ubuntu-provided drivers or patches. They are not supported and are not appropriate for production use.

For a graphical tool to install updated kernel package, try Mainline.

The mainline kernel packages for Linux 5.9 (64-bit) are now available for download at the link below:

Download Kernel 5.9

Select generic for common system, and lowlatency for a low latency system (e.g. for recording audio):

  1. linux-headers-5.9.0-xxxxxx_all.deb
  2. linux-headers-5.9.0-xxx-generic(/lowlatency)_xxx_amd64.deb
  3. linux-modules-5.9.0-xxx-generic(/lowlatency)_xxx_amd64.deb
  4. linux-image-xxx-5.9.0-xxx-generic(/lowlatency)_xxx_amd64.deb

Alternatively you can download and install the kernel binaries via terminal commands ( open terminal via Ctrl+Alt+T):

cd /tmp/

wget -c https://kernel.ubuntu.com/~kernel-ppa/mainline/v5.9/amd64/linux-headers-5.9.0-050900_5.9.0-050900.202010112230_all.deb

wget -c https://kernel.ubuntu.com/~kernel-ppa/mainline/v5.9/amd64/linux-headers-5.9.0-050900-generic_5.9.0-050900.202010112230_amd64.deb

wget -c https://kernel.ubuntu.com/~kernel-ppa/mainline/v5.9/amd64/linux-image-unsigned-5.9.0-050900-generic_5.9.0-050900.202010112230_amd64.deb

wget -c https://kernel.ubuntu.com/~kernel-ppa/mainline/v5.9/amd64/linux-modules-5.9.0-050900-generic_5.9.0-050900.202010112230_amd64.deb

sudo dpkg -i *.deb

Once installed, restart your computer and enjoy!

Uninstall Linux Kernel 5.9:

Restart your machine and select boot with the previous kernel in boot menu ‘Grub2 -> Advanced Option for Ubuntu’. Then run command to remove Linux Kernel 5.9:

sudo dpkg --purge linux-image-unsigned-5.9.0-050900-generic

Liferea Feed Reader

Liferea, Linux Feed Reader, released version 1.3.3 a few days ago with a lot of improvements. Here’s how to install it in Ubuntu 18.04, Ubuntu 20.04.

Liferea 1.3.3 release highlights:

  • Implement support for Webkits Intelligent Tracking Protection
  • Add Ctrl + 0 hotkey to reset zoom
  • Add debug printing of SAX parser errors
  • CSS color update on theme change without restart
  • Fixes view mode switch
  • Default to https:// instead of http://
  • Progress bar support when loading web pages
  • Drop CDF channel support
  • Drop PIE aka. Atom 0.2/0.3 support
  • Drop RSS namespace “blogChannel” support

Install Liferea 1.3.3 via PPA:

1.) Open terminal from application launcher and run command to add the unofficial PPA:

sudo add-apt-repository ppa:ubuntuhandbook1/apps

Type your password when it prompts and hit Enter to continue.

2.) Then check updates and install the news reader via commands:

sudo apt update

sudo apt install liferea

or update the old package (if installed) via Software Updater utility:

upgrade Liferea via Software Updater

Uninstall:

As the PPA also contains many other applications, you may remove the PPA either via Software & Updates > Other Software, or by running command:

sudo add-apt-repository --remove ppa:ubuntuhandbook1/apps

And remove the feed reader if want via command:

sudo apt remove liferea

Mumble, open source, low-latency, high quality voice chat software, released version 1.3.3 a few days ago. PPA updated for Ubuntu 16.04, Ubuntu 18.04, and Ubuntu 20.04.

Changes in Mumble 1.3.3 include:

  • Fix chat box invisble (zero height)
  • Fix handling of invalid packet sizes
  • Fix race-condition leading to loss of shortcuts
  • Link in About dialog is now clickable again
  • Fix sizing issues in ACL-Editor
  • PulseAudio now always samples at 48 kHz
  • Fix server crash due to problems when using PostgreSQL

How to install Mumble 1.3.3 in Ubuntu:

The official release PPA has made the packages for all current Ubuntu releases.

1. Open terminal either from system application launcher or by pressing Ctrl+Alt+T on keyboard. When it opens, paste below command and hit Enter:

sudo add-apt-repository ppa:mumble/release

Type user password (no asterisk feedback) when it prompts and hit Enter to continue adding the PPA.

2. If an old release was installed, simply upgrade Mumble via Software Updater:

Or run commands one by one in terminal to check updates and install the chat utility for gamer:

sudo apt-get update

sudo apt-get install mumble mumble-server

Uninstall Mumble:

You can purge the PPA which also downgrade the VoIP chat app to the stock version via command:

sudo apt-get install ppa-purge && sudo ppa-purge ppa:mumble/release

To simply remove mumble, either use system package manager or run command in terminal:

sudo apt-get remove mumble mumble-server