![]()
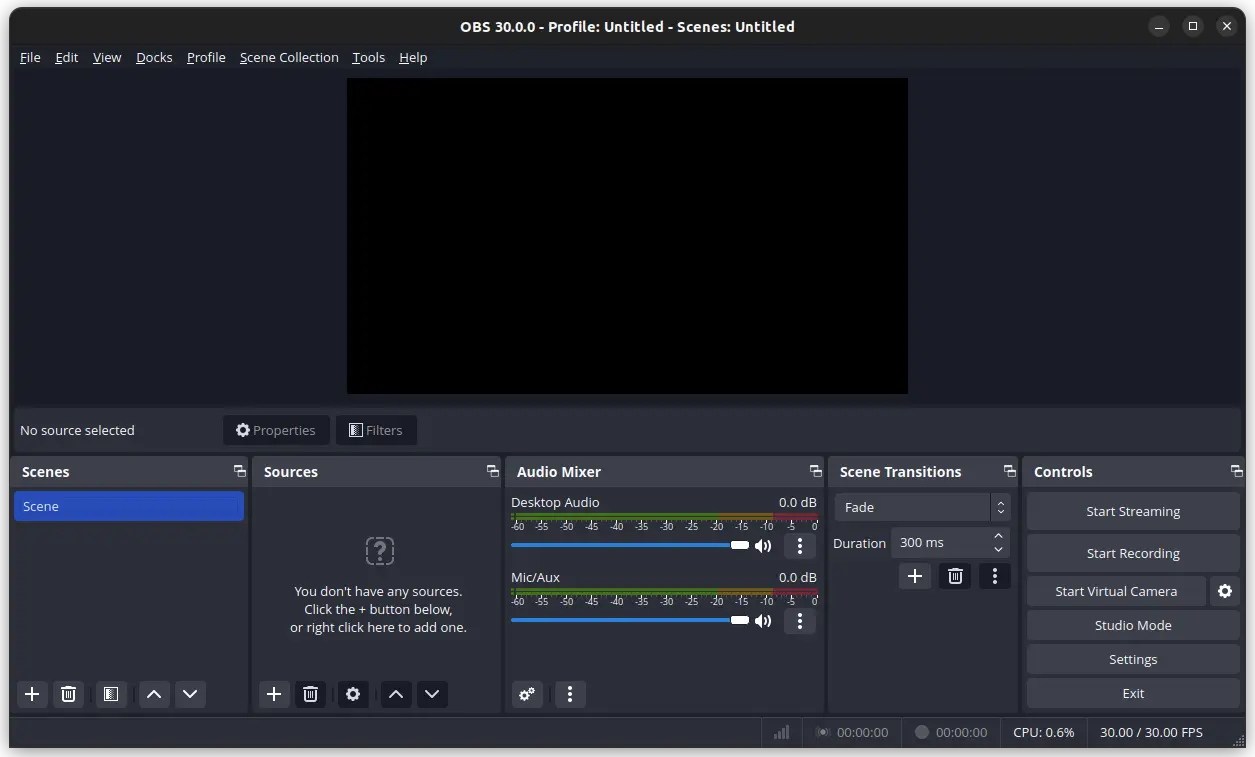
OBS Studio, the popular live streaming software, announced new 30.0 release yesterday. Here are the new features and how to install guide for Ubuntu 22.04, Ubuntu 23.04/23.10, and Linux Mint 21.
OBS-Studio 30.0 is a big release with many new features. They include WHIP/WebRTC output, support for Intel QSV H264, HEVC, AV1 on Linux, “Safe Mode” that runs without scripting, and websockets, 10-bit capture and HDR playback support for Decklink devices.
Other changes include:
- Redesigned the status bar
- Full-Height docks option in the “Docks” menu
- Add shader cache to improve startup time on Windows
- Add application audio capture on macOS
- Rework the virtual camera on macOS
- Add YouTube Live Control Room Panel when streaming to YouTube
- Option to hide OBS windows from macOS Screen Capture’s “Display Capture”
- Arrange filters via drag & drop
- Ability to set FFmpeg Options for VAAPI
And, there are tons of other changes and bug-fixes, see the release page for details.
How to Install OBS Studio 30.0 in Ubuntu
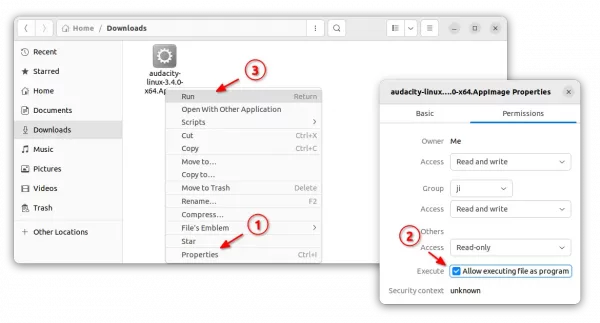
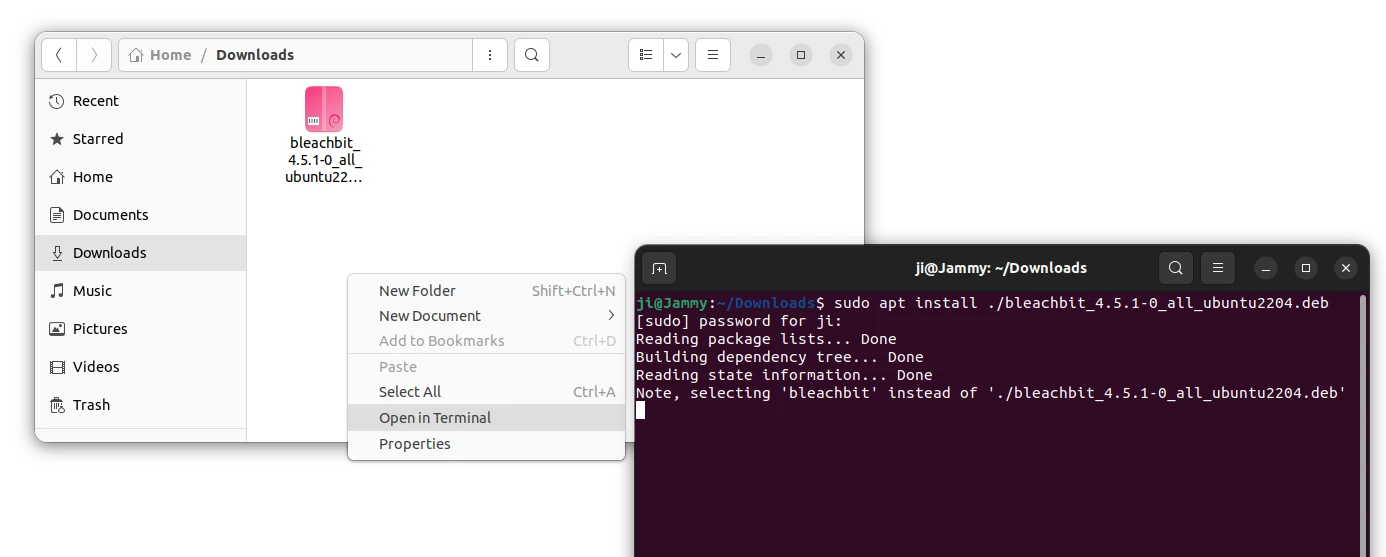
The release page (see the link above) provides Windows .exe, Mac OS .dmg, and Ubuntu .deb packages for downloading under ‘Assets’ section.
For Ubuntu and Linux Mint, there’s also an official PPA available to make it easy to keep the software up-to-date.
The PPA supports the new release for Ubuntu 22.04, Ubuntu 23.04, Ubuntu 23.10, and their based systems. While, Ubuntu 20.04 does not longer supported due to FFmpeg version mis-match.
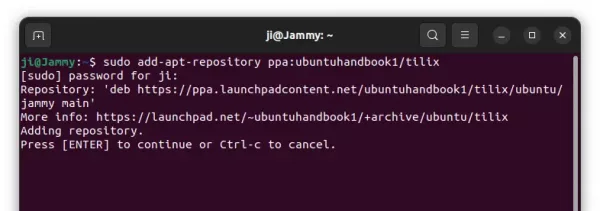
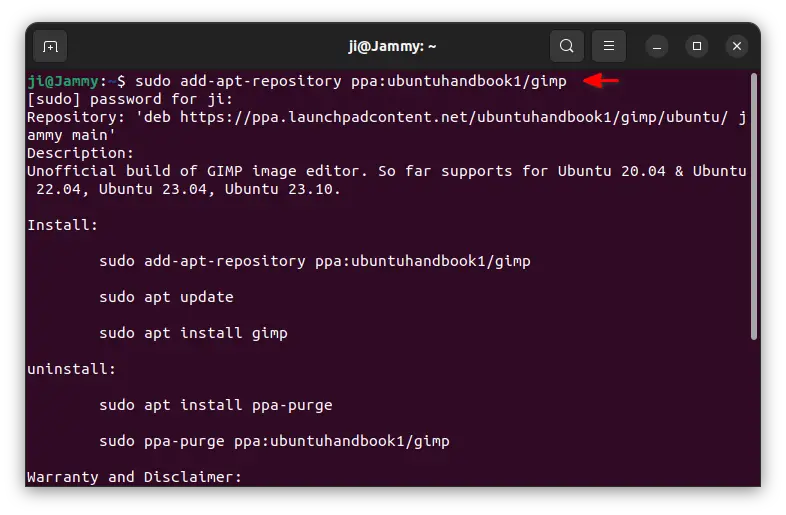
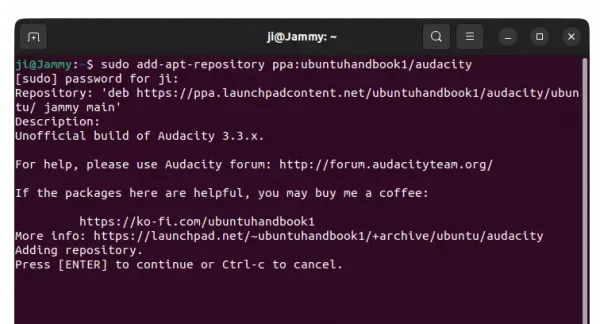
1. Firstly, press Ctrl+Alt+T on keyboard to open a terminal window. When it opens, run command to add the PPA:
sudo add-apt-repository ppa:obsproject/obs-studio
Type user password (no asterisk feedback) when it asks and hit Enter to continue.

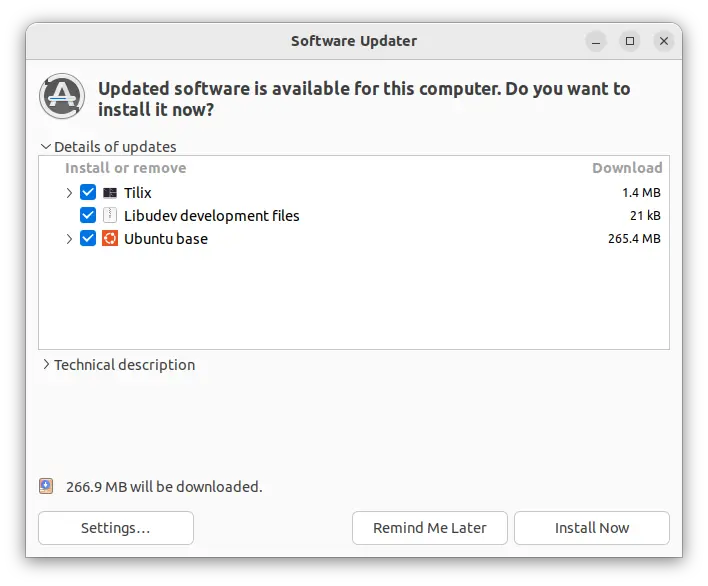
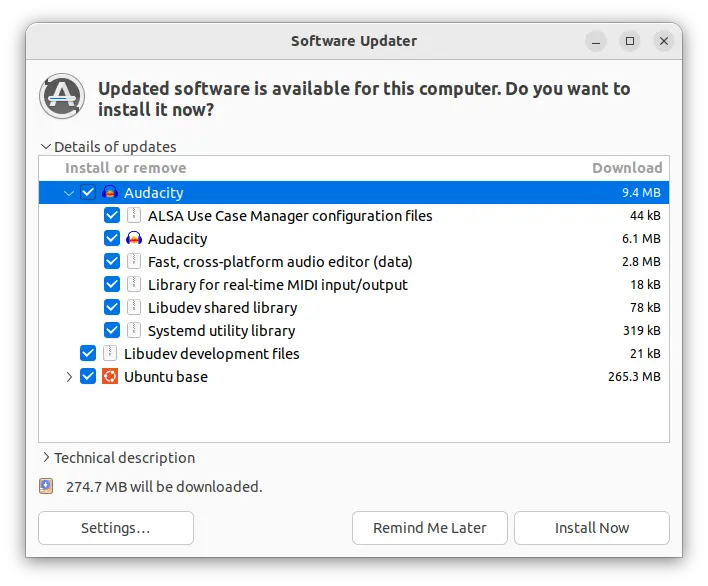
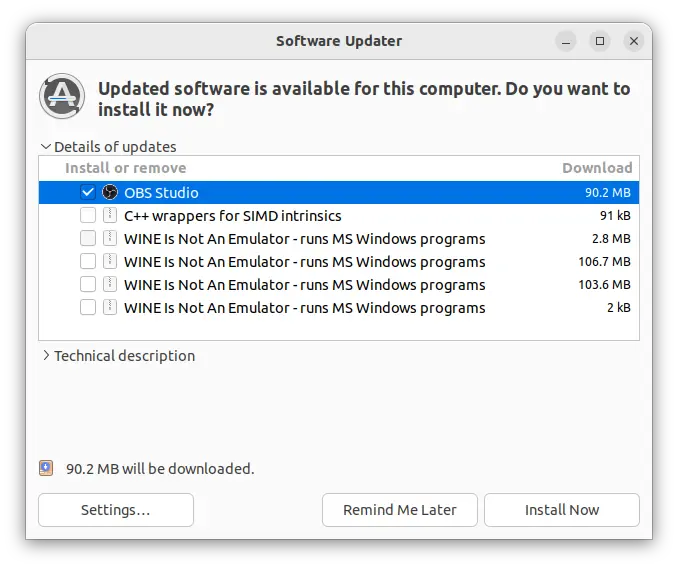
2. Then, either use Software Updater to update the software package (if an old version was installed).
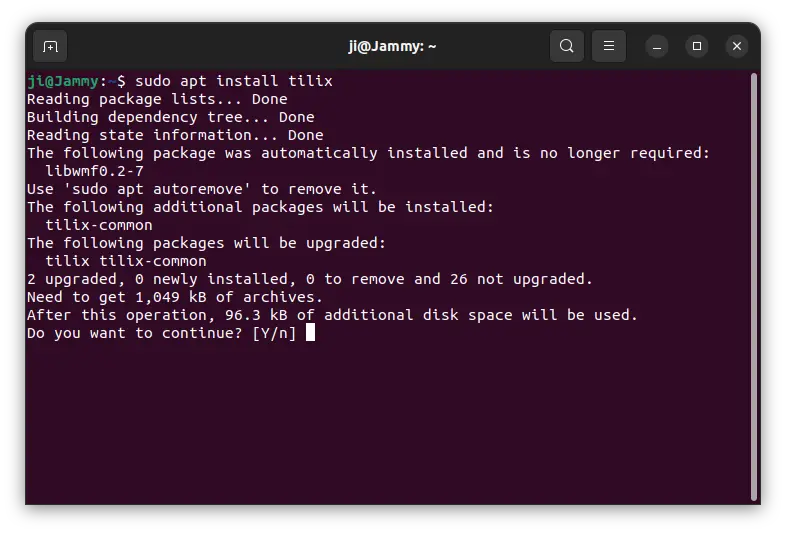
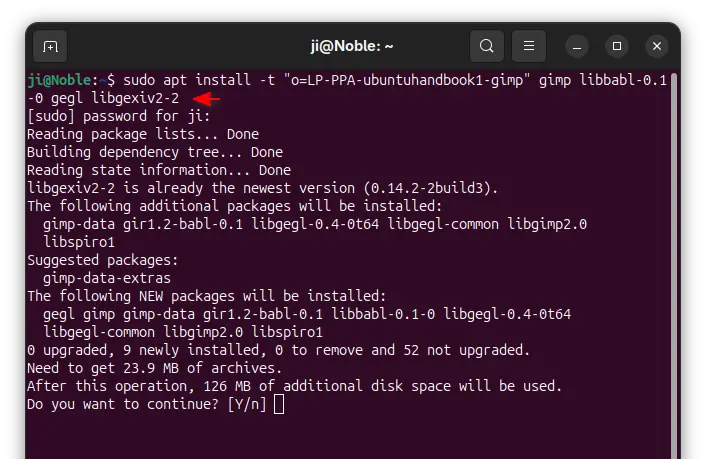
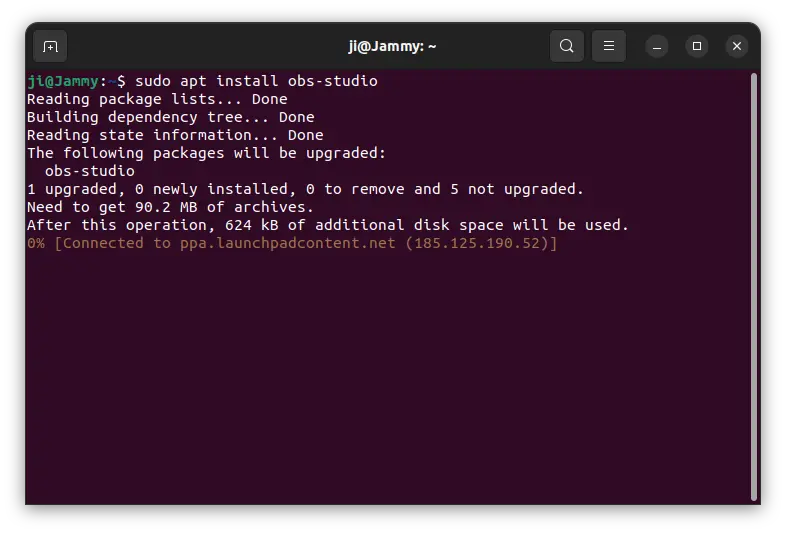
Or, use apt command to install/upgrade the software package:
sudo apt install obs-studio
NOTE: Linux Mint may need to run sudo apt update first to update package cache.
Once installed, search for and launch OBS Studio from ‘Activities’ overview or start menu depends on your desktop environment and enjoy!
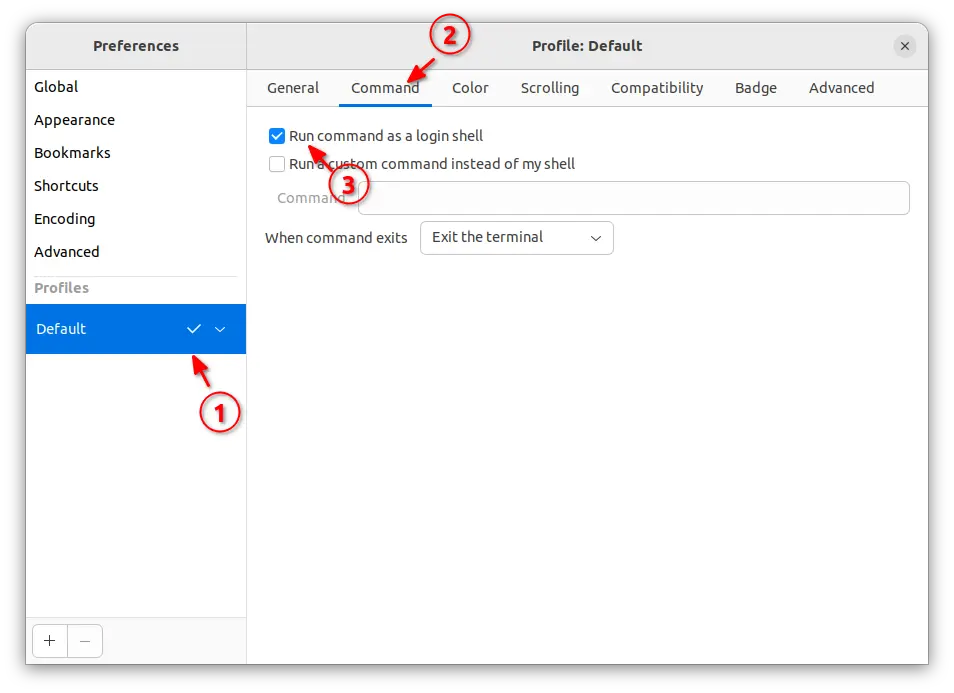
NOTE: OBS Studio in Ubuntu 22.04 and higher with Wayland, looks kinda borderless, due to Qt theming issue. If you prefer the classic header-bar and window border, see this tutorial to enable xcb plugin
Uninstall OBS Studio
To downgrade the software to the stock version that your system repository provides, run command:
sudo apt install ppa-purge && sudo ppa-purge ppa:obsproject/obs-studio
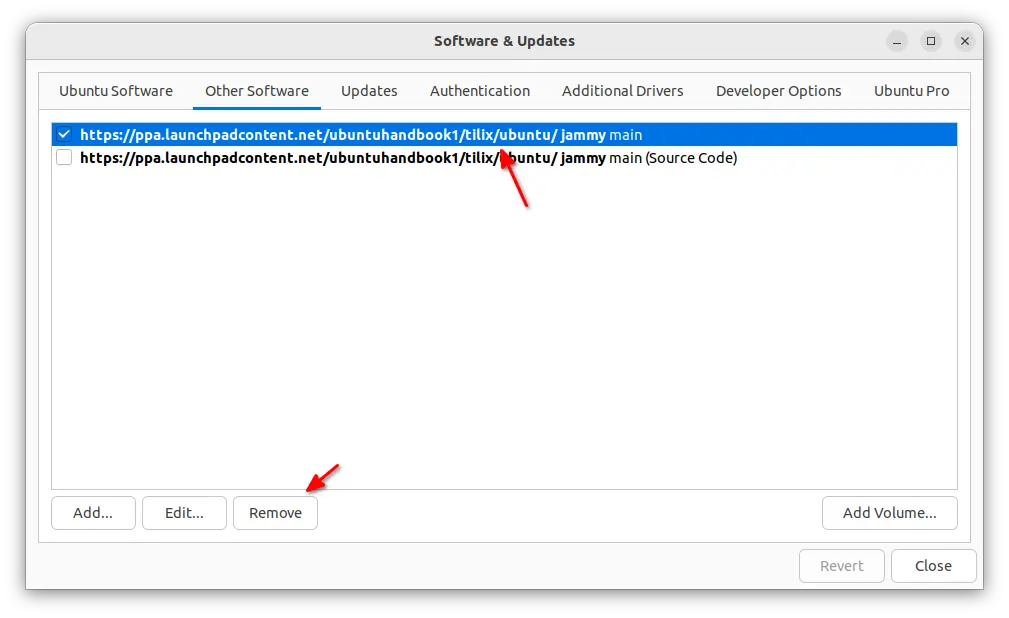
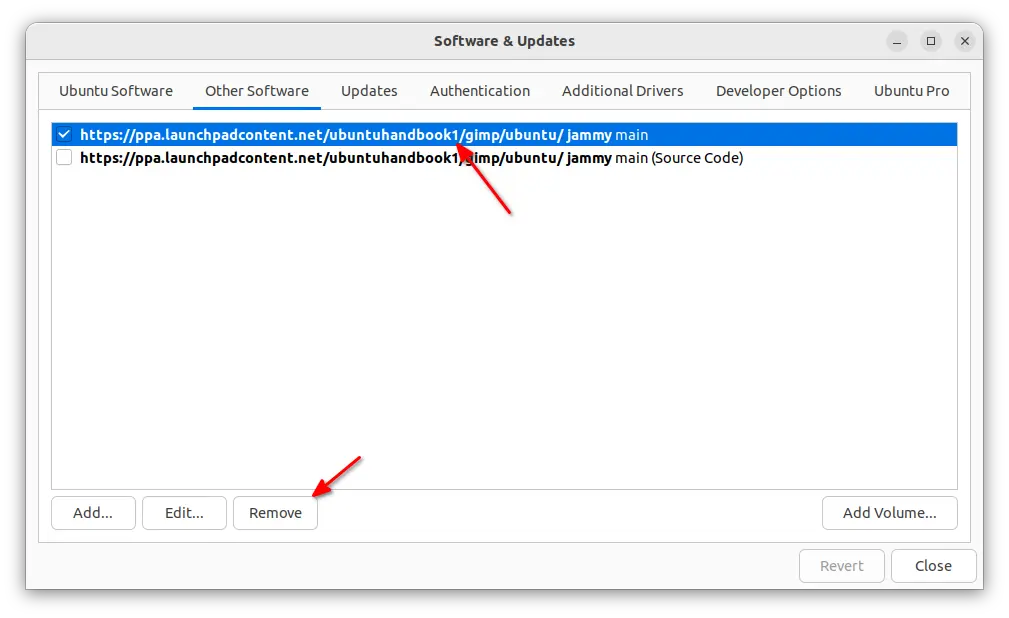
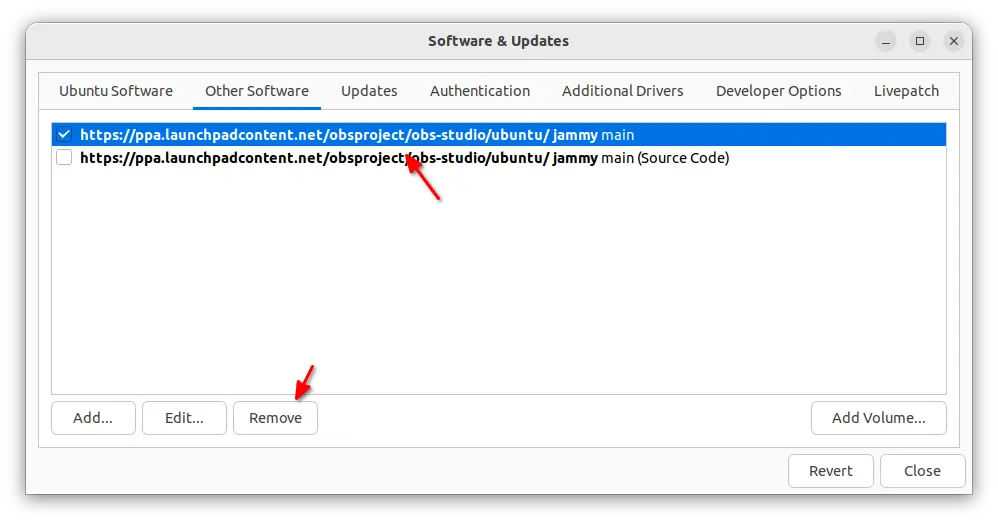
Or, either open Software & Updates and remove the PPA source line under ‘Other Software’ tab:
or run command in terminal to remove the PPA repository:
sudo add-apt-repository --remove ppa:obsproject/obs-studio
Also, remove the OBS Studio if you want by running command in terminal:
sudo apt remove --autoremove obs-studio