![]()
Gscan2pdf 2.5.5, GTK tool to produce PDF / DjVu from scanned document, was released yesterday with bug-fixes, some improvements, and updated translations.
Gscan2PDF 2.5.5 changelog:
- Fix occasional error messages when clearing all pages
- Only set paper to Manual if not applying profile
- Update OCR view switching between pages with and without OCR output
- xz compress log file if xz available
- Fix bug applying paper after profile set SANE_INFO_INEXACT
- When saving current settings as new profile, actually set the profile
- If a device throws an error when opening it, add it to a session blacklist
- option tolerance to cover buggy backends that return inexact options without setting SANE_INFO_INEXACT
- Update translations.
How to Install gscan2pdf 2.5.5 in Ubuntu:
The official Ubuntu PPA has made the new release packages for Ubuntu 16.04, Ubuntu 18.04, Ubuntu 18.10, Ubuntu 19.04 and their derivatives.
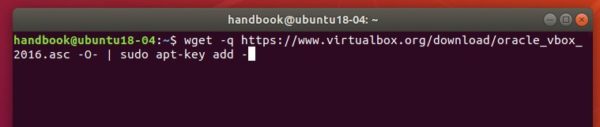
1. Open terminal either by pressing Ctrl+Alt+T on keyboard or searching for ‘terminal’ from software launcher. When it opens, run command to add the PPA:
sudo add-apt-repository ppa:jeffreyratcliffe/ppa
Type user password (no asterisk feedback due to security reason) when it prompts and hit Enter.

2. For those who have a previous release installed, upgrade it through Software Updater:

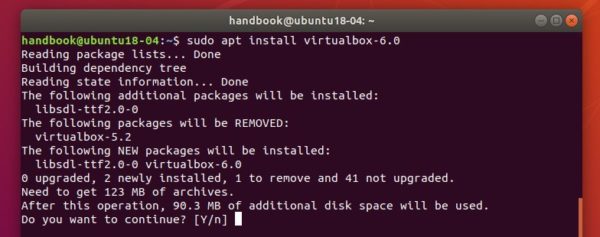
For the first time, you can either install it via Synaptic Package Manager or by running following commands in terminal:
sudo apt-get update

sudo apt-get install gscan2pdf
How to Remove:
To remove gscan2pdf, either use your system package manager or run command:
sudo apt-get remove --autoremove gscan2pdf
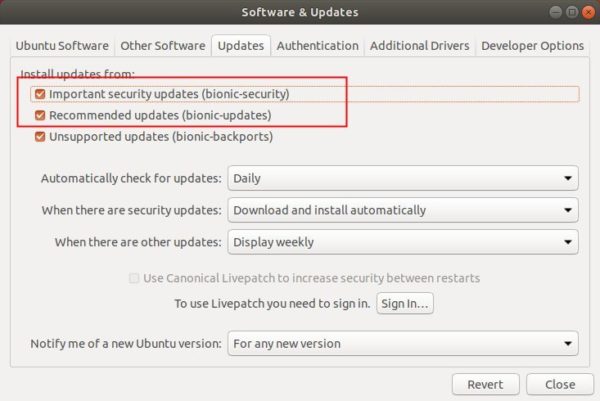
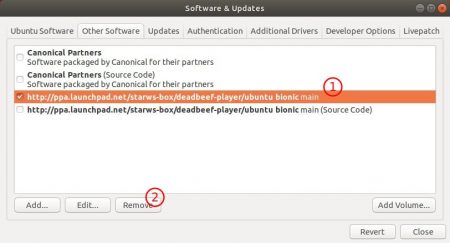
And the PPA can be removed via Software & Updates utility, under Other Software tab.