![]()
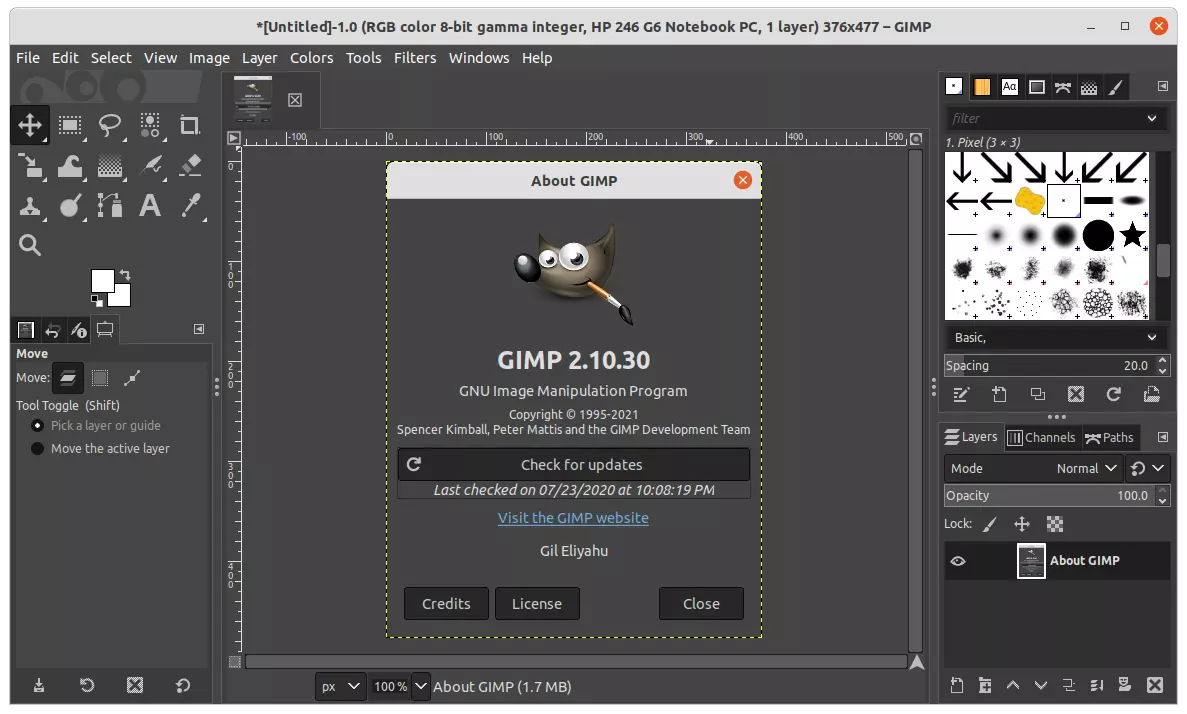
GIMP image editor got a new bug-fix release for the current 2.10 stable series today. Here’s what’s new and how to install it in Ubuntu 20.04 & Ubuntu 21.10.
GIMP 2.10.30 improved several file format supports. PSD support received various types of improvements allowing it to load more sub-cases of PSD. And, AVIF export now favors AOM encoder.
Color picking from Colors dockable can now use the Freedesktop API when available. The screenshot plugin for GNOME 41 has been dropped due to restricted API. And, in KDE it uses in priority the Freedesktop API.
Other changes in GIMP 2.10.30 include:
- Do not follow subpixel font rendering choice from system settings for text layer rendering.
- Rewrite the core selection drawing logics so that it works on macOS Big Sur and over.
- On Windows, move from
GetICMProfile()toWcsGetDefaultColorProfile()API because the former is broken in Windows 11. - Extension .avif now associated to GIMP.
- Various improvements to metadata support.
How to Install GIMP 2.10.30 in Ubuntu:
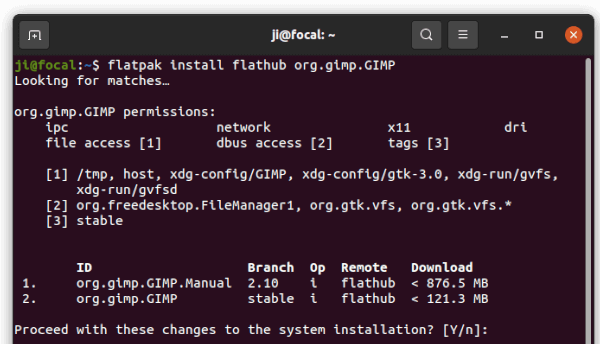
1. GIMP Flatpak:
The project team recommends the flatpak package, the universal Linux package format runs in sandbox. Flatpak works on most Linux though it takes more disk space.
The package is available at flathub.org. Users need to follow the setup guide and install the flatpak via the command in the bottom of the link page.
2. GIMP Snap:
The image editor is also available as Snap, another universal package format developed by Canonical, the company behind Ubuntu.
The snap version is not updated at the moment. It however will automatically update to the latest (once published) after installed it. And the snap is available in Ubuntu Software:

3. Ubuntu PPA
For those stick to the NATIVE .deb package, GIMP 2.10.30 is available to install via this unofficial PPA in Ubuntu 20.04, Ubuntu 21.04, and Ubuntu 21.10 for 64-bit PC and/or arm64/armhf devices (e.g., Raspberry Pi).
Ubuntu 18.04 is excluded due to outdated system library. For choice, user may use this PPA which depends updated FFmpeg library that may break other packages in your system.
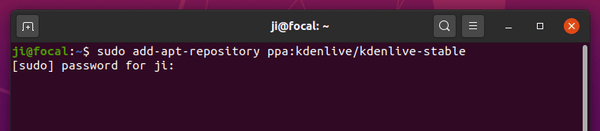
1.) Firstly, either search for and open terminal from the Activities overview screen, or press Ctrl+Alt+T on keyboard. When terminal opens, run command to add the PPA:
sudo add-apt-repository ppa:ubuntuhandbook1/gimp
Type user password (no visual feedback) when it asks and hit Enter to continue.

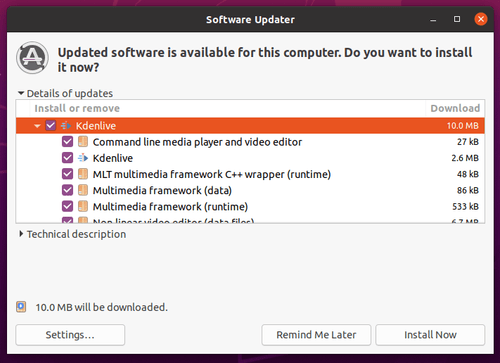
2.) Next, install GIMP 2.10.30 either by running apt command in terminal:
sudo apt install gimp gegl libgegl-0.4-0
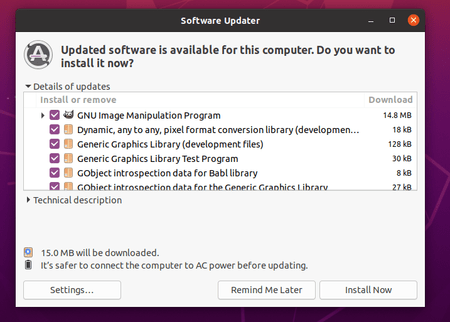
or upgrade the editor using Software Updater (Update Manager):
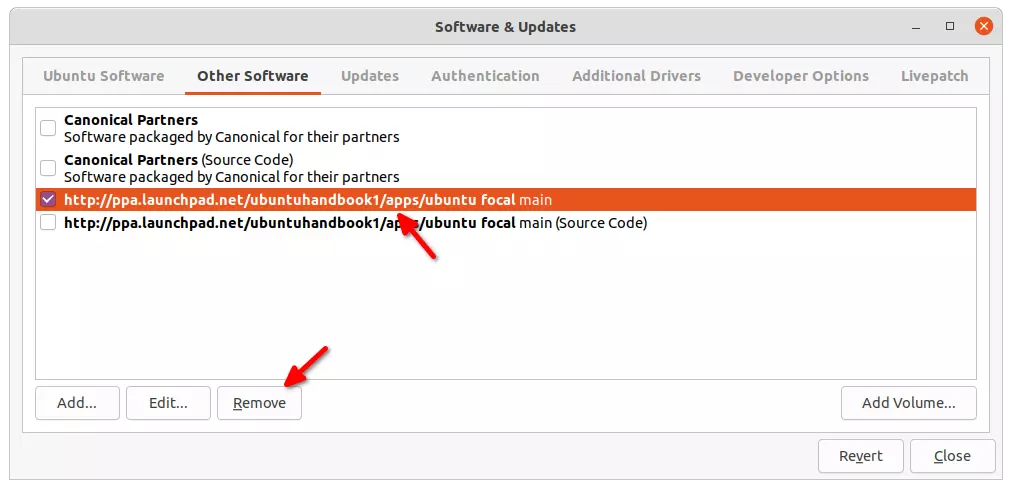
Remove PPA and restore GIMP:
For any issue, you can purge the Ubuntu PPA which will downgrade the installed packages to the stock versions. To do so, firstly install the ppa-purge utility:
sudo apt install ppa-purge
Next run command to purge the Ubuntu PPA:
sudo ppa-purge ppa:ubuntuhandbook1/gimp