Mozilla Firefox released version 90.0 today with some new features and various security fixes.
Firefox 90 introduced the 2.0 version of SmartBlock. The built-in tracker blocking mechanism now provides robust privacy protection, while ensuring you can still use third-party Facebook logins. Facebook scripts are all blocked, just as before, except the short period for the sign-in to proceed smoothly.
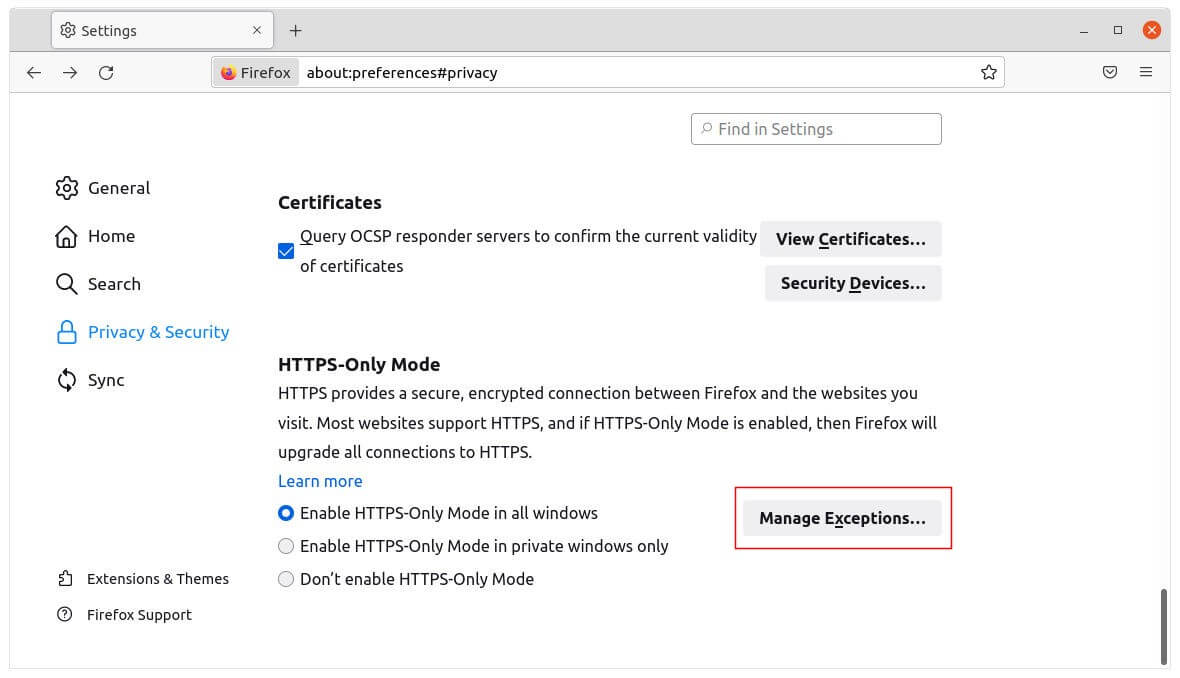
For HTTPS-Only Mode, there’s now an option to add exceptions. So that you can visit specified HTTP websites directly without HTTPS-only alerts.
Other changes in Firefox 90 include:
- Apply updates in the background while Firefox in not running for Windows.
- New
about:third-partypage to help identify compatibility issues - Print to PDF now produces working hyperlinks
- The “Open Image in New Tab” context menu now opens images and media in a background tab
- Improved software WebRender performance
- Removed FTP support.
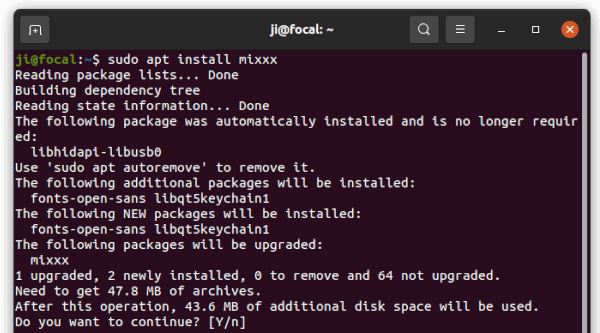
How to Get Firefox 90:
Normally, Ubuntu will publish the new Firefox packages through the security & updates repositories in next few days.
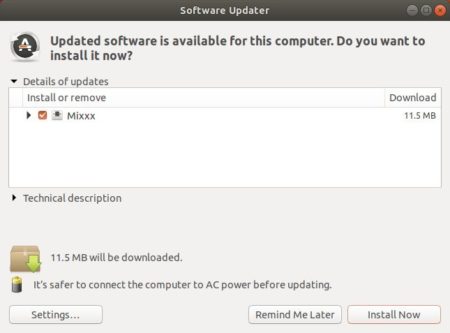
You can just wait until it being available to update in Software Updater:

Alternatively, see the release note and download the portable package from Firefox website: