![]()
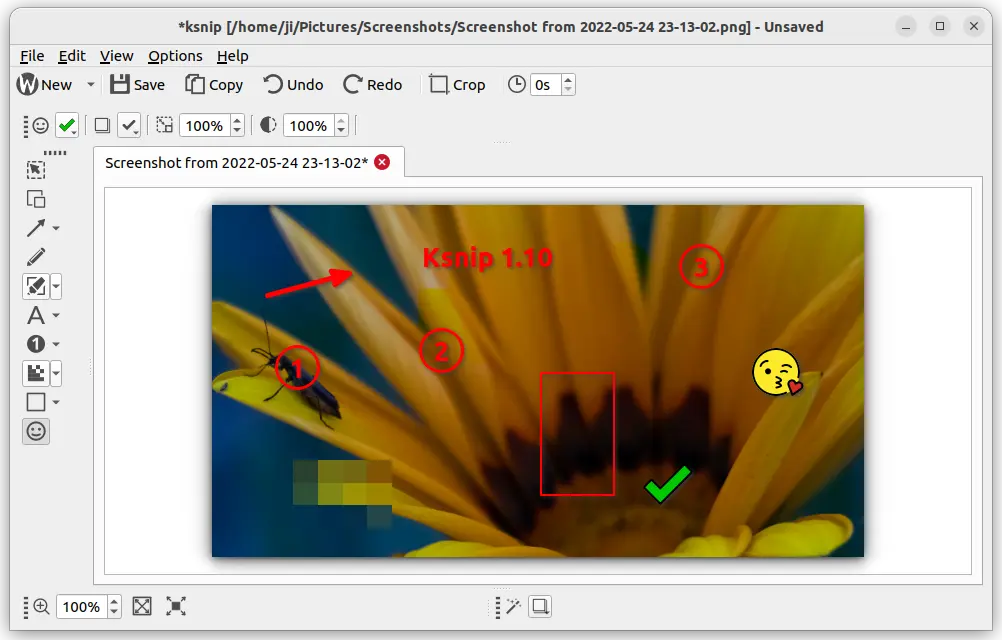
Ksnip, the popular free open-source screenshot and annotation tool, released 1.10.1 version yesterday.
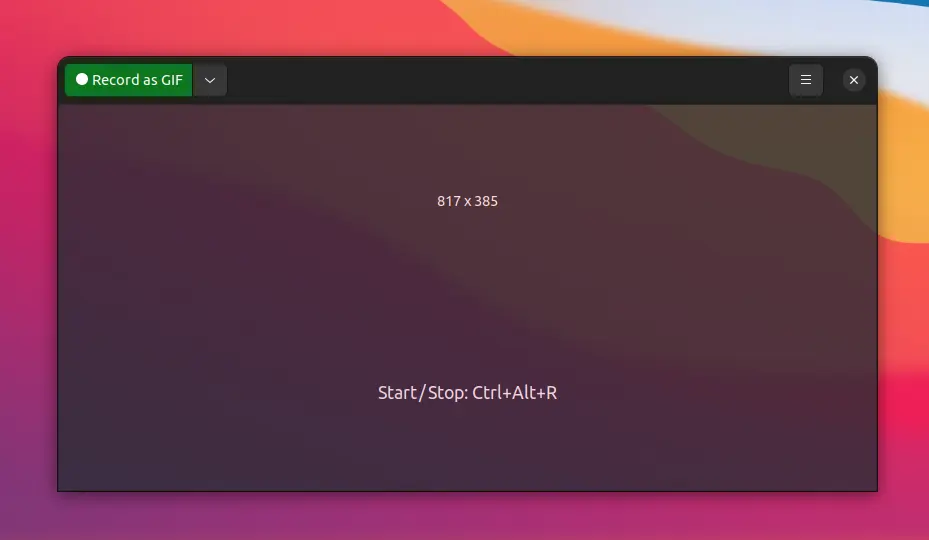
Ksnip is a Qt based screenshot tool with editing features, that works in Windows, macOS, and Linux on both Wayland and Xorg. It’s one of my top favorite applications for adding annotations in screenshot.
The app just released version 1.10.1 one day ago as the first point release for the 1.10 release series. It’s a small release with a new feature: KDE support for scale factor. Meaning it’s now working better in KDE desktop (such as KUbuntu, Ubuntu Studio) with different scaling factor.
Other changes include:
- Fix drag and drop issue for Ksnip installed as Snap.
- Fix sticker resizing issue when bounding rect flipped.
- Show tab tooltips on initial tabs.
- Fix for unnecessary scrollbars when a screenshot has a smaller size than the previous one
- Fix that loading image from stdin single instance client runner side doesn’t work
How to Install KSnip 1.10.1 in Ubuntu / Linux Mint
Option 1: Snap package
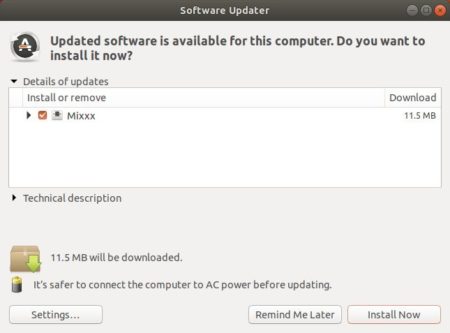
The easiest way to install the tool in Ubuntu is using the official Snap packages. Simply open Ubuntu Software, then you can search for and install it via few clicks.
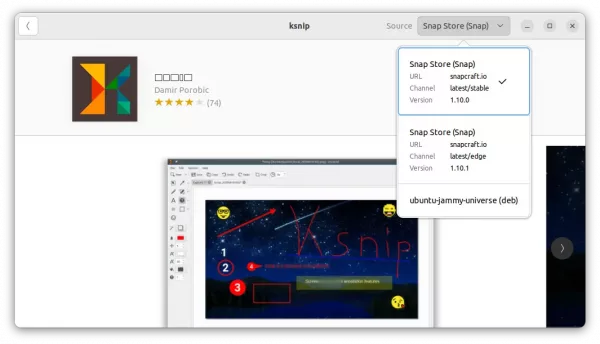
Install Ksnip via Ubuntu Software
Option 2: AppImage / Deb
The software project page also provides AppImage and Deb packages, as well as Windows and Mac OS packages for download under ‘Assets’ section:
For most Linux, you may download the non-install AppImage package, make it executable via right-click menu “Properties” dialog -> “Permissions” tab, and finally click run the package to launch it.
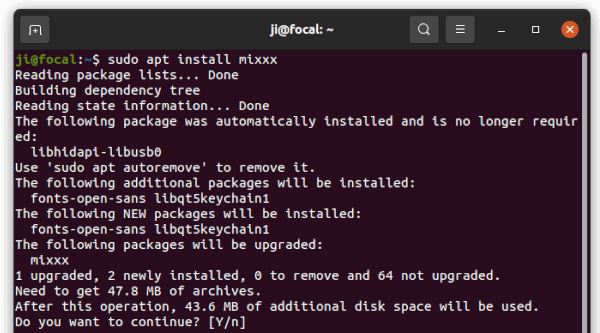
For Debian and Ubuntu based system, download the .deb package and install it by running command in terminal (press Ctrl+Alt+T to open terminal):
sudo apt install ~/Downloads/ksnip-*.deb
NOTE for Ubuntu 22.04, double-click installing this local deb via “Software Install” option may not work properly. It refers to the Snap package, rather than installing the local package.
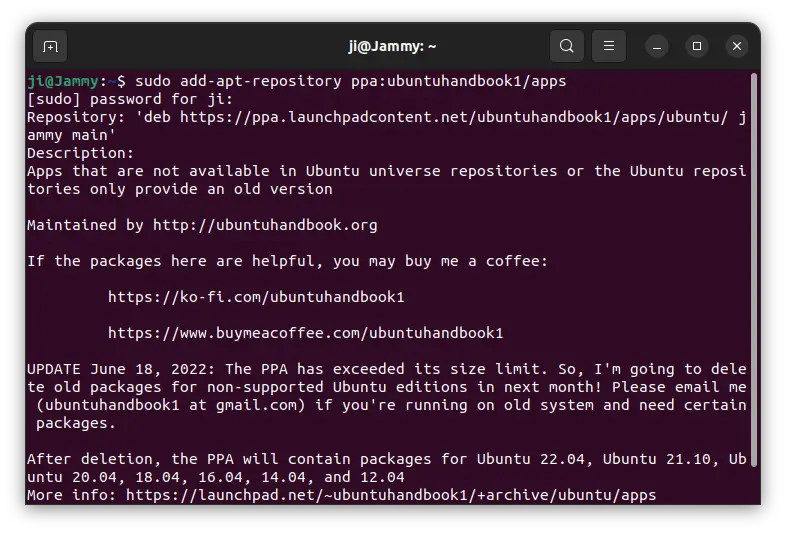
Option 3: Ubuntu PPA (unofficial)
For those prefer Ubuntu PPA, here’s an unofficial repository with Ubuntu 20.04, Ubuntu 22.04, Ubuntu 22.10 and Ubuntu 23.04 support.
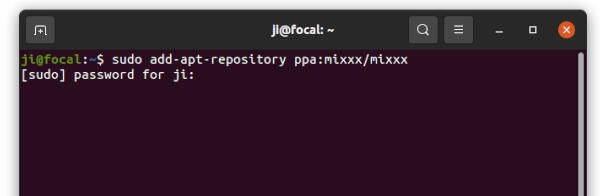
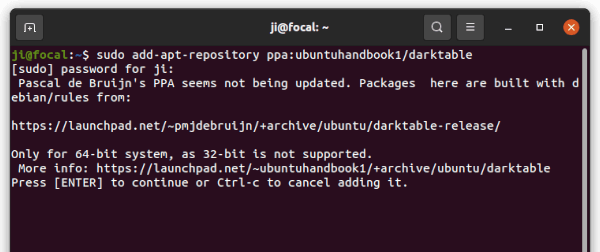
Simply press Ctrl+Alt+T on keyboard to open terminal, and run the commands below one by one will add the PPA and install the screenshot tool from it.
sudo add-apt-repository ppa:ubuntuhandbook1/ksnip
sudo apt update
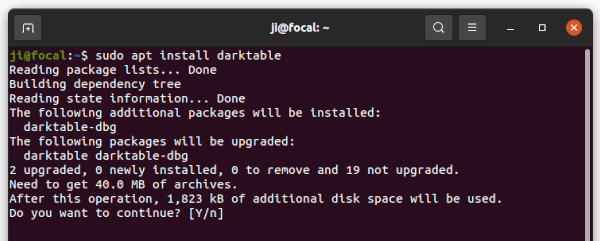
sudo apt install ksnip libkimageannotator0 libkcolorpicker0
Install the OCR plugin:
The OCR plugin is available to install as a separate package. It’s available to download at the link below:
Click to expand the ‘Assets‘ section, download & install the .deb package for Debian and Ubuntu based system.
Uninstall Ksnip
For the snap package, simply click ‘uninstall’ button in Ubuntu Software.
For deb package, press Ctrl+Alt+T on keyboard and run the command below to remove it:
sudo apt remove --autoremove ksnip libkimageannotator0
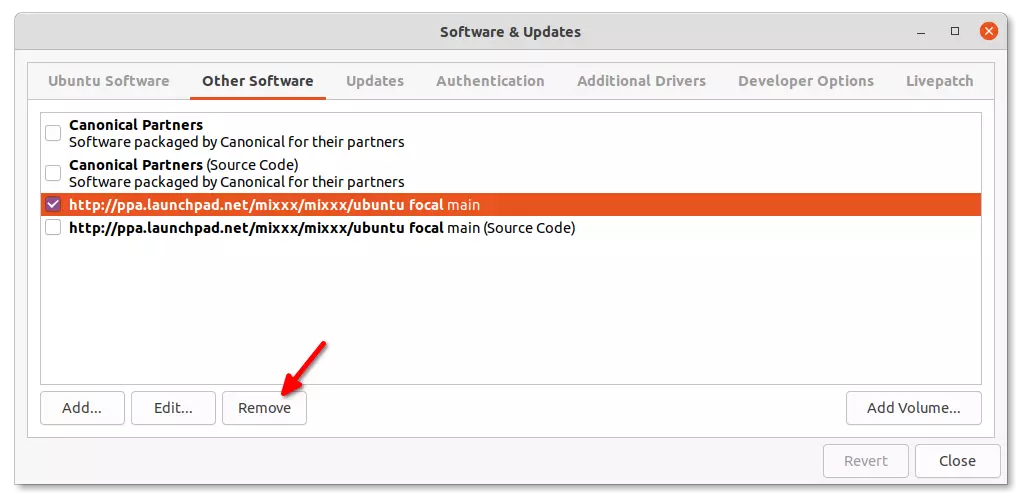
And, remove the Ubuntu PPA (if added) by running command:
sudo add-apt-repository --remove ppa:ubuntuhandbook1/ksnip