![]()
Ubuntu 23.10, code-name “Mantic Minotaur”, has reached Beta stage. See what’s new in the upcoming release of the popular Linux Distribution.
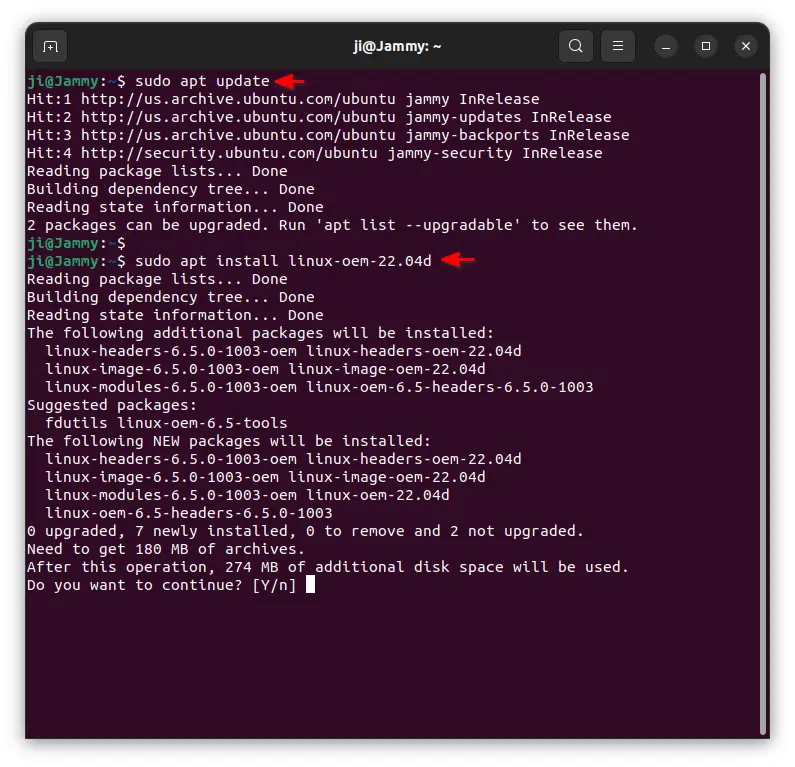
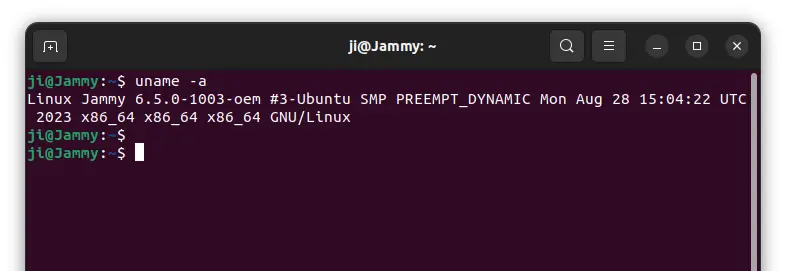
Ubuntu 23.10 will use Linux Kernel 6.5, and GNOME Desktop v45.
New App Center
Ubuntu Software, aka the previous GNOME Software and current Snap Store, is really painful! It does NOT work quite often in my case.
It’s always stuck at either “Downloading Software catalog“, or the spinning loading circle.
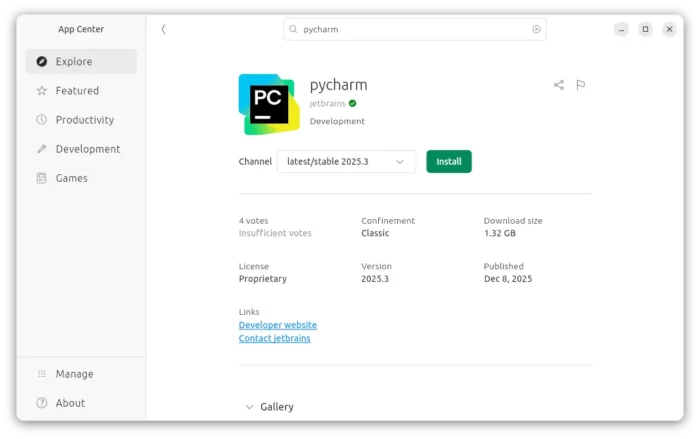
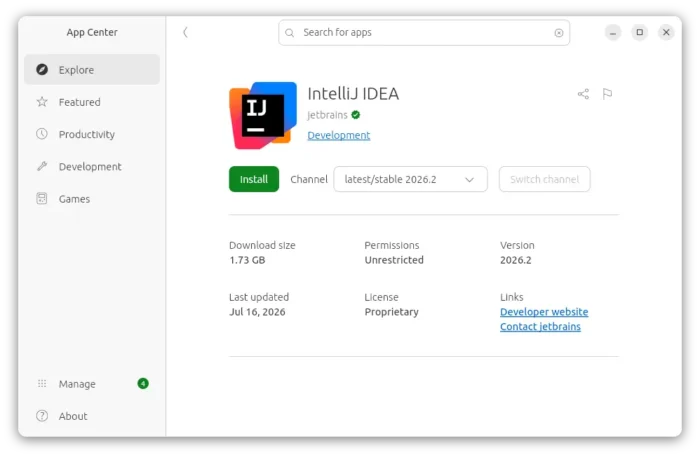
Now, in Ubuntu 23.10, the new Google Flutter based App Center is in the place for installing/updating applications.

New App Center
Personally, I really like the new ‘App Center’. It’s fast, and just works!
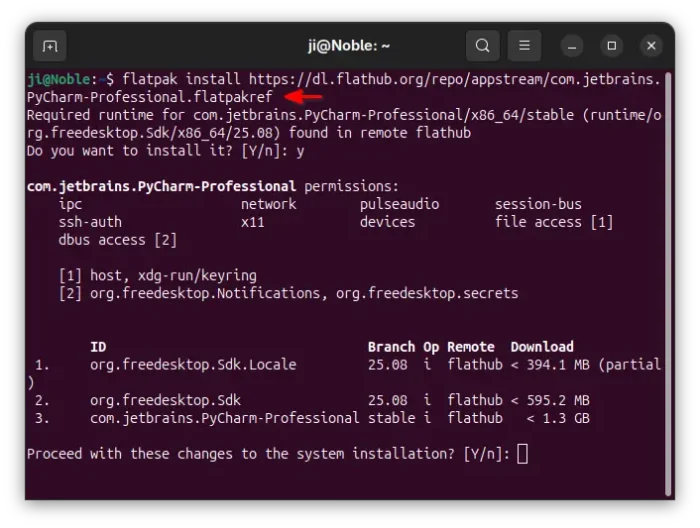
The only issue so far in the development build is that it support Snap packages only… It now supports both Snap and classic .deb package since Beta.
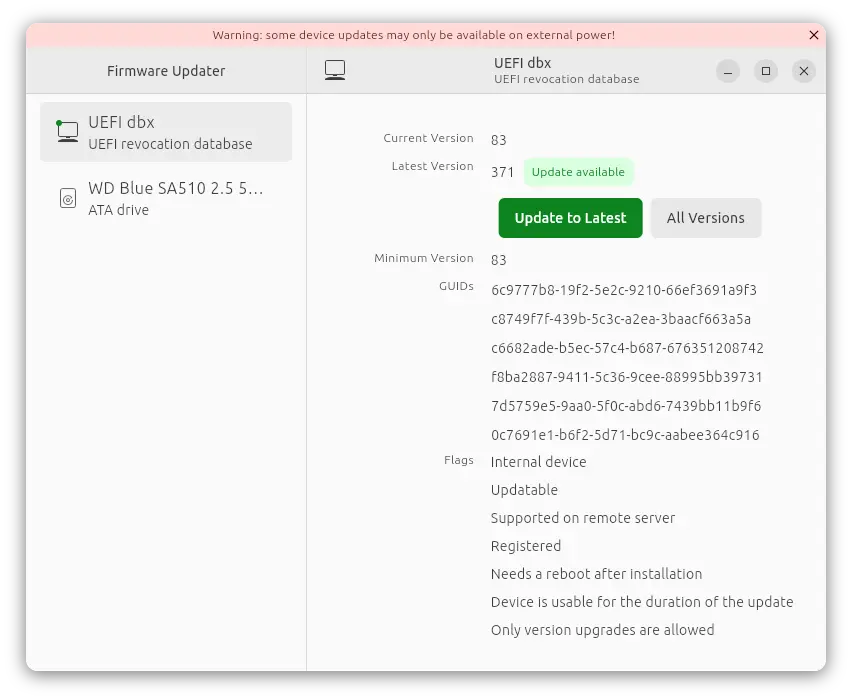
New Firmware Updater app
Ubuntu 23.10 also introduced a new “Firmware Updater” application, that is available out-of-the-box.
With it, user can update hardware firmware as easy as few mouse clicks.
TPM-backed Full Disk Encryption
Ubuntu 23.10 adds experimental support for TPM based full disk encryption. Meaning passphrases will be no longer needed on supported platforms, and that the secret used to decrypt the encrypted data will be protected by a TPM and recovered automatically only by early boot software that is authorised to access the data. See HERE for more about it.
GNOME 45
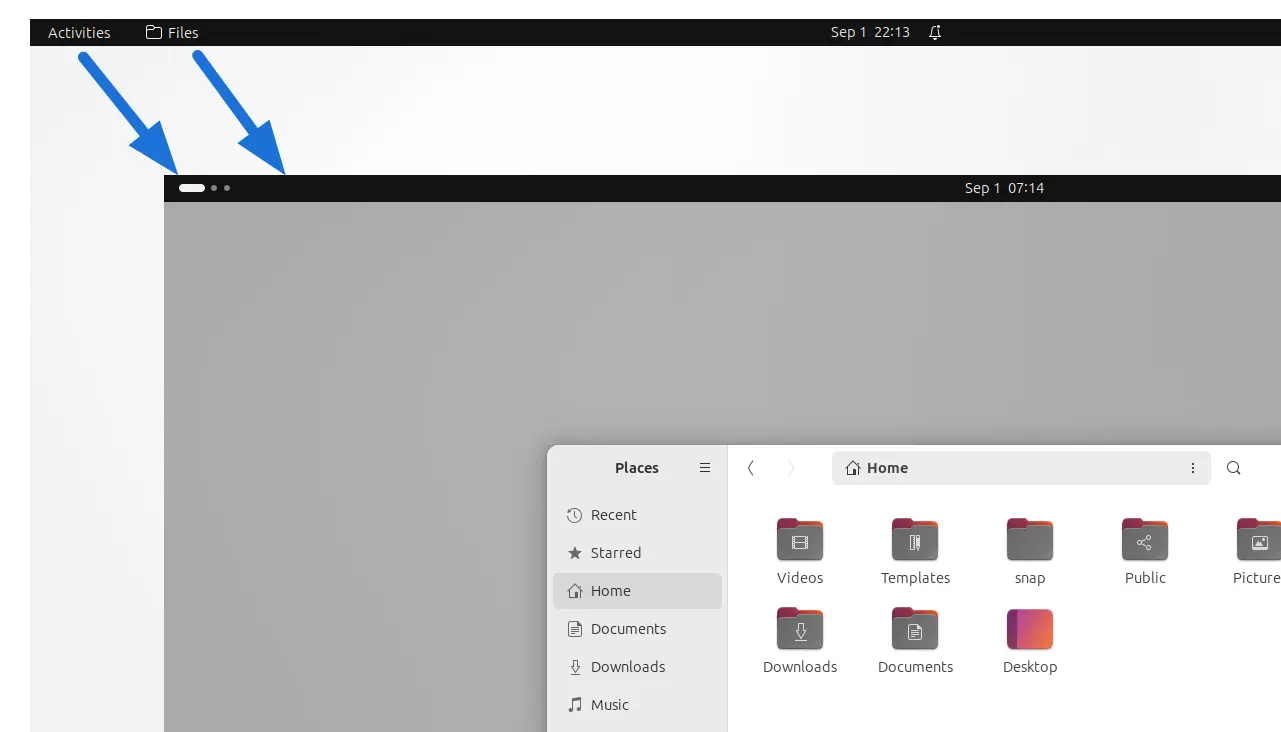
GNOME 45, developed by another group of people, is the default desktop environment in Ubuntu 23.10.
Features in GNOME 45, include new ‘workspace indicator’ in top-left to replace ‘Activities’ button, removal of current app menu in top-bar.
The top-right corner system status menu, aka Quick Settings, can now be opened/closed via Super (Windows logo key) + S shortcut key. And, it supports for toggle keyboard backlight with a flat button.
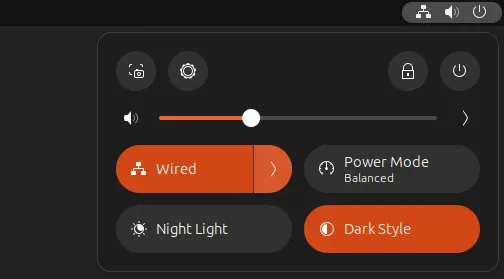
Super + S to open Quick Settings
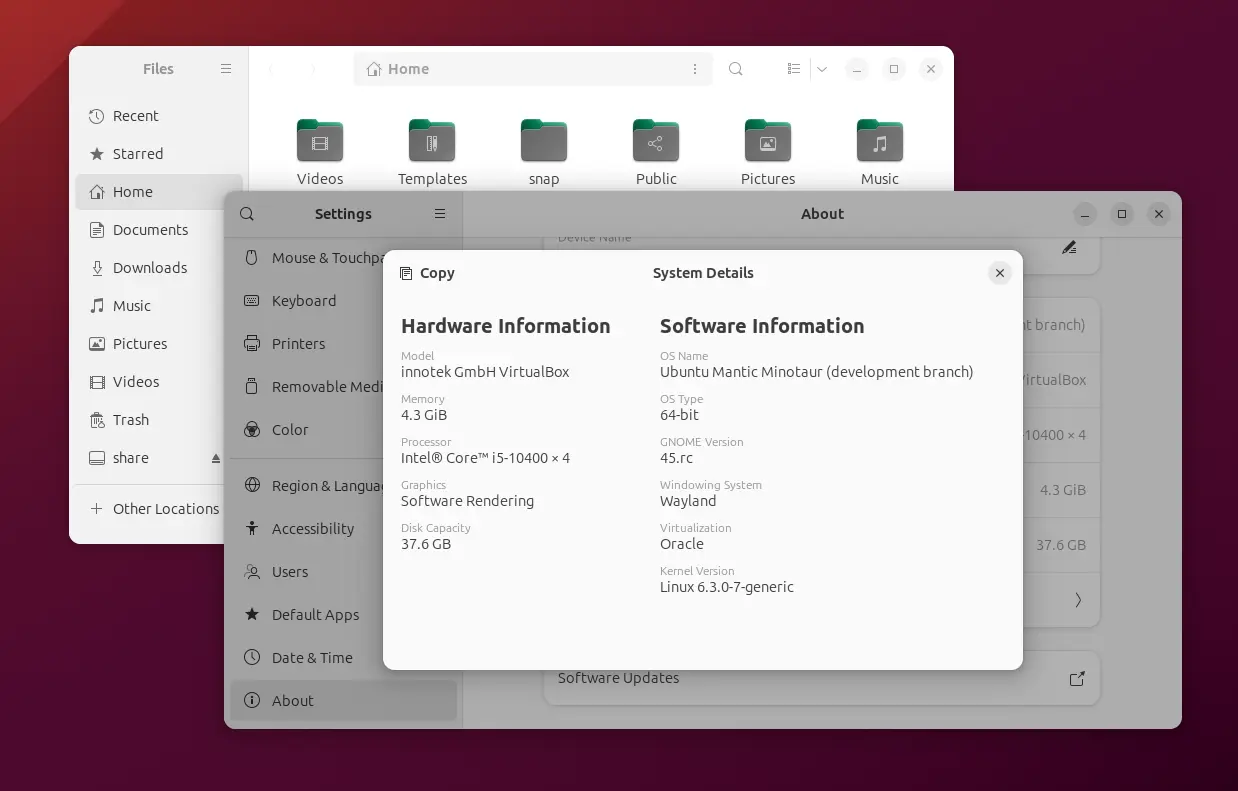
The ‘Files’ (Nautilus File Manager) and Settings (Gnome Control Center) has been redesigned to look even more modern. To follow the steps in GNOME 44, it also redesigned the ‘About’ and ‘Privacy’ pages.
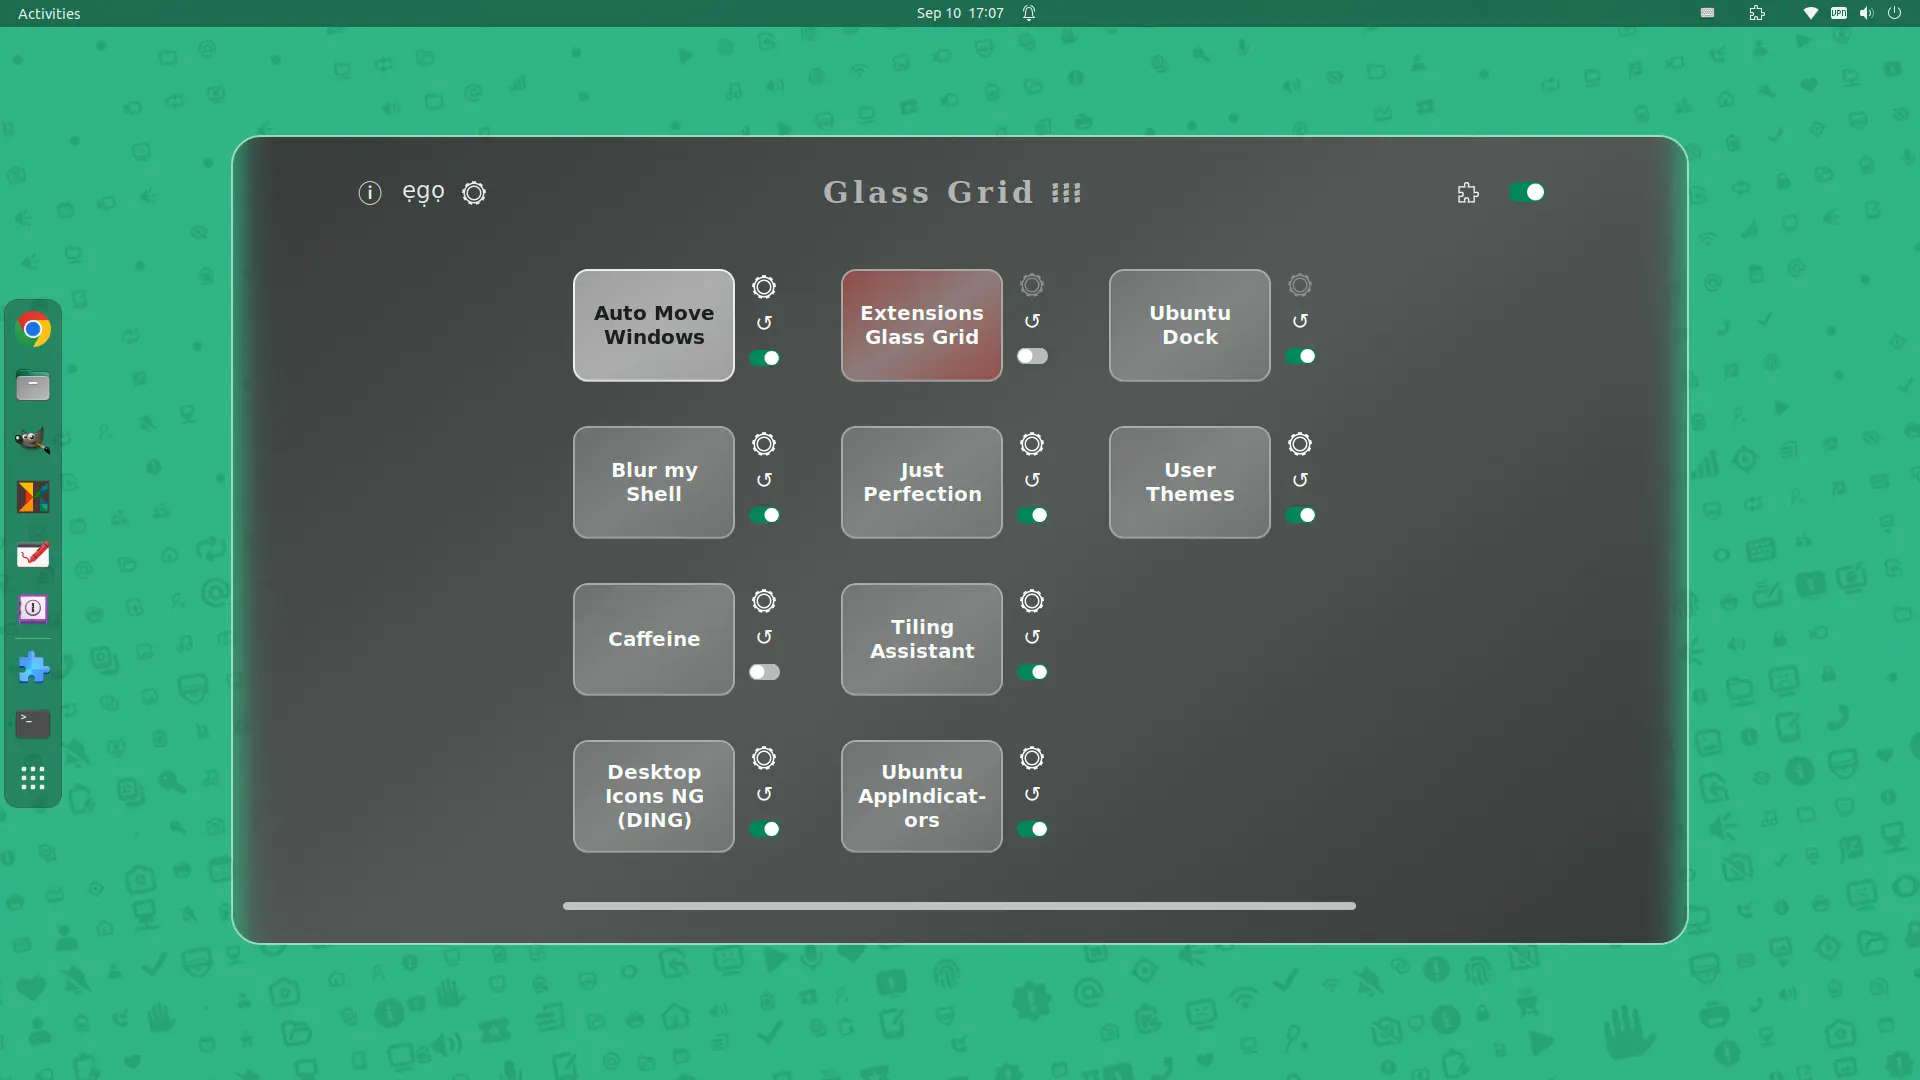
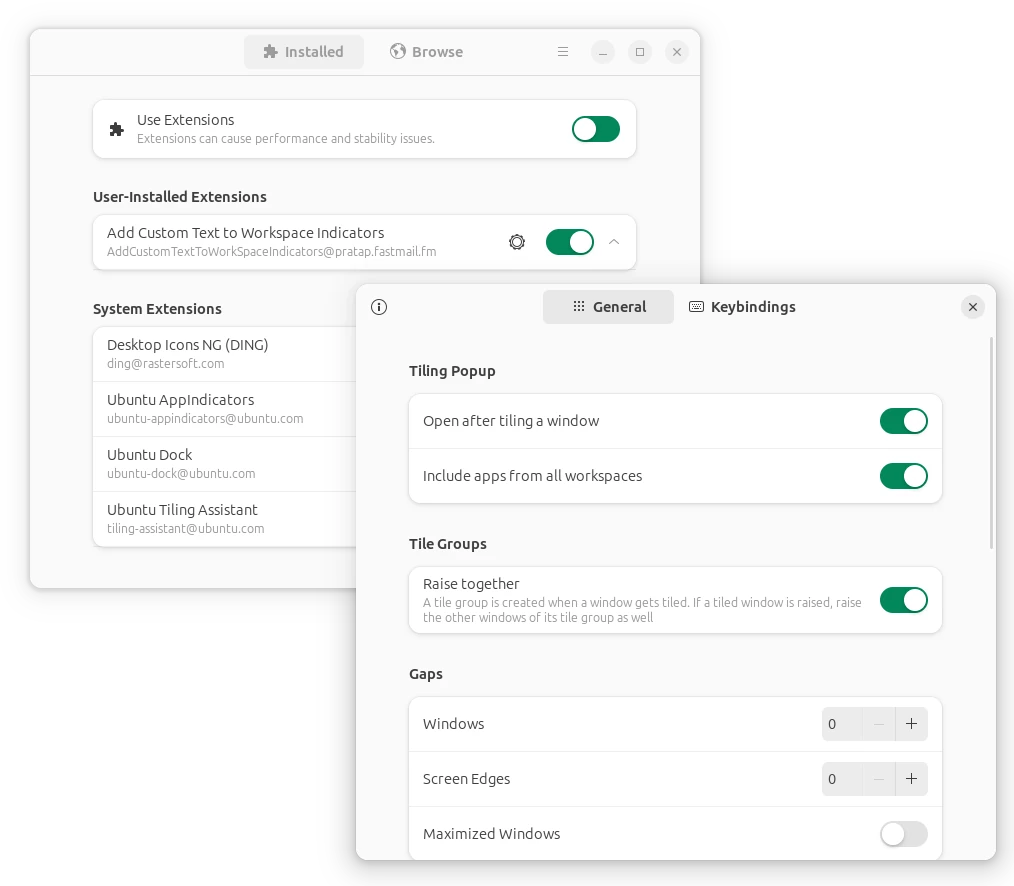
In the release of Ubuntu Desktop, it also introduced a new system extension called “Ubuntu Tiling Assistant“. It features “Tiling pop-up” and “Tiling Groups”, and allows to tile window to half or quarter screen size, either by dragging or keyboard shortcuts.
Other Gnome desktop changes include:
- Camera usage indicator, but not work for Cheese.
- Drag’n’drop to save web image to file.
- New ‘keyboard’ option in top-right system menu to toggle keyboard backlight
- New default wallpaper with dark variant.
Default to “Minimal” installation
Don’t know why (probably due to Snap), but Ubuntu’s .iso image is getting bigger and bigger in recent releases. The 64-bit Ubuntu 18.04 image is only 2.3G, while 22.04 & 23.04 now take about 4.6G.
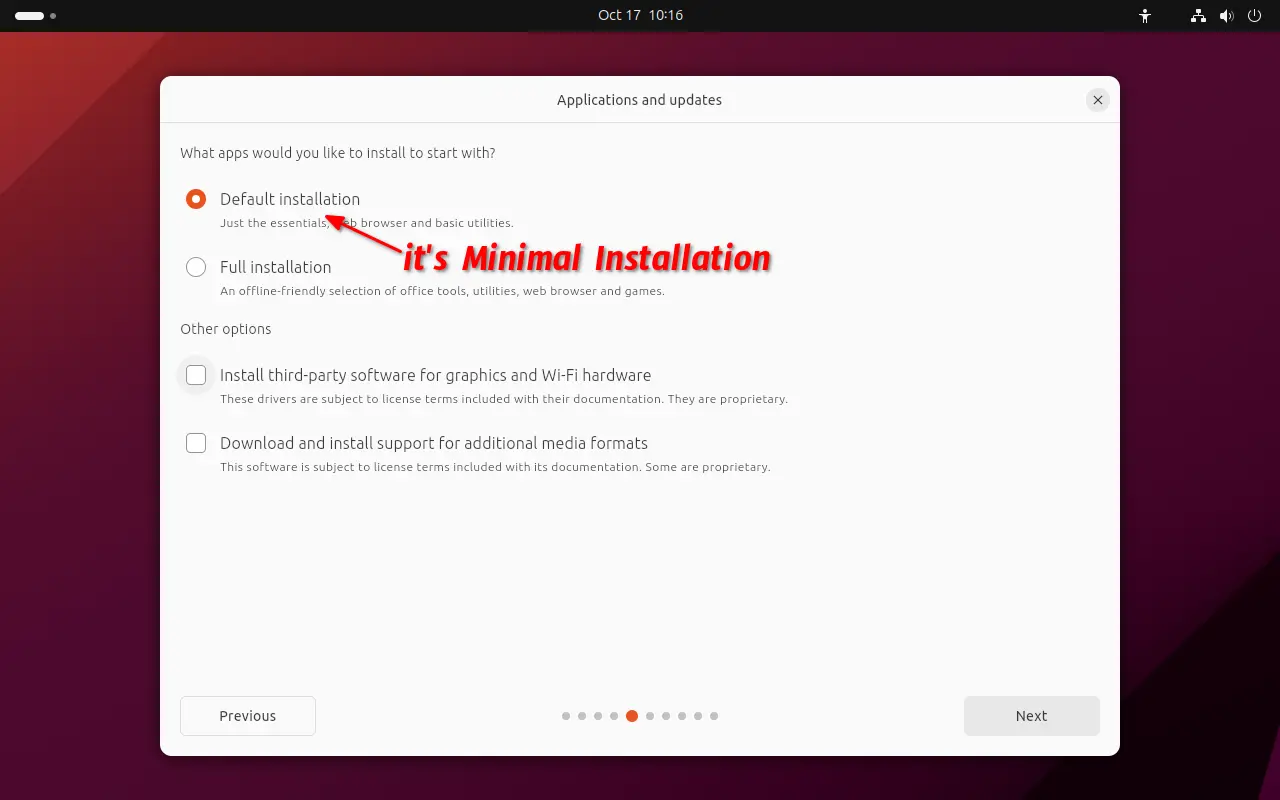
To lose weight, Ubuntu Team proposed to drop some applications from the default install, by introducing new “Default” option.
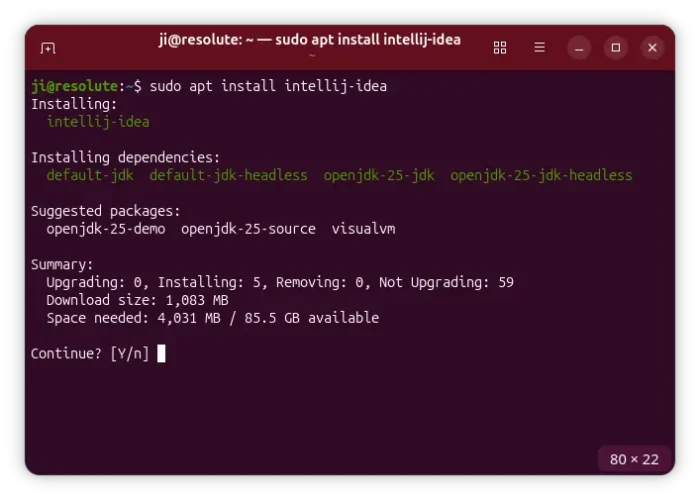
The change does not apply to Ubuntu 23.10, instead, the Ubuntu installer choose “Minimal” installation by default. It’s still called “Default Installation”, but excludes many applications, such as LibreOffice, Thunderbird. Though, the old default “Full” installation is still available for choice.
Other Changes
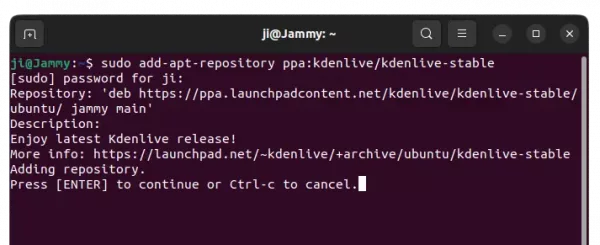
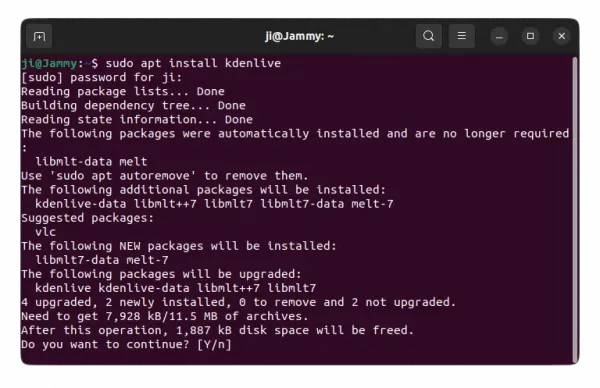
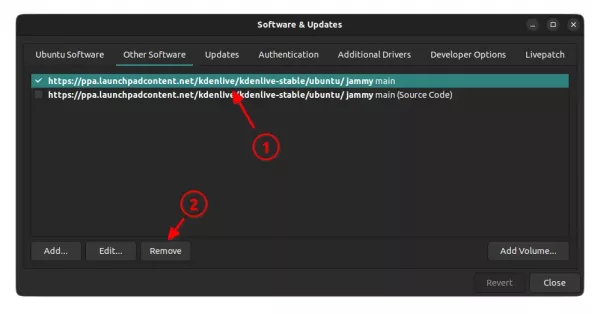
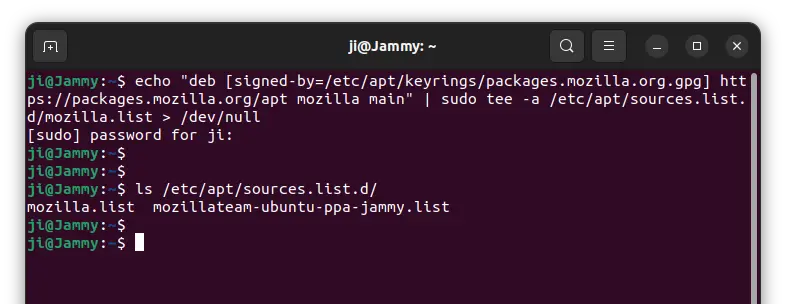
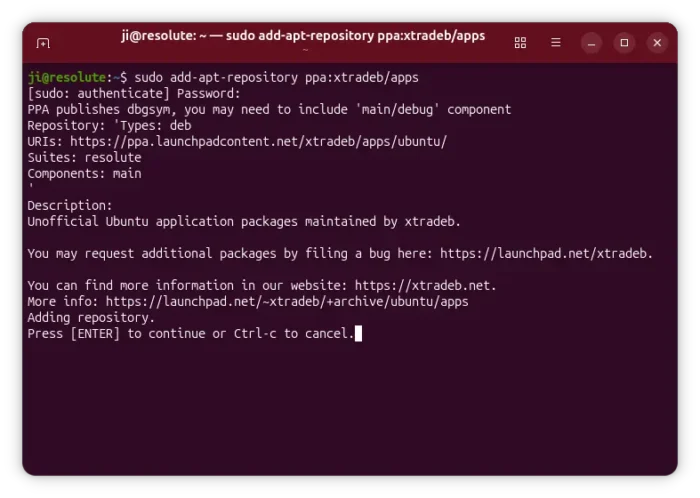
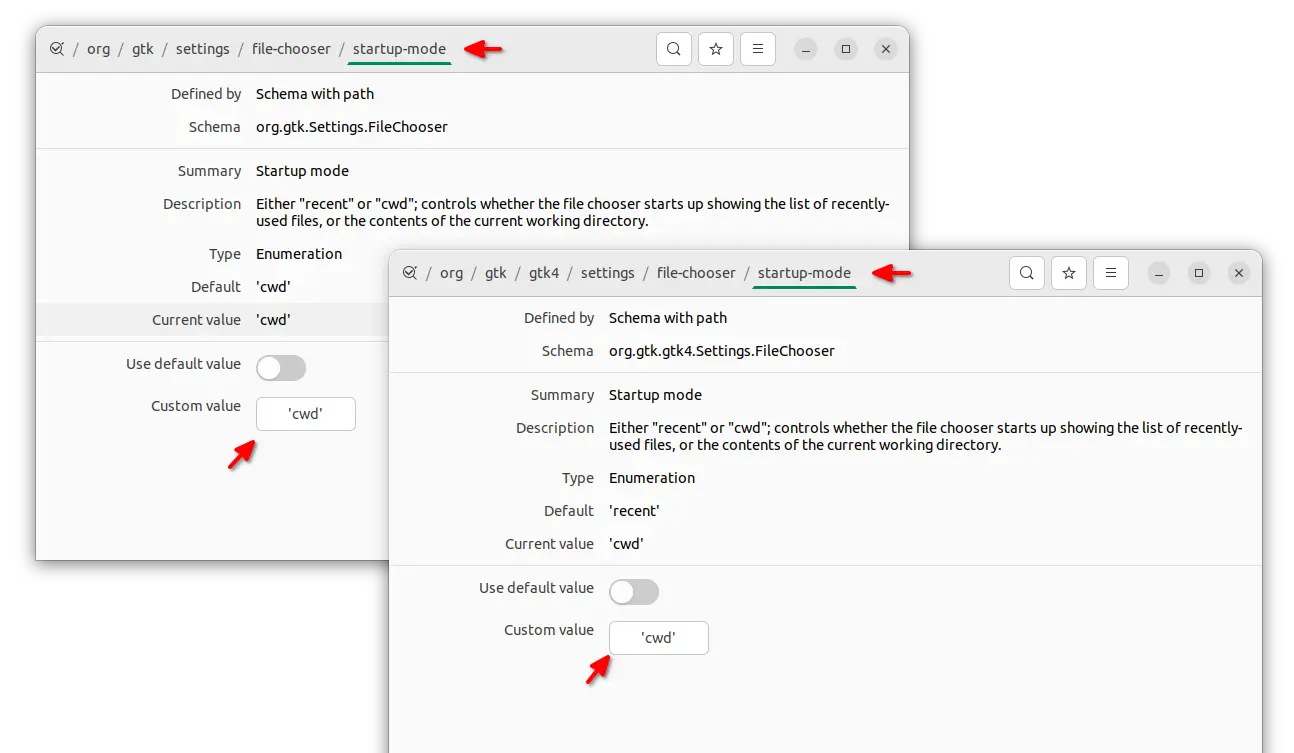
Ubuntu PPA now uses deb822 .sources files instead of the classic .list files in ‘/etc/apt/sources.list.d’. And, it includes the key code directly in the source file instead of saving as a separated file.
The network manager now uses Netplan as it’s default settings storage backend. All the config files are located in /etc/netplan now.
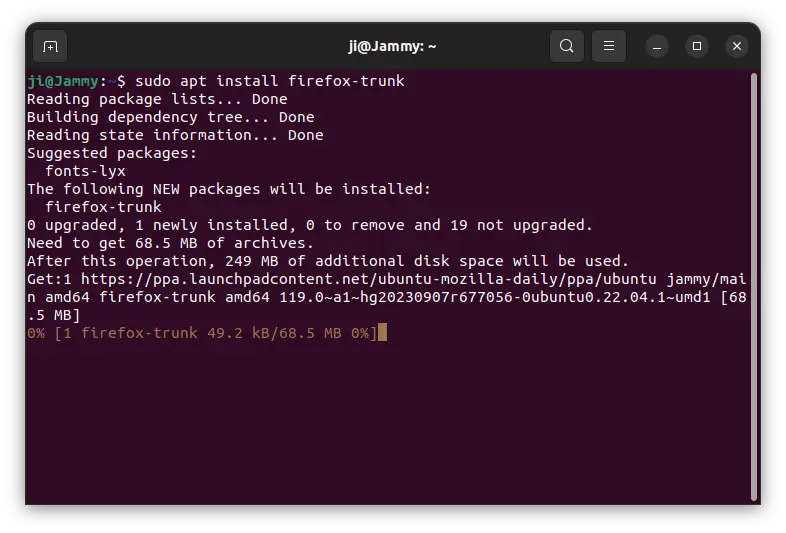
The pre-installed Firefox now uses Wayland by default instead of XWayland, which has better touchpad / touch-screen user experience.
New fonts-ubuntu-classic package for those who prefer system font in Ubuntu earlier than 23.04.
For more about Ubuntu 23.10, see the official release note, though it’s not finished yet.