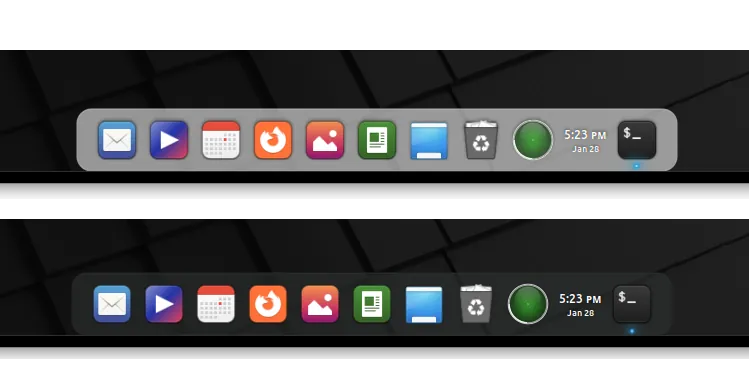
Looking for a digital pet application for your computer? Here’s one that works natively in Linux Desktop.
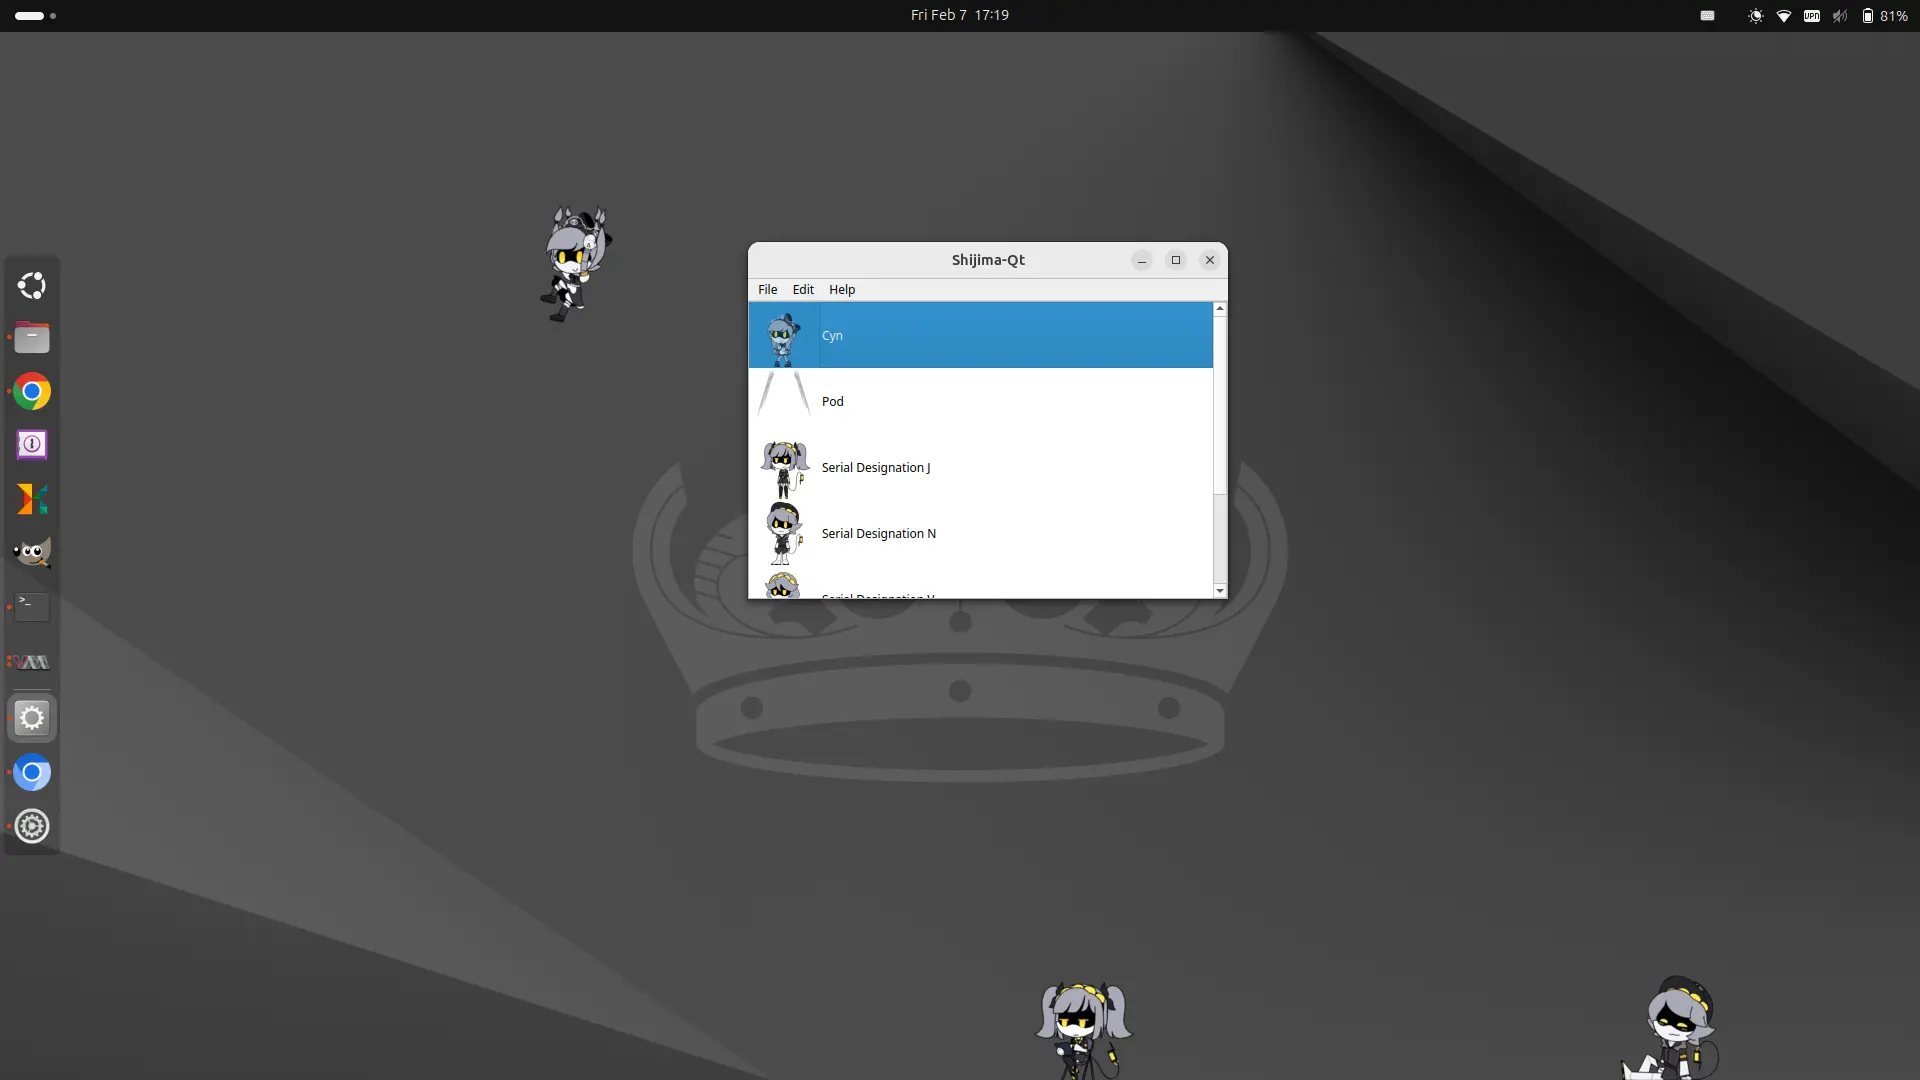
It’s Shijima, a cross-platform shimeji simulation, desktop pets app works on any device, including Windows, Linux, macOS, Android, iOS, and Nintendo Wii.

The is free and open-source (licensed under GPLv3+ since v0.0.3) application. The PC/laptop edition uses Qt6 framework for its user interface. And it works on KDE, GNOME (both X11 and Wayland), and other Linux desktop environments.
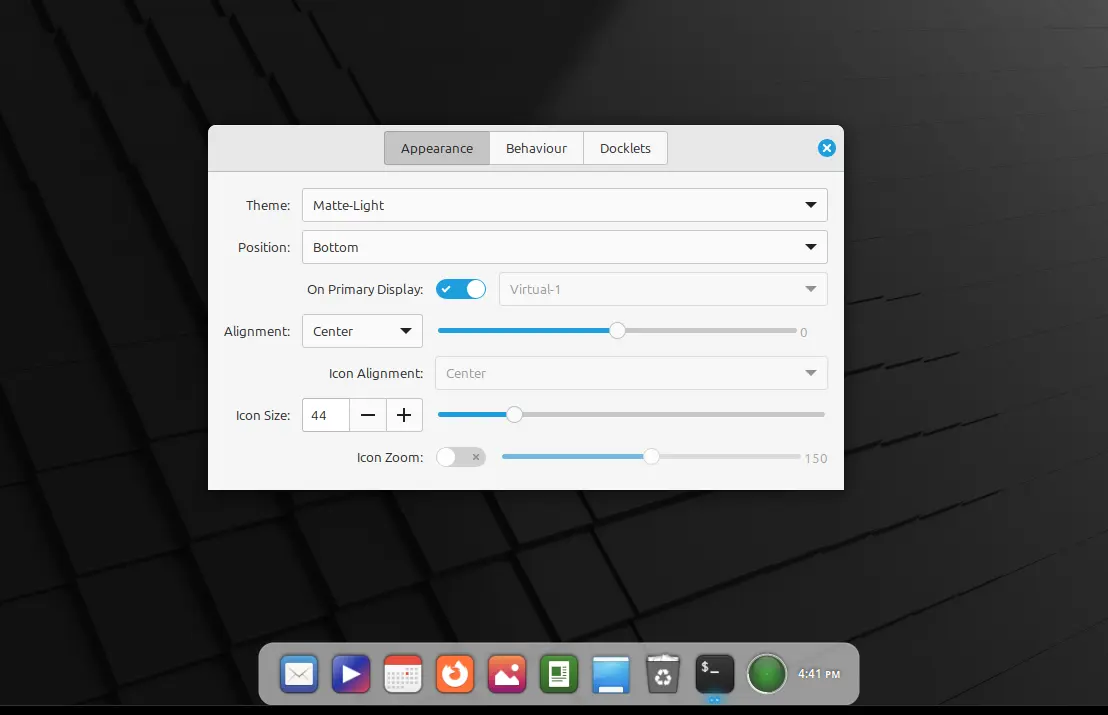
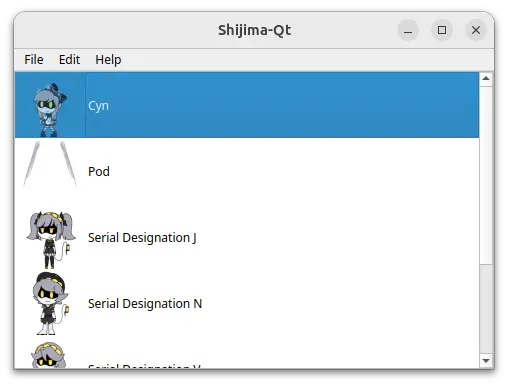
Shijima-Qt provides portable executable file and AppImage for Linux. No installation is required. Just run to launch the app window, then, import shimeji mascots by drag’n’dropping the zip/rar/7z archive into app window. Finally, click to add your pets onto desktop and play with them!
How to Install Shijima-Qt in Ubuntu & other Linux
The app is available to install in Linux through 2 ways: Flatpak and AppImage. Choose either one that you prefer.
Option 1: AppImage
The Shijima-Qt packages for Linux, Windows, and macOS are available to download in Github releases page via link below:
For Linux, select download either the release-linux-x86_64.zip that works on modern Intel/AMD CPUs, or release-linux-arm64.zip for ARM devices (e.g., Raspberry Pi).
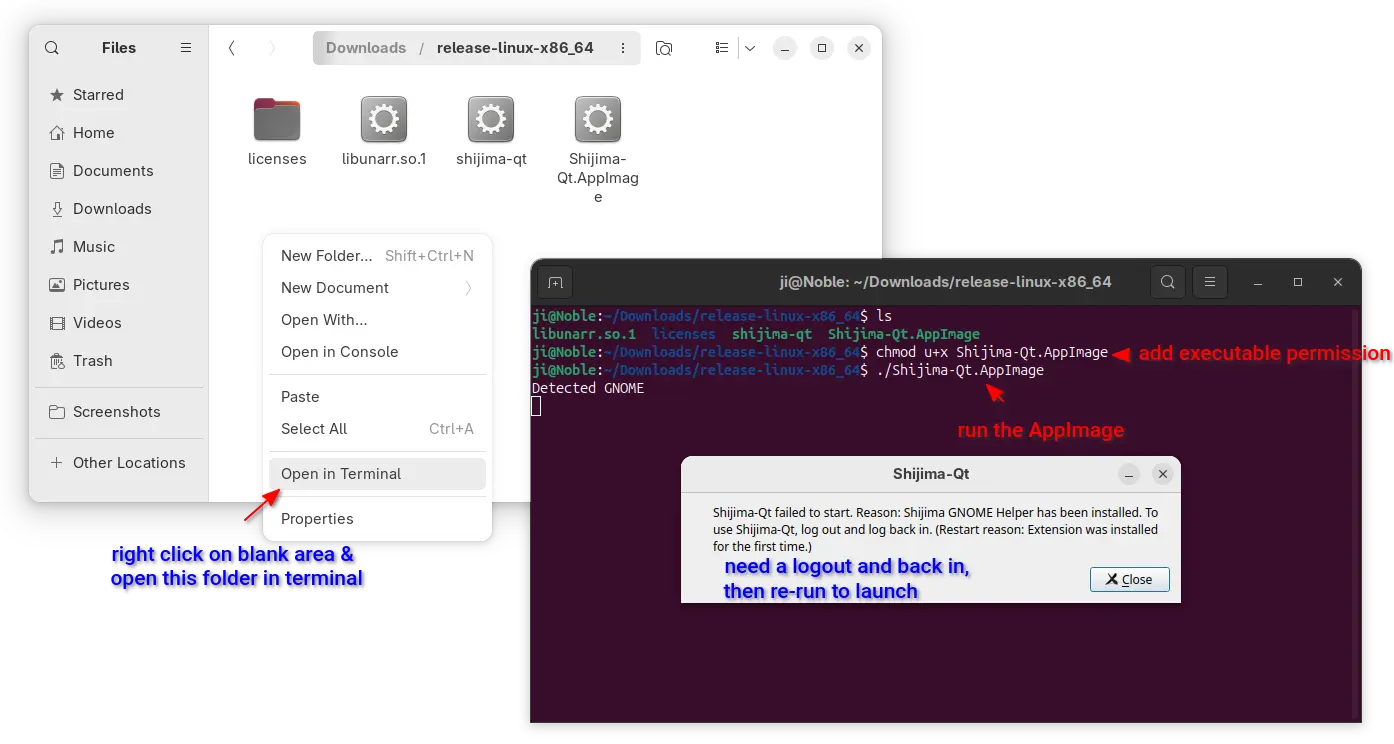
Then, decompress and finally run the “Shijima-Qt.AppImage” from extracted folder to launch the app.
To run it, either right-click and select “Run” (after enabled “Executable as Program” permissionin its Properties dialog), or right-click on blank area in the folder that contains the executable files, select “Open in Terminal” and finally run command below in pop-up terminal window.
./Shijima-Qt.AppImage

NOTE 1: Ubuntu since 22.04 does NOT support AppImage out-of-the-box, run sudo apt install libfuse2 in terminal (Ctrl+Alt+T) first to enable.
NOTE 2: The first time launching the app will ask to log out and back in to apply extension to make it work.
NOTE 3: Since v0.0.2 it has a default mascot. For more, you may to search (e.g., <character name> shimeji) and download from the web. And, here are some Murder Drones shimeji by @PolarSummit on X.
If you don’t like the AppImage, you may run the shijima-qt file in that folder instead to launch the app. It however requires Qt6 >= 6.7 that’s NOT available in Ubuntu repositories until 25.04.
Even in Ubuntu 25.04 (still in development stage), you need to run command to install the required run-time libraries:
sudo apt install libqt6widgets6 libqt6multimedia6 libqt6core6t64
And, finally run command from that folder to launch the executable file:
QT_QPA_PLATFORM=xcb ./shijima-qt
Option 2: Flatpak package
For choice, Shijima-Qt now is available to install as Flatpak package, which runs in sandbox environment.
Linux Mint 21/22 and Fedora Workstation (with 3rd party repository enabled) can directly search for and install the app from either Software Manager or GNOME Software.
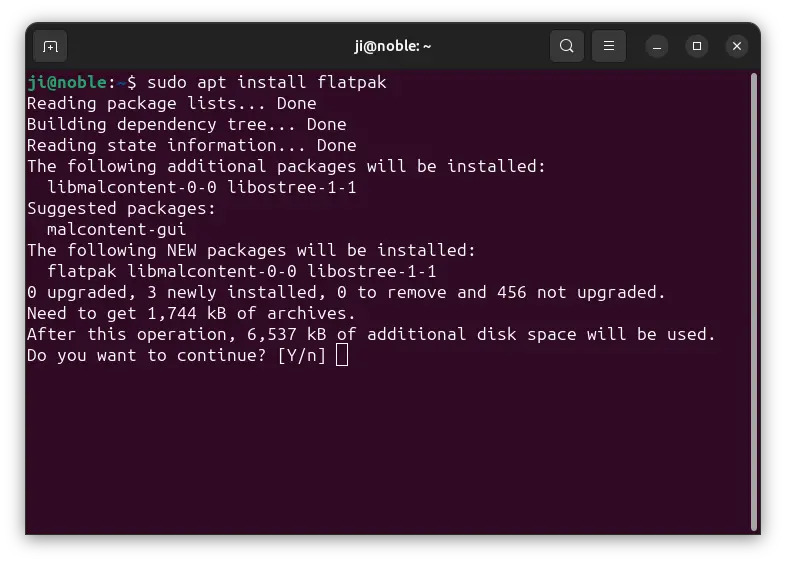
While Debian/Ubuntu users may follow the steps below one by one to install the package:
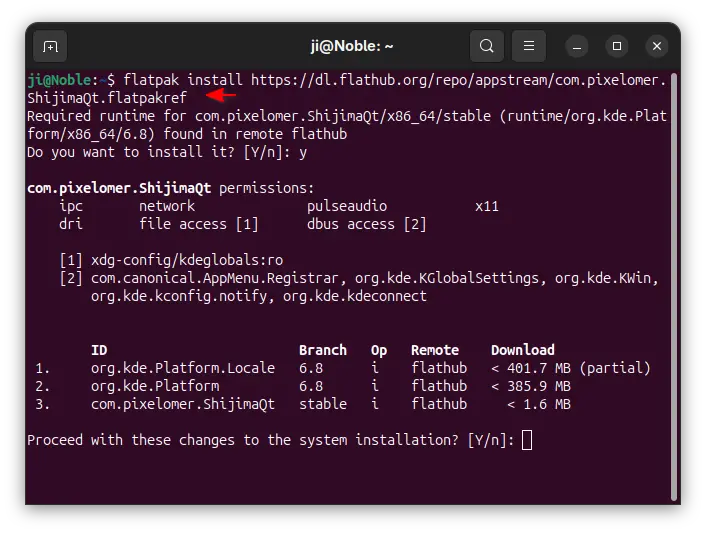
Next, run command to install the Flatpak package:
flatpak install https://dl.flathub.org/repo/appstream/com.pixelomer.ShijimaQt.flatpakref

After install the package, either search for and launch it from start menu or GNOME Overview (log out and back in if app icon is not visible), or run the command below instead to launch from terminal:
flatpak run com.pixelomer.ShijimaQt
Uninstall:
For the AppImage, just delete the file/folder to get rid of it from your system.
To uninstall the Flatpak package, open terminal (Ctrl+Alt+T) and run command:
flatpak uninstall com.pixelomer.ShijimaQt
Also run flatpak uninstall --unused to clear useless runtime libraries.