![]()
This simple tutorial shows how to easily create encrypted vaults in which you may store files safely in Ubuntu and Debian based systems.
1. Install gocrytfs and cryfs:
In this tutorial, gocrytfs or cryfs will be used as backend. Both use file-based encryption that is implemented as a mountable FUSE filesystem. The encrypted files can be stored in any folder in hard disk, a USB stick or even inside Dropbox folder. And, encrypted files can be synchronized efficiently using standard tools like Dropbox or rsync. Also, the size of the encrypted filesystem is dynamic and only limited by the available disk space.
Gocrytfs is written in Go programming language, it’s fast. CryFS is written in C++. It’s said to be apparently slow and take more disk space than Gocrytfs. You may see here for the comparison. And, install either one or both as you prefer.
Press Ctrl+Alt+T on keyboard to open terminal, and run the command below to install the software:
- Install gocryptfs via command:
sudo apt install gocryptfs
- Install cryfs via command:
sudo apt install cryfs
2. Install Vaults:
Vaults is a graphical tool provides a stupid simple user interface for creating encryption folders. Only downside could be that the app is available to install as Flatpak package. Some users do not like it.
a.) Open terminal (Ctrl+Alt+T) and run command to install flatpak daemon if you don’t have it:
sudo apt install flatpak
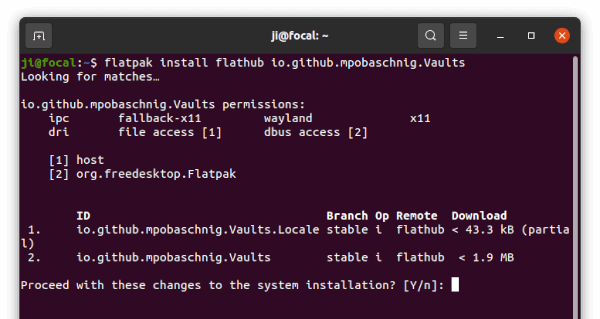
b.) Next, install the Vaults app via command:
flatpak install https://dl.flathub.org/repo/appstream/io.github.mpobaschnig.Vaults.flatpakref
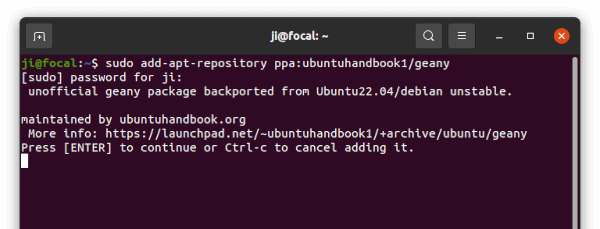
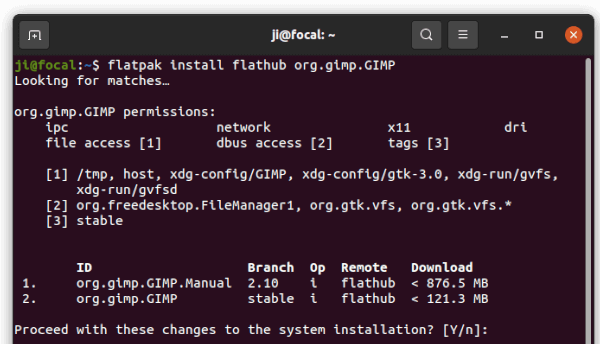
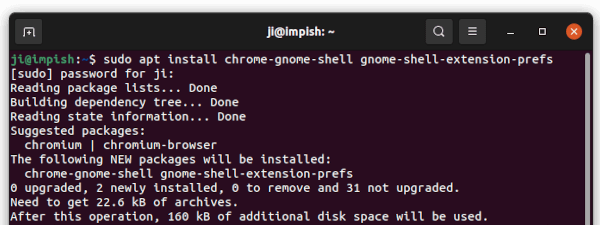
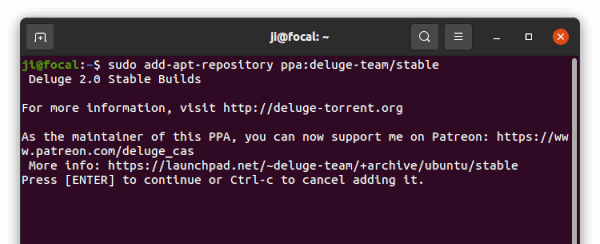
Or use the command in picture after adding the Flathub repository. Vaults is a GTK4 app. It requires separated Gnome 41 platform which takes a few hundred MB disk space if you don’t have it.
3. Create and Use Encrypted Folders:
Now, search for and open ‘Vaults’ from Activities overview screen.
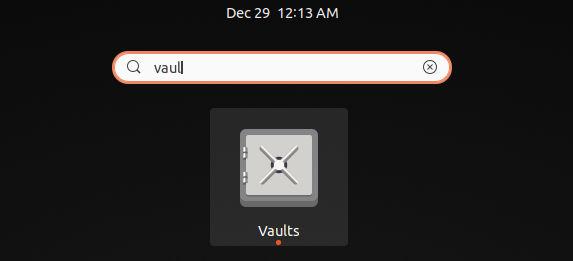
Launch Vaults
When the app opens, click on ‘+‘ icon on top left and select ‘New Vault‘.
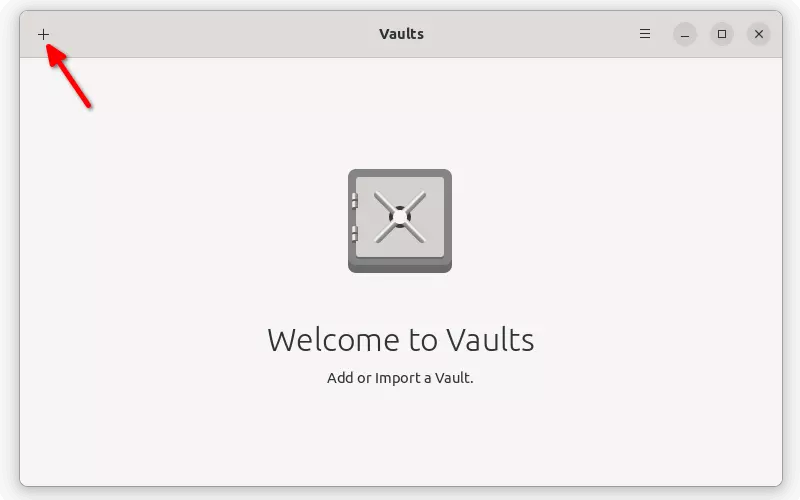
Click ‘+’ to create new encrypted folder
Next, type a name for your new folder and select the encryption software: gocryptfs or cryfs.
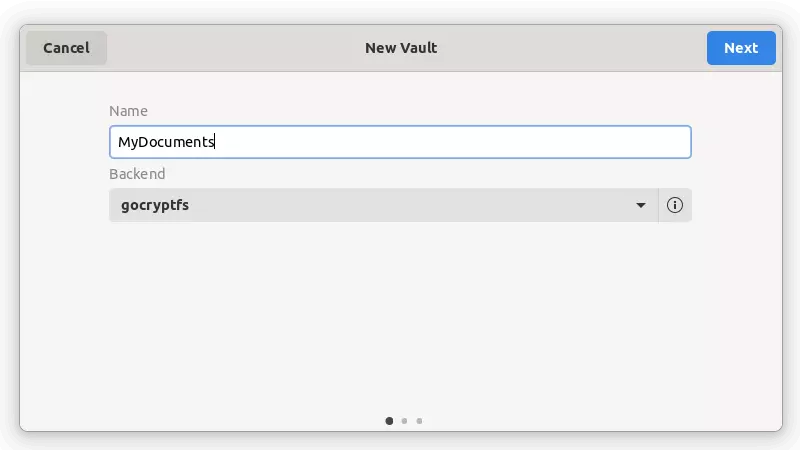
Type a name for your folder
Set password in next page which will be used to mount and access the encrypted folder.
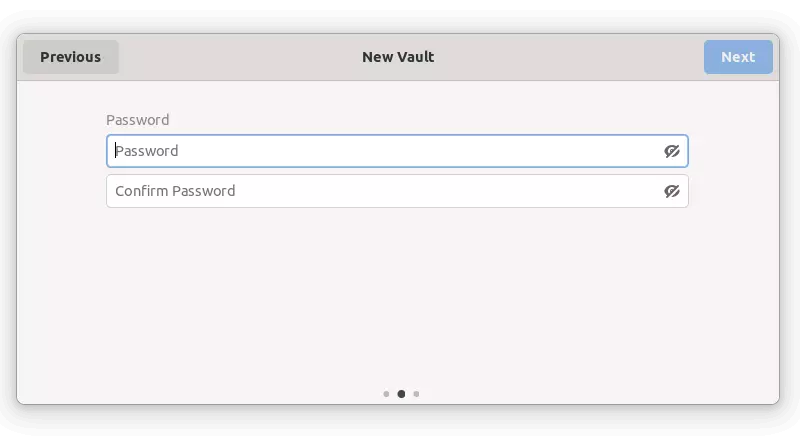
Set password for it
Finally, set the folder location. The default directories are OK. But, as mentioned you may store the data in USB stick or even in Dropbox folder.
- Encrypted Data Directory is the folder that stores your files. Files there are encrypted and un-readable.
- To decrypt and access your files, you have to mount the Data Directory to the “Mounted Directory” folder.
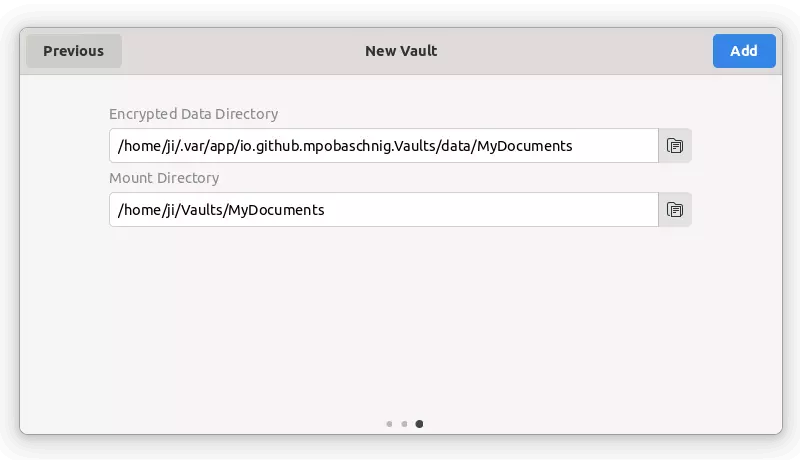
Set data folder and mount folder
The encrypted folders you created will list in the app window. Click the little lock icon and type the password you set will mount it. (Make sure “Mounted Directory” is empty before unlocking)
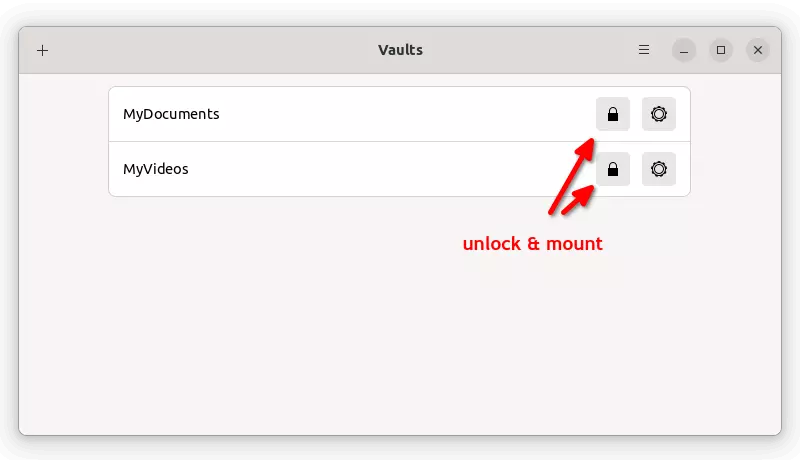
Mount encrypted folders
After that, open the file manager. You’ll see the folders in left pane. Create or paste your files into that folder. These files will be encrypted and inaccessible once you unmount the folder (right-click folder in left pane and select unmount)
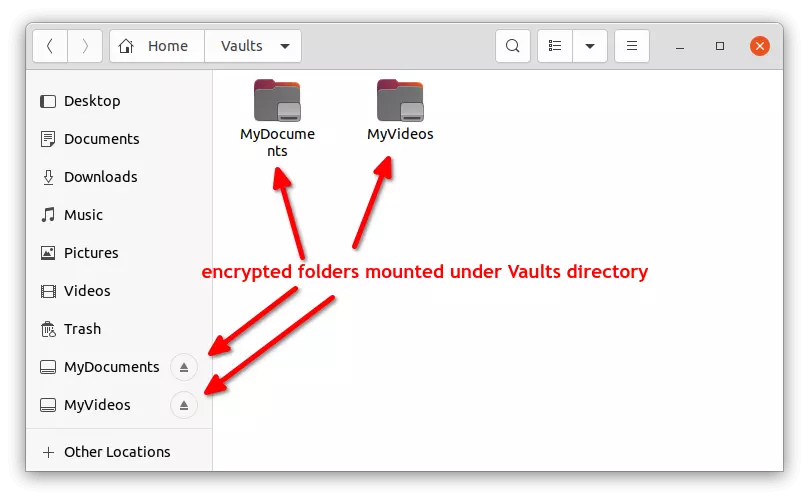
Put your files into mounted folder and store them safely
Uninstall:
To remove the Vaults app, open terminal (Ctrl+Alt+T) and run command:
flatpak uninstall --delete-data io.github.mpobaschnig.Vaults
NOTE: The command will remove all your encrypted files if you’re using the default ‘Encrypted Data Directory’! Please make a backup first.
And remove the useless Flatpak runtime library via flatpak uninstall --unused command.
To remove the encryption backend, use command:
sudo apt remove --autoremove cryfs gocryptfs
And, remove the mount directory ‘Vaults‘ folder in user home after all.