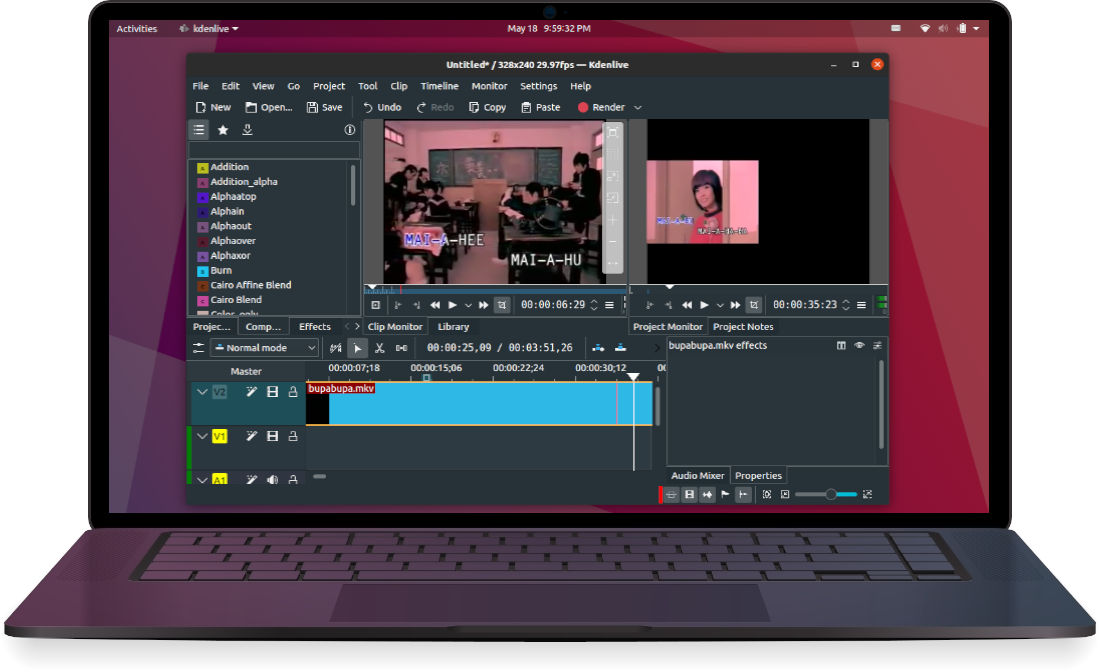
Kdenlive 21.04.1, the first update for the 21.04 release is out. Here’s how to install it in Ubuntu 21.04, Ubuntu 20.10, Ubuntu 20.04 via PPA.
The new release of KDE’s video editor contains mainly bug fixes and improvements. Changelog in the release include:
- Invalidate preview render on subtitle actions.
- Fix timecode validation on settings dialog.
- Fix proxied clip cannot be dragged from monitor to timeline.
- Fix incorrect speed cycling with j/l keys.
- Ensure render widget is displayed again after being minimized.
- Fix playback speed not reset on pause.
- Update effect zones on effect deletion.
- Render presets: load default values properly to ui.
- Fix spacer tool not workin on single clips (without groups).
- Improve naming of newely created profile. Commit.
- Archiver: Fix more bugs and crashes. Commit.
- Archiver: Block UI while job is running.
- Archiver: Don’t miss lumas,… on “timline only” mode, prettify code.
- Fix several archiving issues with mlt files.
- Archive LUT files too.
- Appimage: use mlt v6 branch.
Install Kdenlive 21.04.1 in Ubuntu via PPA:
The kdenlive team ppa has made the latest packages for Ubuntu 20.04, Ubuntu 20.10, Ubuntu 21.04, Linux Mint 20.
1.) Add Ubuntu PPA:
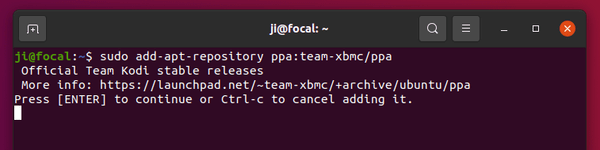
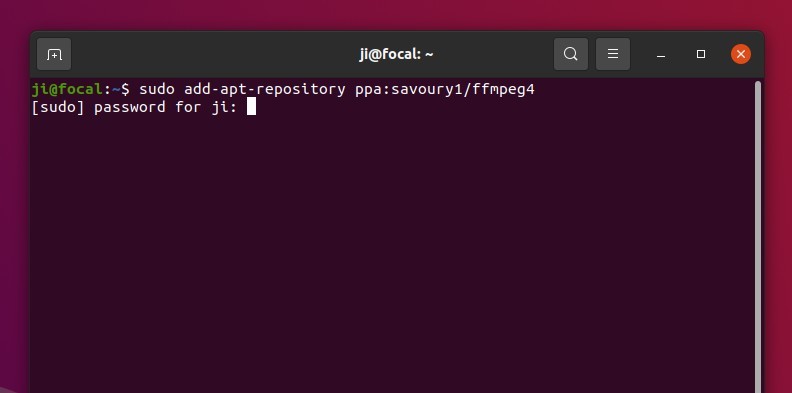
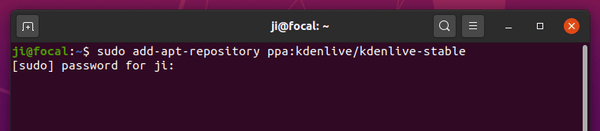
Open ‘terminal’ from your system application menu, then run command to add the PPA:
sudo add-apt-repository ppa:kdenlive/kdenlive-stable
Type your password when it asks (no asterisk feedback) and hit Enter to continue.
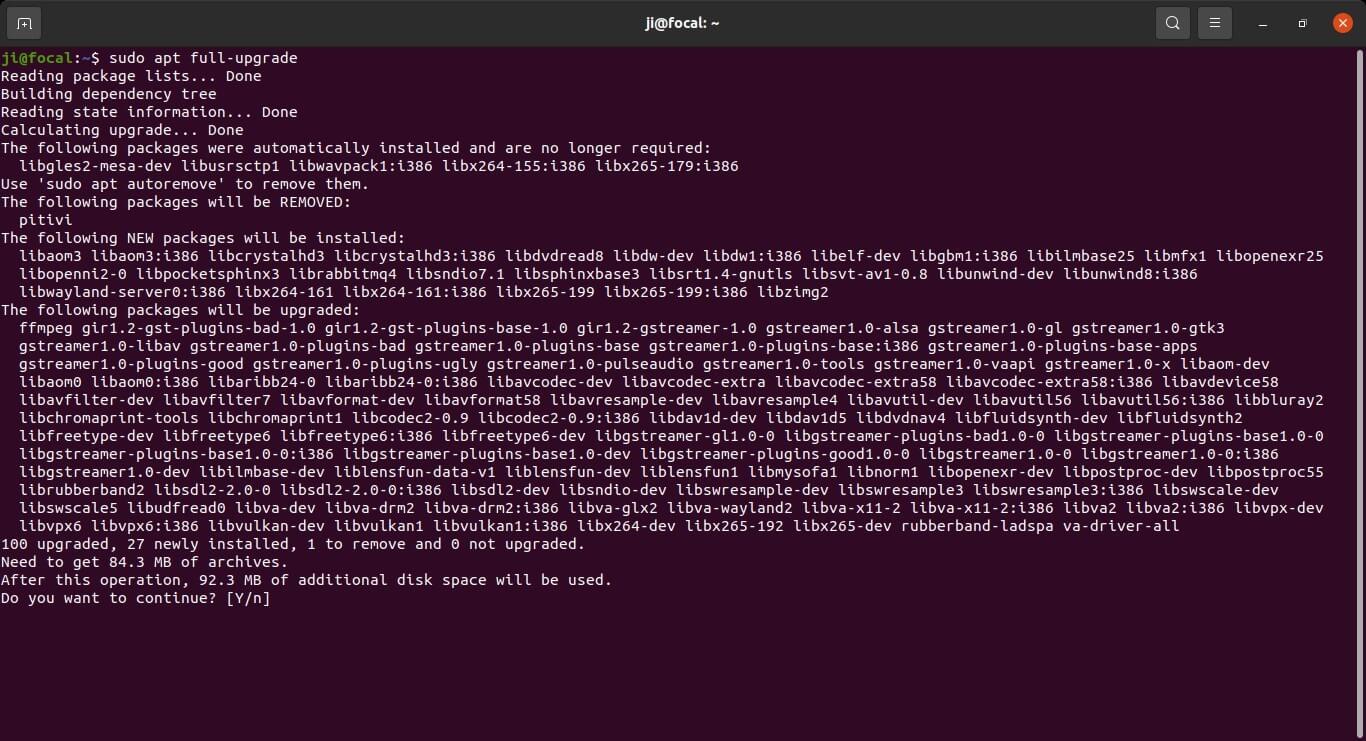
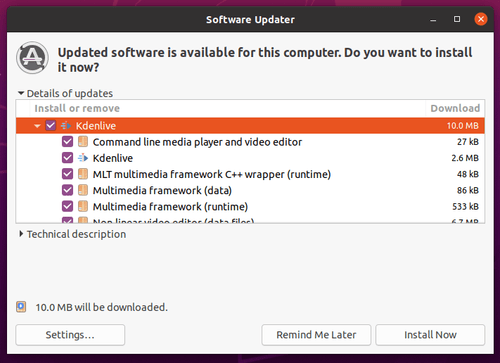
2. ) Install or Upgrade Kdenlive:
If an old version of kdenlive was installed, you can upgrade it via Update Manager:
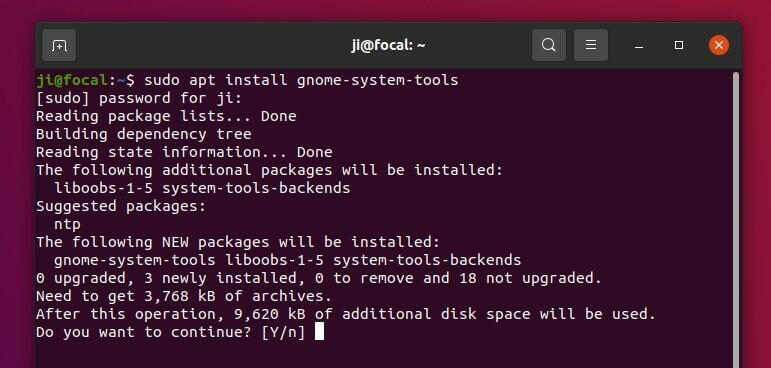
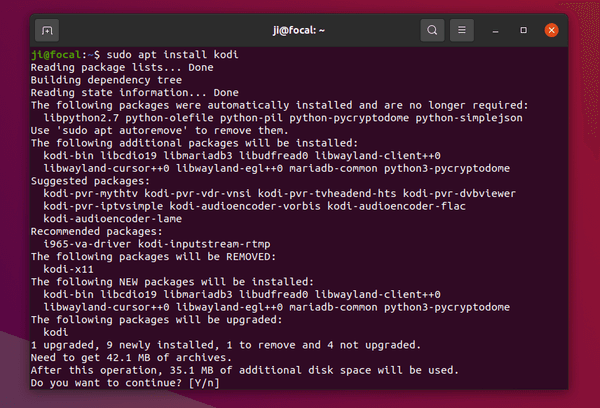
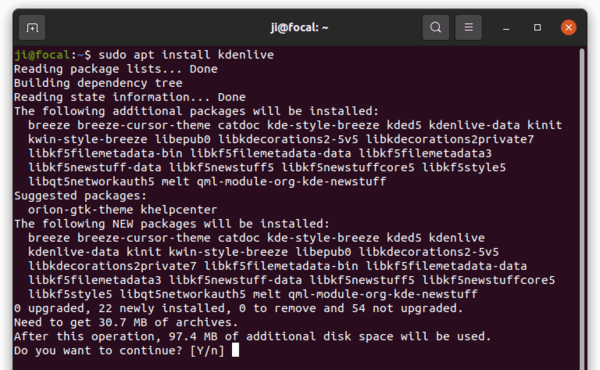
Or simply run command in terminal to install the video editor:
sudo apt install kdenlive
NOTE for non-KDE users, Kdenlive will be installed along with a large list of KDE libraries.
Uninstall:
To purge the PPA as well as downgrade Kdenlive package, run command in terminal:
sudo apt install ppa-purge && sudo ppa-purge ppa:kdenlive/kdenlive-stable
To remove the PPA only, run command:
sudo add-apt-repository --remove ppa:kdenlive/kdenlive-stable
And to remove Kdenlive, run command:
sudo apt remove --autoremove kdenlive kdenlive-data