![]()
Photoflare, simple but powerful image editor inspired by PhotoFiltre, released version 1.6.7 with translation updates and paint tool improvements.
Photoflare is an open-source cross-platform image editor written in C++ with Qt5 framework. It has a PhotoFiltre style user interface, and features basic image editing capabilities, paint brushes, image filters, colour adjustments and more advanced features such as Batch image processing.
The new 1.6.7 was released with new translations: Indonesian and Spanish. And it removed incorrect image extension check, instead it now shows the actual file type in the Image Properties dialog.
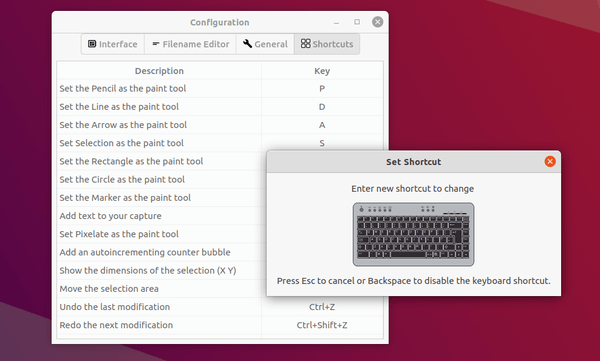
And the new version added offsets to the Paint Bucket tool and the Color picker tool. Previously, they select from the center of the cursor location.
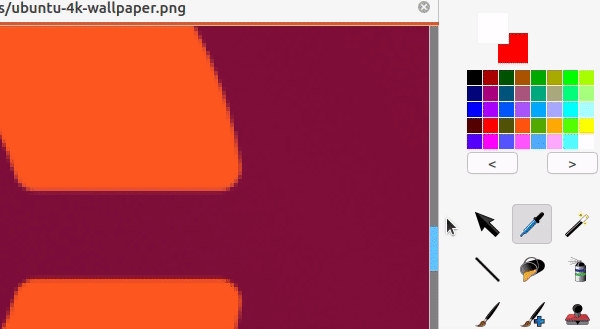
Color Picker Before 1.6.7

Color Picker after
How to Install Photoflare in Ubuntu:
The official Ubuntu PPA has made the latest packages for Ubuntu 20.04, Ubuntu 20.10, and Linux Mint 19.x / 20.
1.) To add the PPA, open terminal from system application launcher and run command:
sudo add-apt-repository ppa:photoflare/photoflare-stable

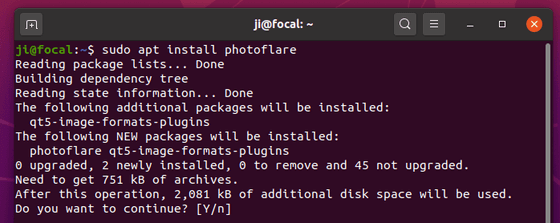
2.) After adding PPA, update system package cache and install the image editor via commands:
sudo apt update

sudo apt install photoflare
Uninstall Photoflare:
To remove Photoflare image editor, either use your system package manager or run command in terminal:
sudo apt remove photoflare
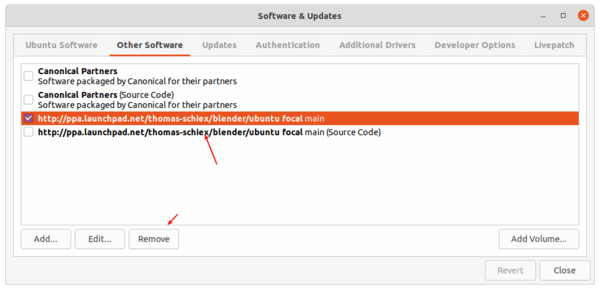
And remove the PPA either via Software & Updates under Other Software tab, or by running command:
sudo add-apt-repository --remove ppa:photoflare/photoflare-stable