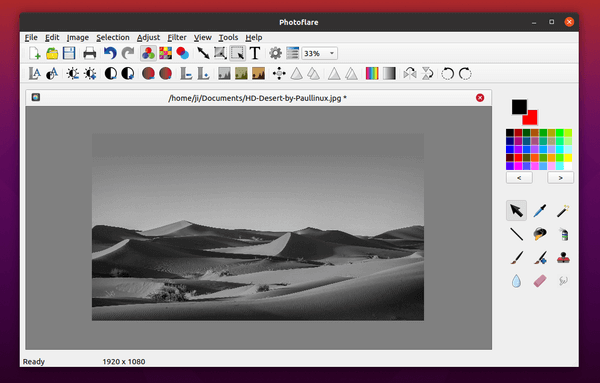
Photoflare is an open-source simple and powerful image editing software inspired by PhotoFiltre.
Photoflare is written in C++ with Qt5 framework. It works on Linux, Windows, and Mac OS, and features basic image editing capabilities, paint brushes, image filters, colour adjustments and more advanced features such as Batch image processing.
Besides the community version, the software also offers studio edition requires to pay for packages.
Features of Photoflare include:
- Simple but powerful, and very fast to do everything.
- Works on Linux, Windows, and Mac OS.
- Basic image editing capabilities
- Paint brushes
- Image filters
- Color adjustments
- And more advanced features such as Batch image processing.
How to Install Photoflare in Ubuntu:
Option 1: Ubuntu PPA
The software has a stable PPA which so far contains the latest packages for Ubuntu 20.04, Ubuntu 22.04, and Ubuntu 23.10.
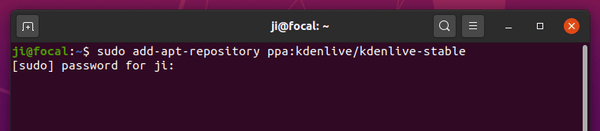
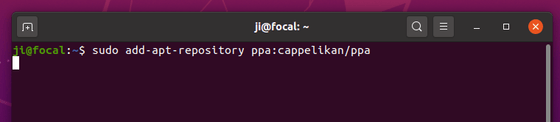
1.) To add the PPA, open terminal either from system application launcher or by pressing Ctrl+Alt+T on keyboard. When it opens, run command:
sudo add-apt-repository ppa:photoflare/photoflare-stable

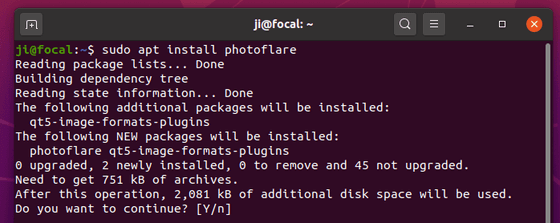
2.) After adding PPA, update system package cache and install the image editor via commands:
sudo apt update

sudo apt install photoflare
Option 2: Flatpak package
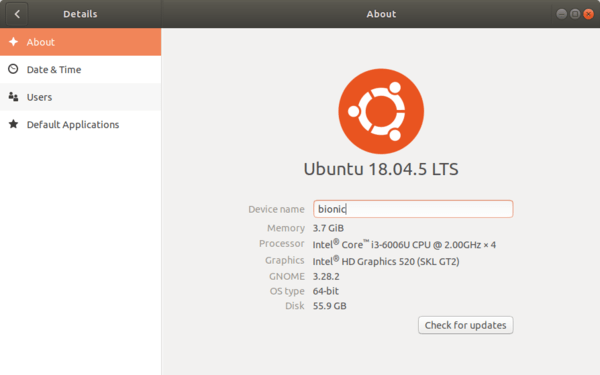
For choice, user can install the software as Flatpak runs in sandbox environment. Meaning even the old Ubuntu 16.04 and Ubuntu 18.04 can install the latest version of this image editing app.
1. (Ubuntu 16.04 and Ubuntu 18.04 only) First, press Ctrl+Alt+T on keyboard to open terminal, run command to add the Flatpak PPA for old Ubuntu that don’t have the package in system repository:
sudo add-apt-repository ppa:flatpak/stable
Type user password when it asks (no asterisk feedback) and hit Enter to continue. Next, run sudo apt update to refresh system package cache.
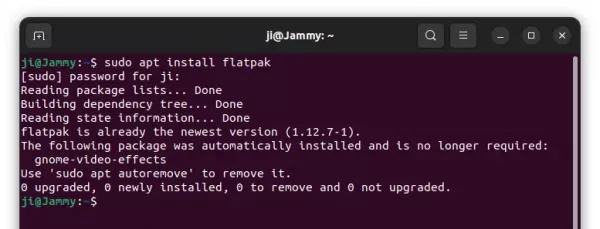
2. Then, run command to enable Flatpak support:
sudo apt install flatpak
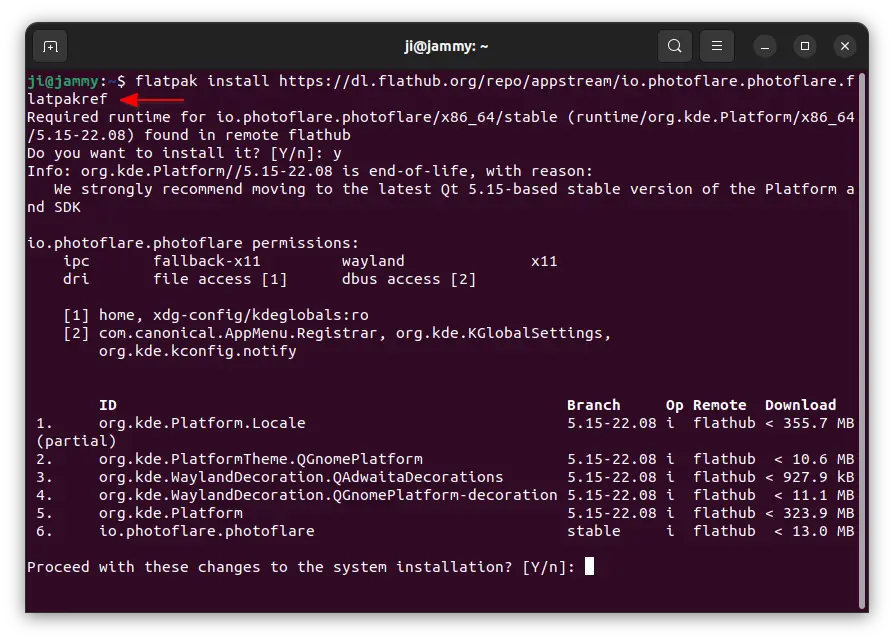
3. Finally, install the app as Flatpak package by running the command below in terminal:
flatpak install https://dl.flathub.org/repo/appstream/io.photoflare.photoflare.flatpakref

Once installed, search for and launch the app either from start menu or ‘Activities’ overview depends on your desktop environment. If app icon not visible, try log out and back in to apply path environment changes.
And for future versions, use the command to check updates:
flatpak update io.photoflare.photoflare
Uninstall Photoflare:
To remove Photoflare image editor, either use your system package manager or run command in terminal:
sudo apt remove photoflare
And remove the PPA either via Software & Updates under Other Software tab, or by running command:
sudo add-apt-repository --remove ppa:photoflare/photoflare-stable
To uninstall the Flatpak package, use command:
flatpak uninstall --delete-data io.photoflare.photoflare
Also run flatpak uninstall --unused to remove useless run-time libraries.