![]()
This simple tutorial shows how to remove the left panel (dock launcher) in Ubuntu 20.04 Gnome desktop.
The left panel in Ubuntu 20.04 Gnome desktop is called Ubuntu Dock, a fork of Dash-to-dock extension. Via System Settings, you can change its position (left, right, bottom), icon size, and toggle auto-hide function.
With dconf editor, you can do more settings, e.g., shorten the panel so it looks like Mac OS style dock launcher, show trash icon, and move “Show Applications” to top (or left).
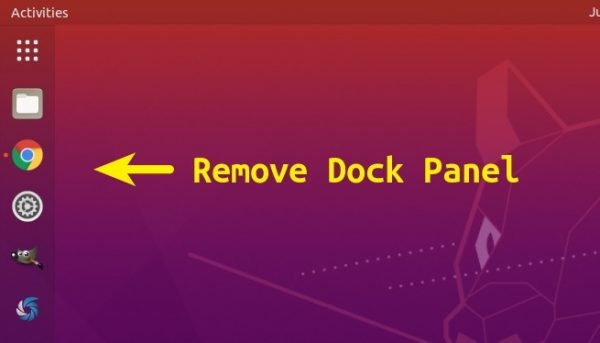
If you intend to remove this dock launcher in Ubuntu 20.04 LTS, it can be done easily by doing following steps.
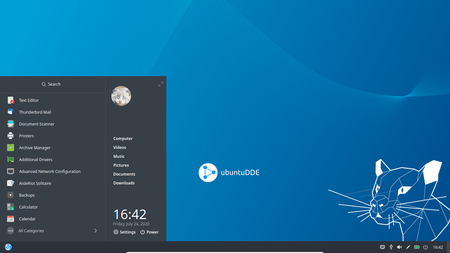
1. Search for and open Extensions utility from system application launcher.

2. When the tool opens, scroll download and toggle off “Ubuntu Dock” extension.
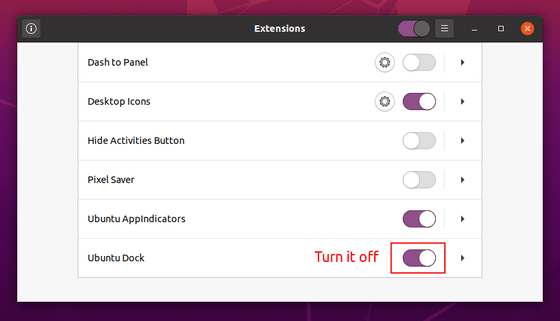
That’s it!
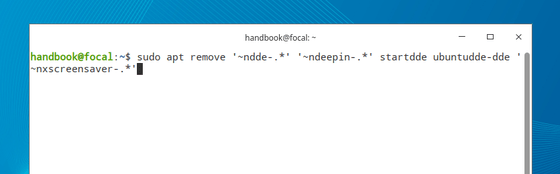
Note: if you don’t see Extensions in ‘Show Applications’ app launcher, either search for and install Extensions in Ubuntu Software, or run command in terminal:
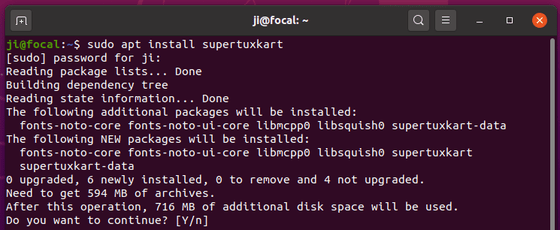
sudo apt install gnome-shell-extension-prefs