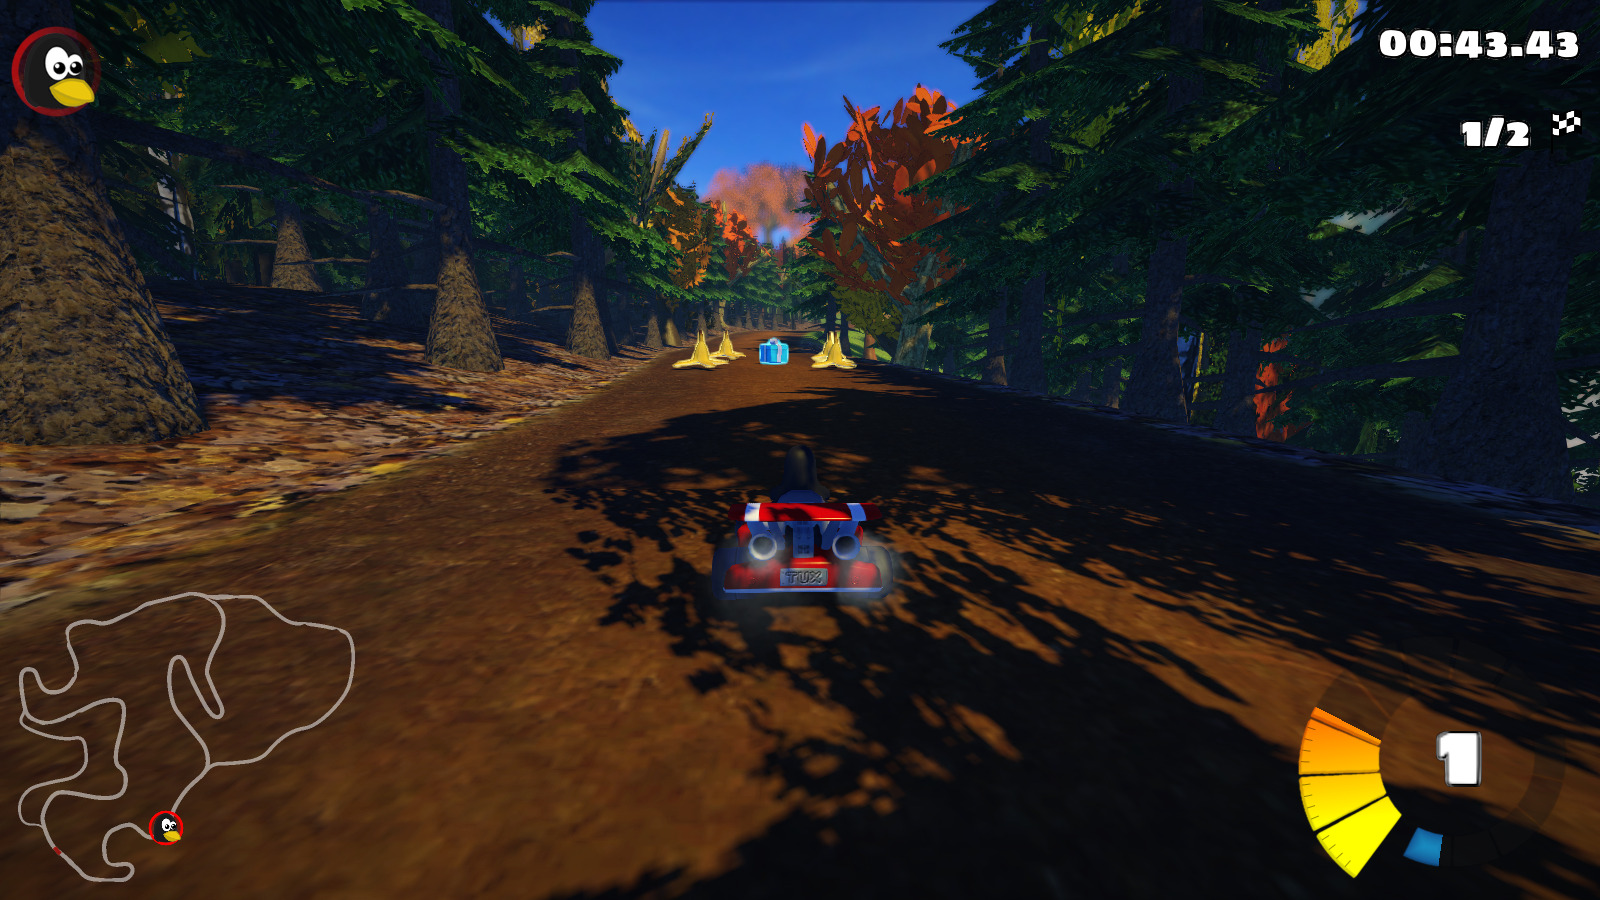
The first release candidate of the open-source kart racing game, SuperTuxKart 0.10 RC1, was released today.
Since the last beta, SuperTuxKart rc1 features:
- Networked multiplayer (over LAN or the net) is now ready for general use
- Replace the old mansion track with the new upgraded Ravenbridge Mansion track.
- Add the Black forest add-on to the official STK track set!
- Also numerous bugs have been fixed.
How to Install SuperTuxKart 0.10 in Ubuntu:
The followings steps will install the RC1 release at the moment for Ubuntu 16.04, Ubuntu 18.04, Ubuntu 18.10, Ubuntu 19.04.
This also works for the final SuperTuxKart 0.10 once it’s released.
1. Open terminal either via Ctrl+Alt+T keyboard shortcuts, or by searching for ‘terminal’ from app launcher. When it opens, run command:
sudo add-apt-repository ppa:stk/dev
Type user password (no asterisk feedback) when it prompts and hit Enter to continue adding the PPA.

2. For Ubuntu 16.04 and Linux Mint, you need to run command to refreah system package cache:
sudo apt update
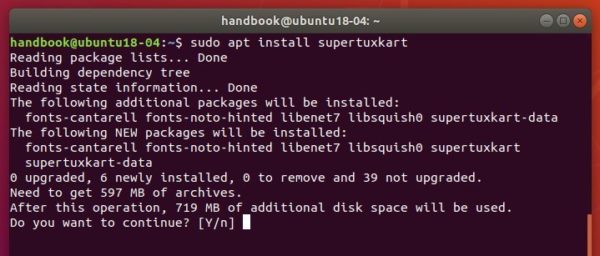
3. Finally install the game via command:
sudo apt install supertuxkart
Once installed, open the game from your system application launcher and enjoy!
Uninstall:
To remove SuperTuxKart, open terminal and run command:
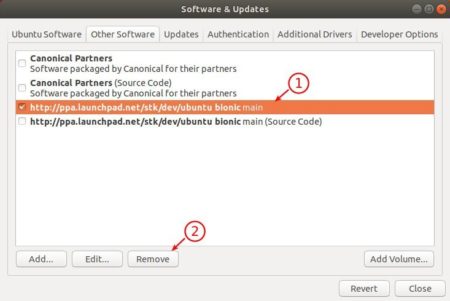
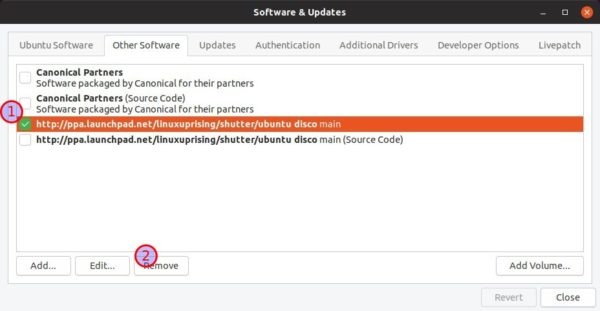
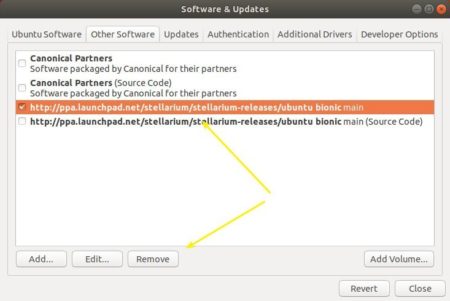
To remove the PPA, open Software & Updates -> Other Software, and remove the repository line: