Supertuxkart, open-source arcade racing game, got a big update by releasing 0.9.3 rc1 yesterday. Here’s how to install it in Ubuntu 14.04, Ubuntu 16.04 via PPA.
Supertuxkart 0.9.3, code name ‘Halloween Update’, includes following changes:
- Android support! Get it from Google Play store, or download apk from its website.
- Completely redesigned the old Mansion and made two brand new arenas
- New tracks: Candela City, Las Dunas Stadium, Cornfield Crossing
- Karts now have headlights that are automatically turned on during night time.
- Built-in screen recorder.
- HSV colorization for some scenery
- various other bug-fixes and performance improvements.
- See the release note for more details.
How to Install Supertuxkart 0.9.3 in Ubuntu:
There’s a stable PPA contains the new 0.9.3 release for Ubuntu 14.04, Ubuntu 16.04, and next Ubuntu 18.04.
1. Open terminal via Ctrl+Alt+T or by searching it from app launcher. When it opens, run command to add the PPA:
sudo add-apt-repository ppa:stk/dev
Input your password (no visual feedback while typing) when it prompts and hit Enter.
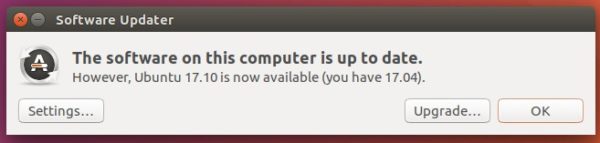
2. If you have a previous release installed, just upgrade it via Software Updater.
Or run commands in terminal to install or upgrade to Supertuxkart 0.9.3:
sudo apt-get update

sudo apt-get install supertuxkart
While the PPA does not support Ubuntu 17.10 so far, you may download the linux tarball, extract, and directly run the executable file (“run_game.sh”) to launch the game.
Uninstall:
You can launch Software & Updates utility and navigate to ‘Other Software’ tab to disable or remove the PPA.
To remove the game, either use your system package manager or run command:
sudo apt-get remove --autoremove supertuxkart