![]()
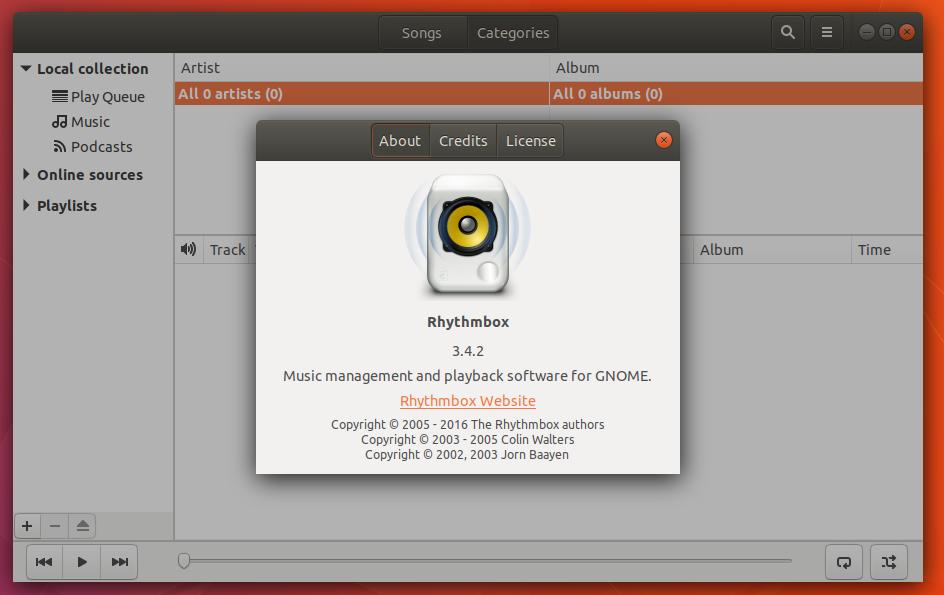
Rhythmbox, Ubuntu’s default music playing application, got a new release update after a year of development.
Besides removing visualization plugin, Rhythmbox 3.4.2 features responsiveness improvements during media player sync, better network buffering when crossfading is enabled, and various bug-fixes (or feature request) including:
- Critical Assertion Errors
- Add
--versioncommand option. - Rhythmbox crashed with SIGSEGV during import
- Expand playing icon column in entry view
- Import hangs for special file
- Playqueue UI improvements
- Memory leak in error handling of utimes on podcast-timestamp
- Open settings crashes the app
- build failure with gcc 7.1.1
- Keyboard navigation with tab is broken by search entry widget
How to Install Rhythmbox 3.4.2 in Ubuntu:
The project leader for Ubuntu Budgie, fossfreedom, was maintaining PPA with Rhythmbox package and its plugins, though they are not updated for a period of time.
So I uploaded Rhythmbox 3.4.2 into the PPA, available for Ubuntu 16.04, Ubuntu 17.04, and Ubuntu 17.10.
1. Open terminal via Ctrl+Alt+T and run command to add the PPA:
sudo add-apt-repository ppa:ubuntuhandbook1/apps
Input your password (no visual feedback while typing) when it prompts and hit Enter.

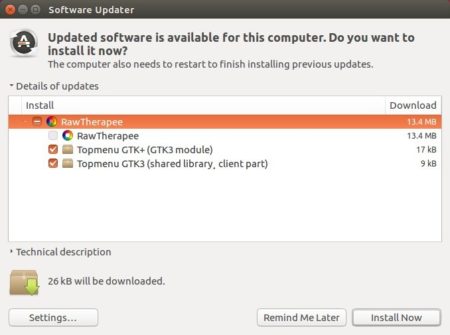
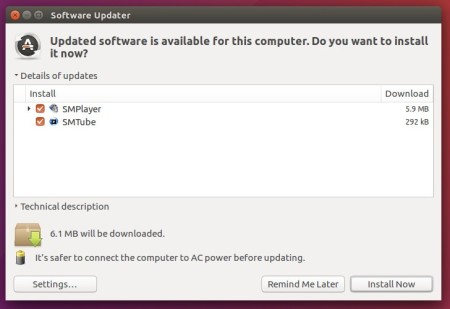
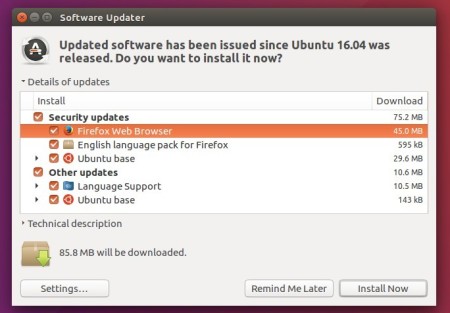
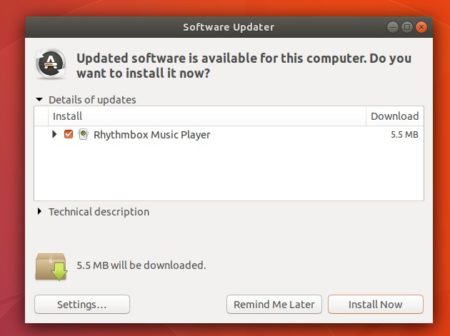
2. Then upgrade the music playing application via Software Updater:
or upgrade your system via command:
sudo apt-get update && sudo apt-get upgrade
How to remove:
To revert back to stock version of Rhythmbox in your Ubuntu, purge the PPA as well as downgrade the player via command:
sudo apt-get install ppa-purge && sudo ppa-purge ppa:ubuntuhandbook1/apps
If it’s working good, you may still remove the PPA repository via Software & Updates utility under Other Software tab.