


![]()
The latest GScan2PDF has recently reached 1.7.3 release. Here’s how to install it in all current Ubuntu releases including Ubuntu 12.04, Ubuntu 14.04, Ubuntu 16.04, and higher.
gscan2pdf is a GUI to ease the process of producing PDFs or DjVus from scanned documents. You scan one or several pages in with File/Scan, and create a PDF of selected pages with File/Save PDF. At maturity, the GUI will have similar features to that of the Windows Imaging program, but with the express objective of writing a PDF, including metadata. Scanning is handled with SANE via scanimage. PDF conversion is done by libtiff. Perl is used for portability and ease of programming, with gtk2-perl for the GUI. This should therefore work more or less out of the box on any system with gtk2-perl, scanimage, and libtiff.
While Ubuntu repositories only provide old versions, you can install the latest GScan2PDF (1.7.3 so far) via the developer’s PPA and keep it up-to-date by receiving updates via Software Updater.

1. To add the PPA, open terminal by pressing Ctrl+Alt+T, when it opens, run command:
sudo add-apt-repository ppa:jeffreyratcliffe/ppa
Type in your password (no visual feedback due to security reason) and hit Enter.

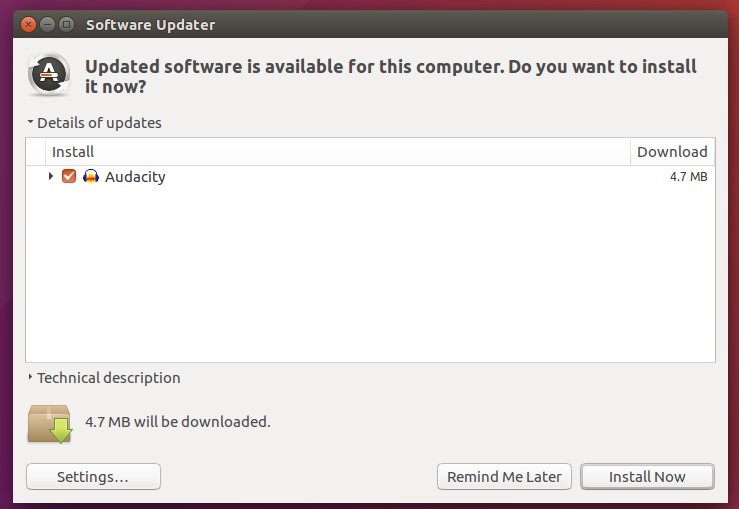
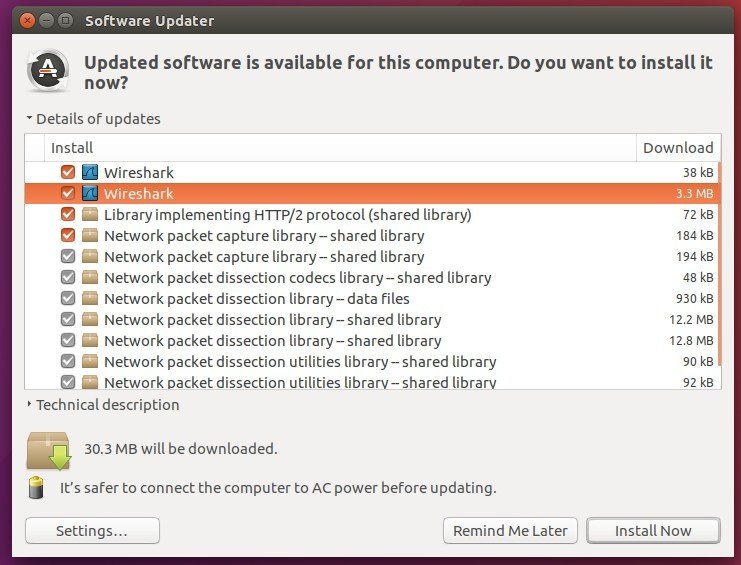
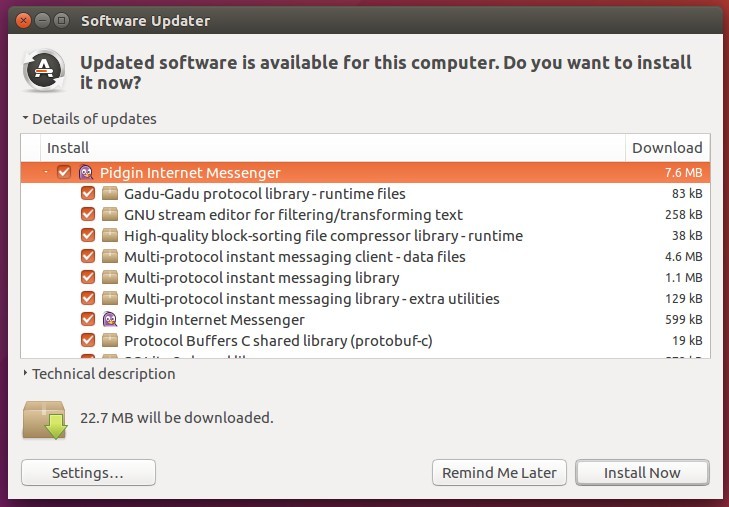
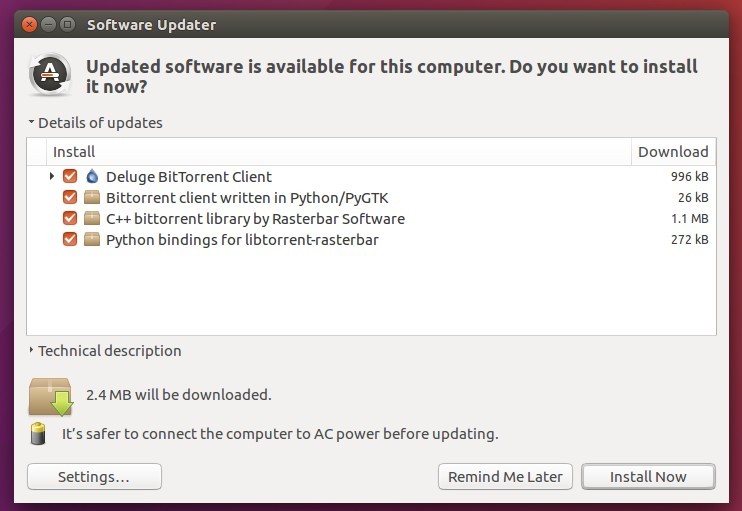
2. Have an old version installed? You can now launch Software Updater (Update Manager) and upgrade the software to the latest:

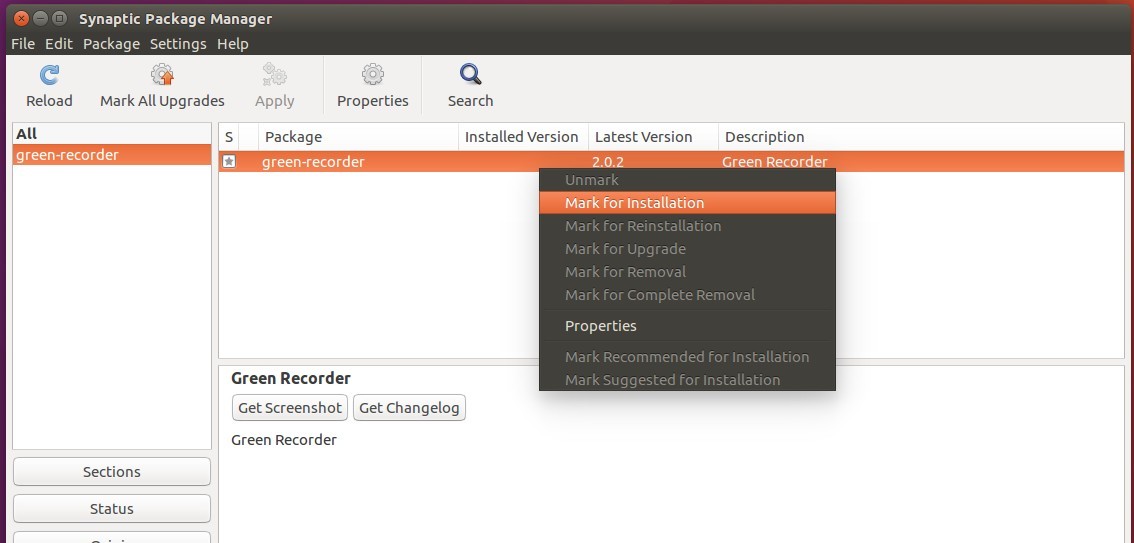
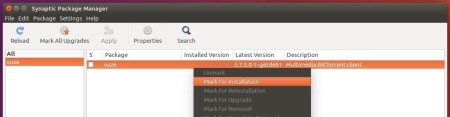
For the first time, you can either install it via Synaptic Package Manager or by running following commands in terminal:
sudo apt-get update

sudo apt-get install gscan2pdf
How to Restore:
For any reason you can easily restore to the stock version of gscan2pdf in your Ubuntu main repository by purging the PPA via command:
sudo apt-get install ppa-purge && sudo ppa-purge ppa:jeffreyratcliffe/ppa


 [/lightbox]

