![]()
The LibreOffice office suite has reached the 5.3 stable series a few days ago. Now it’s available in both Ubuntu PPA and Snappy store.
LibreOffice 5.3 features:
- The MUFFIN interfaces (Microsoft Ribbon UI)
- First source release of LibreOffice Online, that offers basic collaborative editing of documents in a browser
- Faster rendering performance
- Many UI/UX improvements
- New text layout engine
- And much more, see the release note.
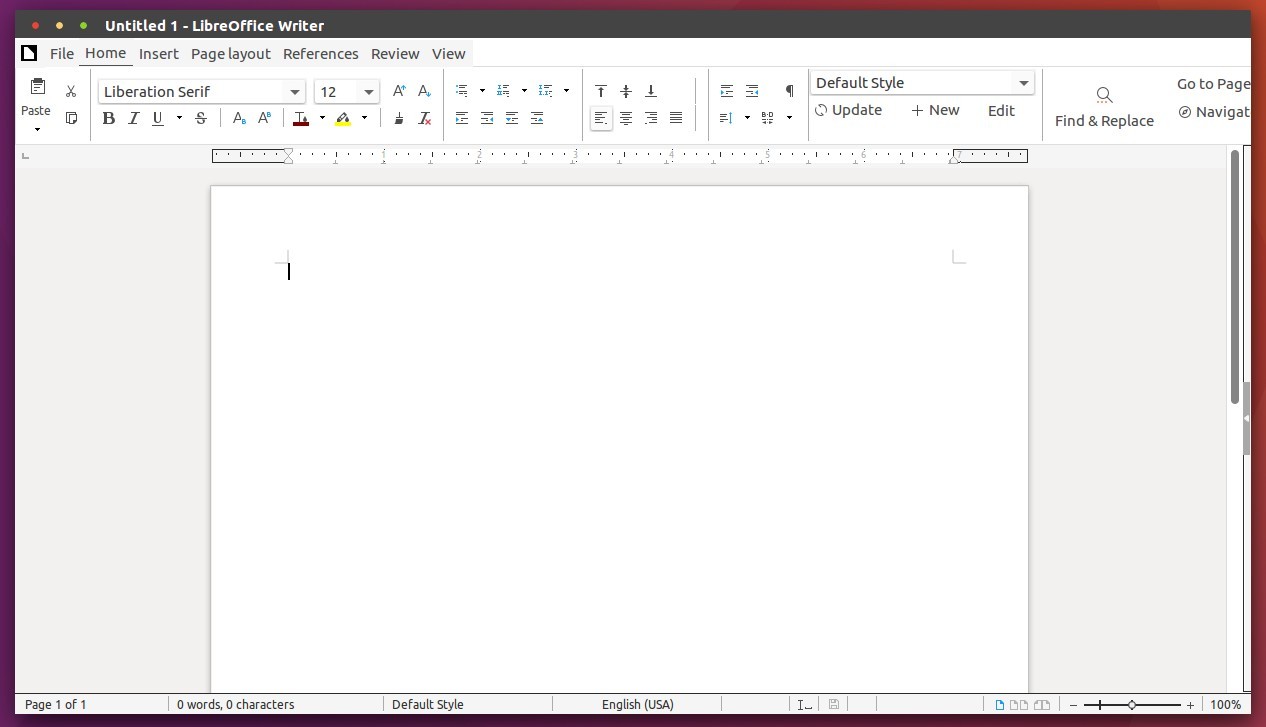
LibreOffice 5.3 ‘Ribbon’ UI
How to Install LibreOffice 5.3 in Ubuntu:
For Ubuntu 16.04 and higher, the latest LibreOffice is now available via snap package, simply run commands below in terminal (Ctrl+Alt+T):
sudo apt install snapd && sudo snap install libreoffice
You can also use Ubuntu Software to install the snap version of LibreOffice (need to install snapd).

To remove the Snap version of LibreOffice, either use Ubuntu Software App, or run command:
sudo snap remove libreoffice
Also, the official PPA is available with traditional packages for Ubuntu 14.04, Ubuntu 16.04, Ubuntu 16.10, Linux Mint 17 & 18:
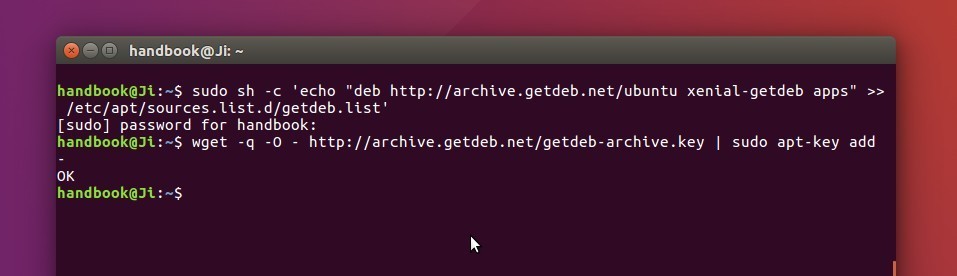
1. To add the PPA, run following command in terminal:
sudo add-apt-repository ppa:libreoffice/ppa

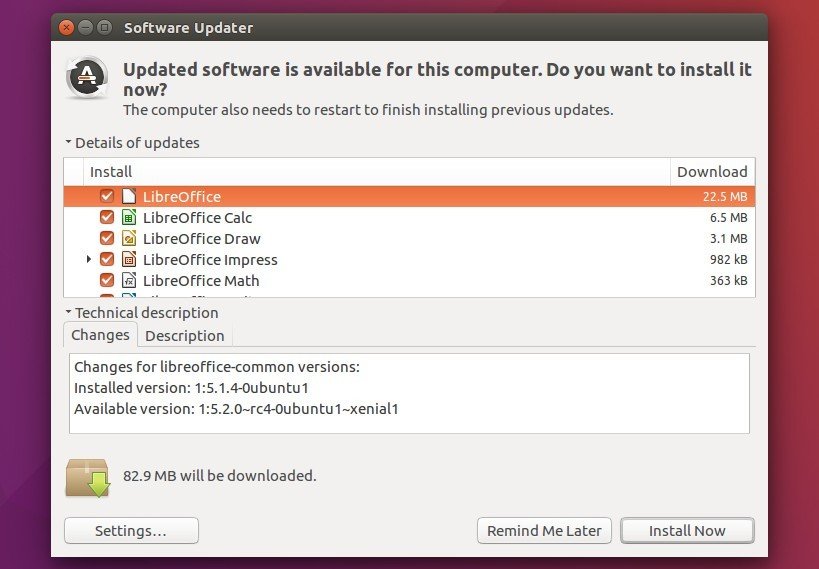
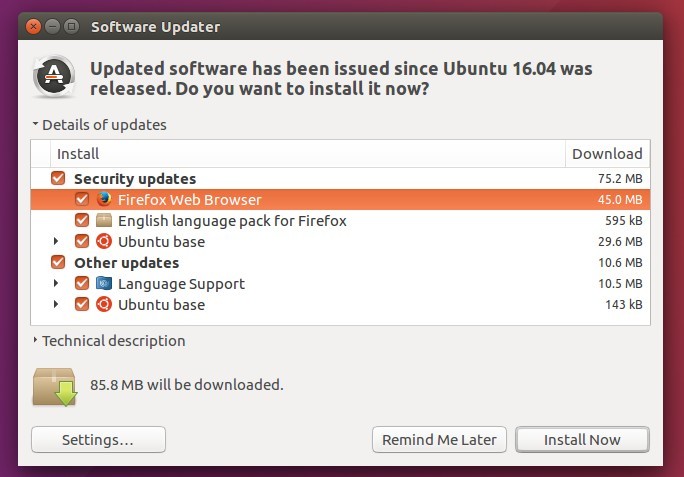
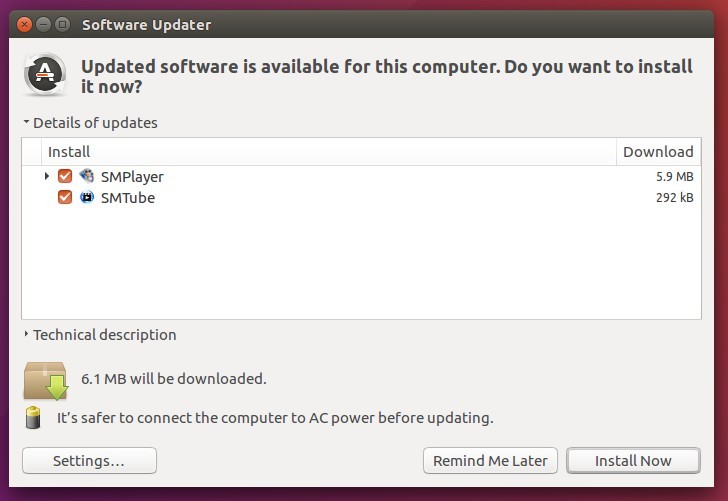
2. Then upgrade LibreOffice using the Software Updater (or Update Manager) utility after checking for updates: