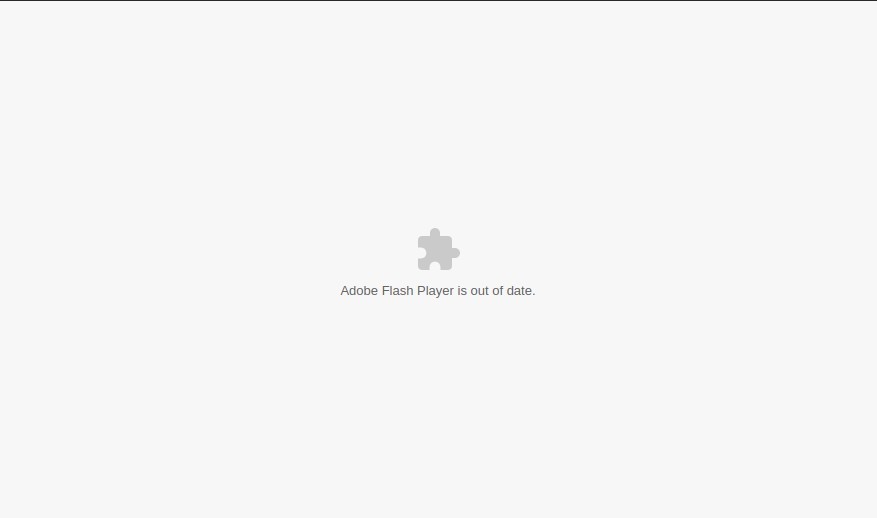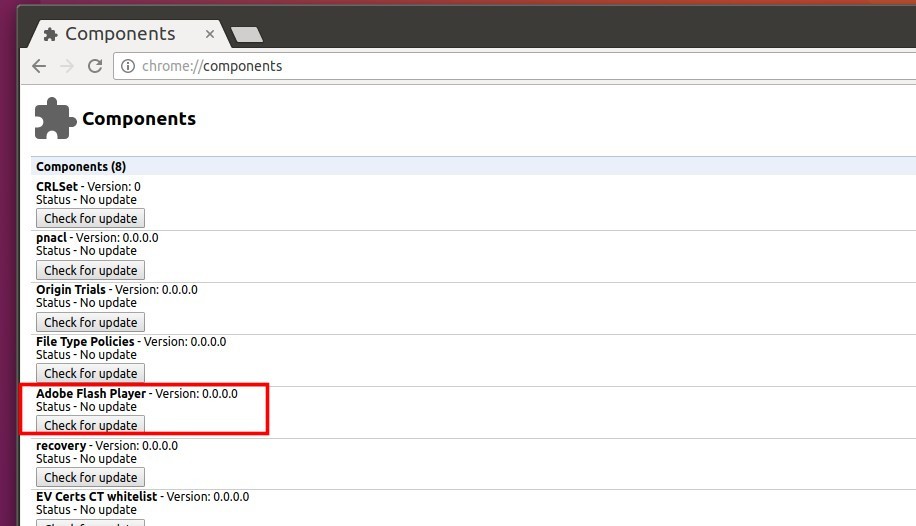
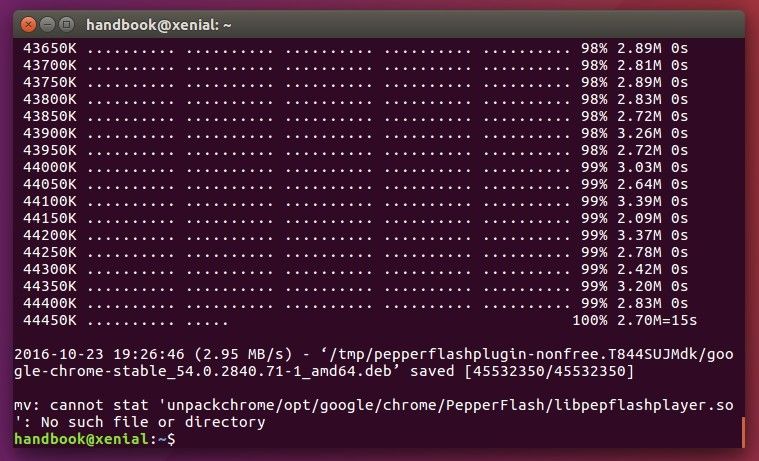
The Pepper Flash Player installer, pepperflashplugin-nonfree package, does not work any more for Chromium based browsers since Google Chrome 54 removed the latest PPAPI bundle.
failed to install PPAPI
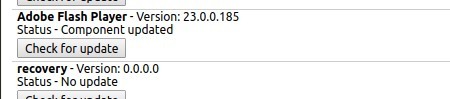
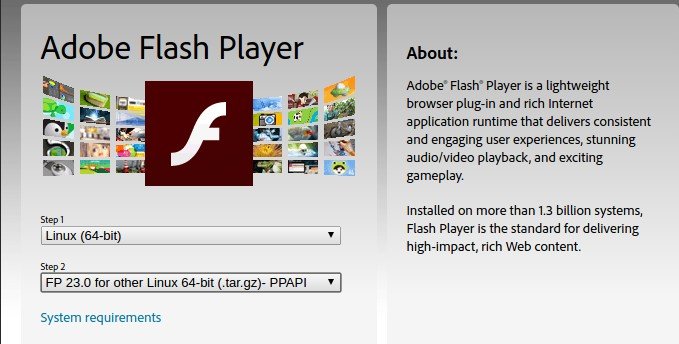
For those who want to install the latest PPAPI Flash Player (so far it’s 23.0.0.185), you can download the source tarball from Adobe website and install it manually.
1. Go to link below:
Check your OS type from System Settings -> Details, then select in download page:
- Linux (64-bit) or Linux (32-bit)
- FP 23.0 PPAPI
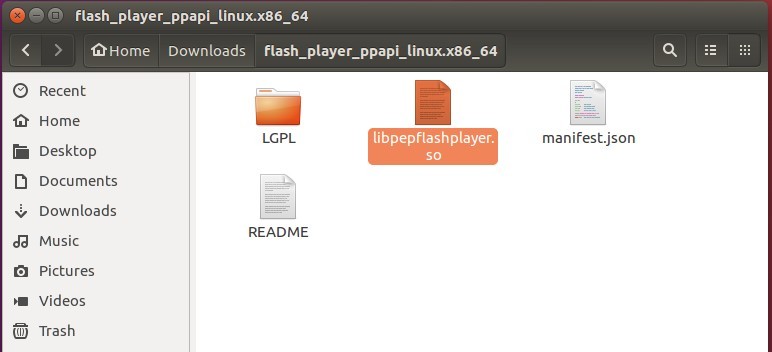
2. Extract the downloaded .tar.gz package, and navigate to the result folder.
3. pepperflashplugin-nonfree is still required to work as a wrapper. Install it if you don’t have it via command (Press Ctrl+Alt+T to open terminal):
sudo apt install pepperflashplugin-nonfree
4. Now move the libpepflashplayer.so file from downloaded folder to /usr/lib/pepperflashplugin-nonfree directory.
You can do this via command:
sudo mv ~/Downloads/flash_player_ppapi_*/* /usr/lib/pepperflashplugin-nonfree/
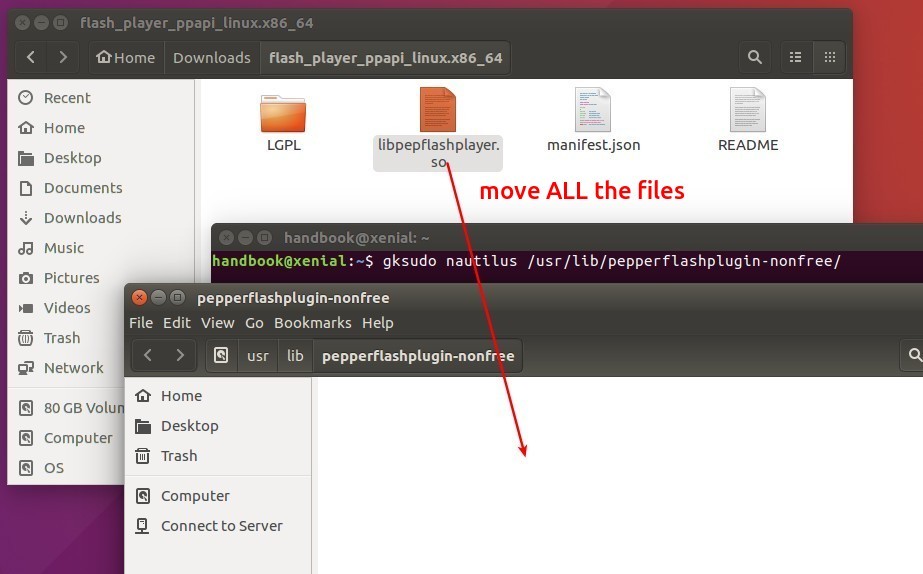
Or open the “/usr/lib/pepperflashplugin-nonfree” directory via root by running command:
gksudo nautilus /usr/lib/pepperflashplugin-nonfree
Then drag and drop ALL THE FILES from Downloads folder to the directory:
Finally restart Chromium, Opera, or other based browsers and flash should work.