![]()
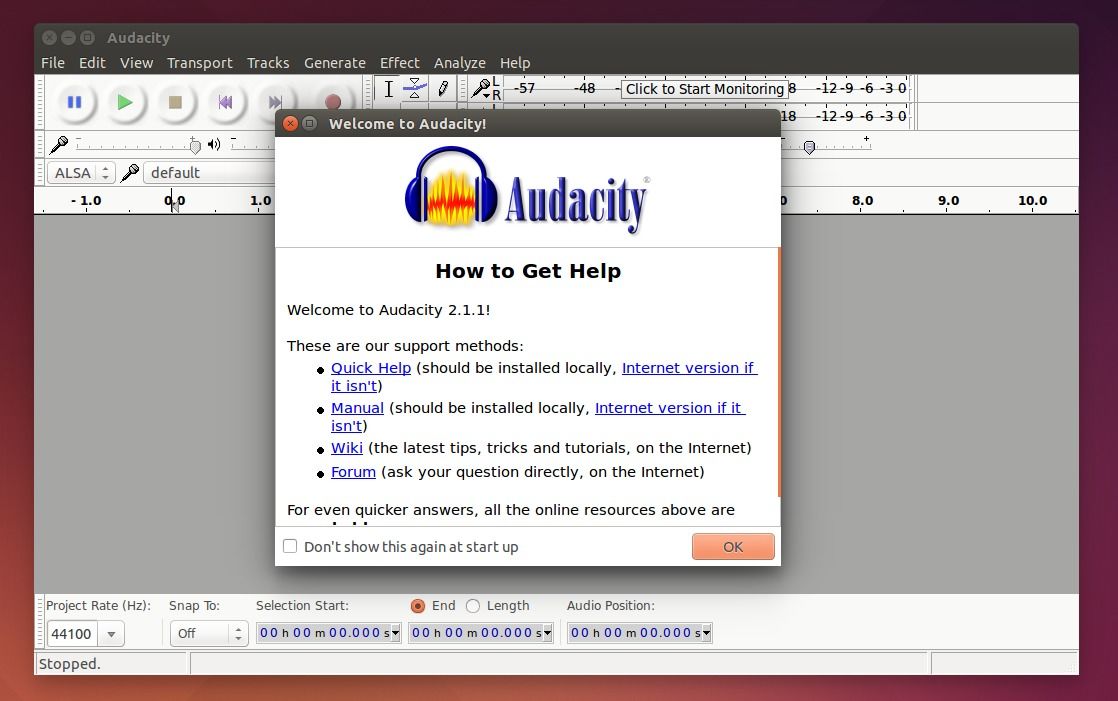
The 2.1.1 release of Audacity audio editor and recorder was released more than a week ago with some new features and fixes. Now it’s ready in PPA for Ubuntu users (unofficial).
Release highlights of Audacity 2.1.1:
- The most visible new feature is scrubbing and seeking, including backwards play. Updates to Quick-Play also help with finding a precise position in the audio.
- You can now install plug-ins without restarting Audacity or add and remove any effect or generator from the menus.
- Over 50 bugs have been addressed with this release. Edits are now processed much faster in longer projects of a few hours duration.
- Effects now have presets. A new Limiter replaces the Hard Limiter effect. There’s a new version of Vocal Removal, a cross-fade effect for combining clips on the same track and ‘classic filters’ available as an opt-in effect.
- There’s also been lots of work behind the scenes, including VI usability enhancements and upgrade to new libraries.
For more, see the wiki page.
How to Install Audacity 2.1.1 in Ubuntu:
The 2.1.1 release is available in PPA for Ubuntu 15.10, Ubuntu 15.04, Ubuntu 14.04 and their derivatives. Due to the old libsuil-0-0 library, Ubuntu 12.04 is excluded but the 2.1.0 release is available.
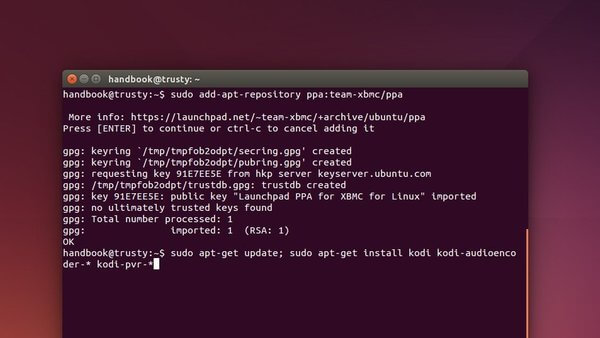
1. To add the PPA repository, open terminal from the Dash, Launcher, or via Ctrl+Alt+T shortcut keys. When it opens, run command:
sudo add-apt-repository ppa:ubuntuhandbook1/audacity

2. After adding the PPA, you can install/upgrade the editor either via below commands:
sudo apt-get update

sudo apt-get install audacity
or by using Software Updater if you’ve a previous release installed:

Hope this helps those who are not good at compiling from source tarball.