![]()
The default file browser in Elementary OS Freya uses single-click to open files and folders, though there’s no option to change this preference.
For those who would like to use double-click to open an item in the file browser, there’s a graphical configuration tool called Elementary Tweaks that may help.
1. Install Elementary Tweaks in Freya
The developer is maintaining a PPA with the latest packages for this tool.
Though the 14.04 build is failed at the moment of writing this tutorial, we can download an earlier version at PPA’s ftp download page:
Download Elementary Tweaks (.DEB)
Depends on your OS type, select download:
- For 64-bit eOS Freya, download:
- elementary-tweaks-dbg_x.x.x~ubuntu14.04.1_amd64.deb
- elementary-tweaks_x.x.x~ubuntu14.04.1_amd64.deb
- For 32-bit eOS Freya, download:
- elementary-tweaks-dbg_x.x.x~ubuntu14.04.1_i386.deb
- elementary-tweaks_x.x.x~ubuntu14.04.1_i386.deb
Then install them one by one, in below order, by opening the .deb package with Software Center:
- elementary-tweaks_x.x.x~ubuntu14.04.1_i386/amd64.deb
- elementary-tweaks-dbg_x.x.x~ubuntu14.04.1_i386/amd64.deb
2. Disable single-click and enable double-click
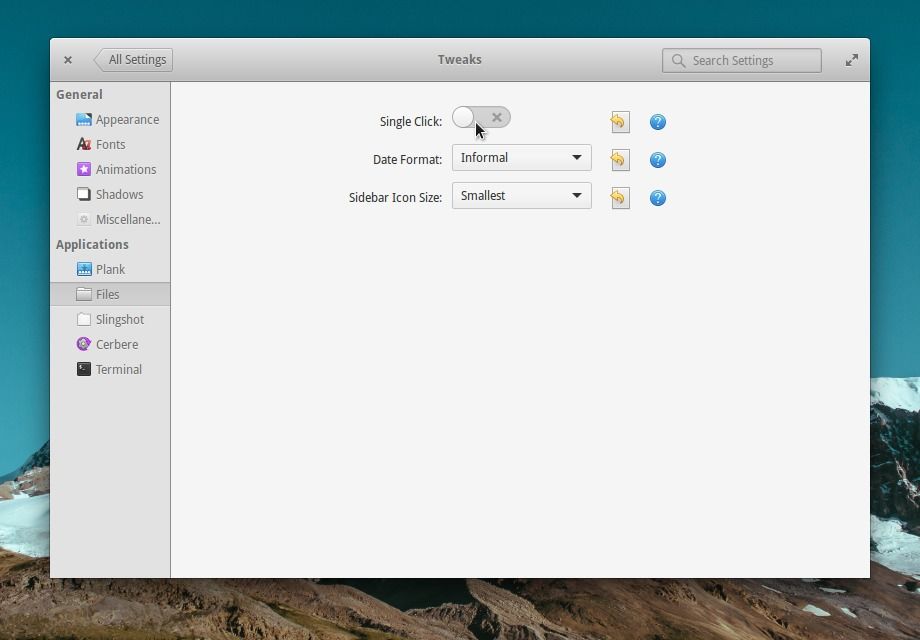
After installing Elementary Tweaks, open System Settings from the dock at the bottom of your screen and then click the Tweaks icon.
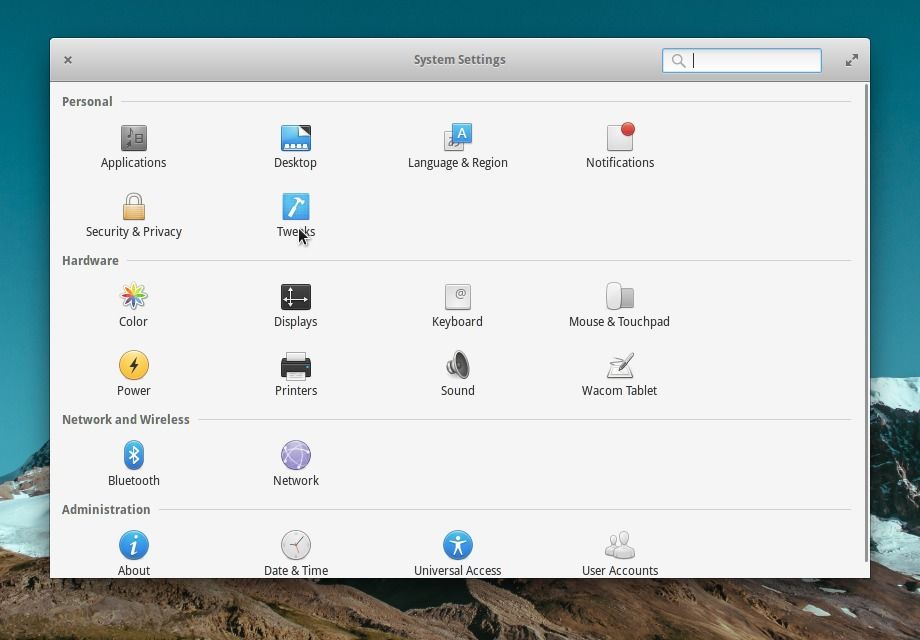
In the next page, select Files from left pane, and finally disable Single Click by clicking the toggle.