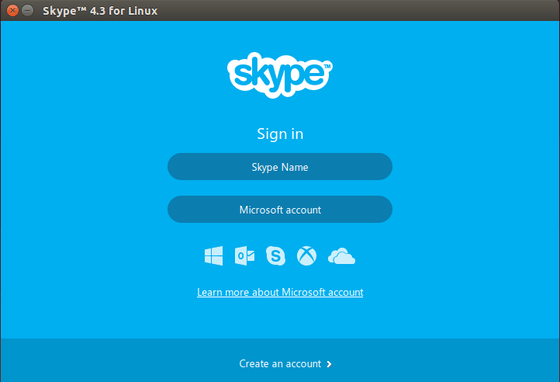
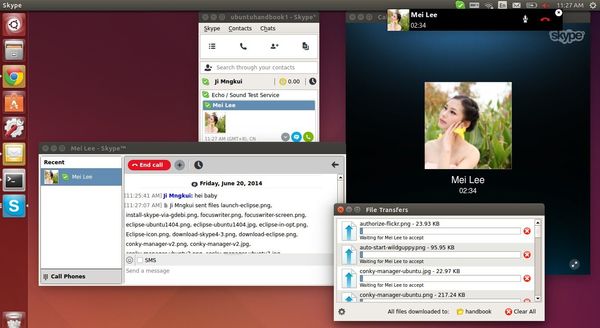
Skype for Linux has been updated to version 4.3.0.37 with updated UI, new cloud-based Group chat experience, and more.
Microsoft finally announced Skype for Linux 4.3 on June 18, 2014. The new release dropped support for direct Alsa support, now it uses PulseAudio for better calling experience. Also Skype 4.3 contains below changes:
- An updated UI
- Our new cloud-based Group Chat experience
- More reliable file transfer support when using multiple devices at once
- Greater accessibility by blind and visually impaired users
- PulseAudio 3.0 and 4.0 support
- Lot of bug fixes
- Skype 4.3 release note.
Install Skype 4.3 in Ubuntu or Linux Mint:
Canonical has finally made the latest Skype 4.3 into the partners repository, which means only do step a.), b.), and c.) will install Skype 4.3 in Ubuntu 14.04 and Ubuntu 12.04
At the moment, Skype for Linux 4.3 is not available in any Linux repository. Below steps will tell you how to install the official .deb package in Ubuntu 14.04, Ubuntu 12.04, and their derivatives.
1. Install required libraries (for 64-bit system)
Skype website only provides 32-bit package for Ubuntu 12.04 and higher. You’re unable to install it directly on 64-bit system due to dependencies issue.
However, install the old skype from Canonical partners repository will also install the required libraries we need for NEW skype.
a.) Press Ctrl+Alt+T on keyboard to open terminal. When it opens, run commands one by one to remove old skype and .skype folder:
sudo apt-get remove skype skype-bin

rm -rf ~/.skype
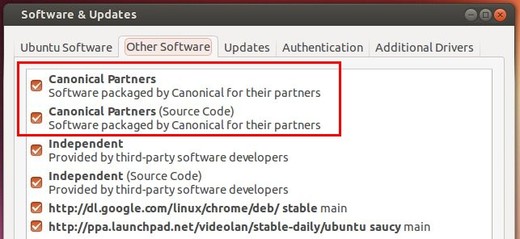
b.) Open “Software & Updates” and enable Canonical partners repository under Other Software tab.
c.) Press Ctrl+Alt+T on keyboard to open terminal. When it opens, run the commands below to install old skype:
sudo apt-get update; sudo apt-get install skype
UPDATE: Below steps are no longer required! Just do the above step a.), b.) and c.) will install Skype 4.3 in your system.
c.) Once installed, remove the old skype package:
sudo apt-get remove skype skype-bin
2. Download & install Skype 4.3
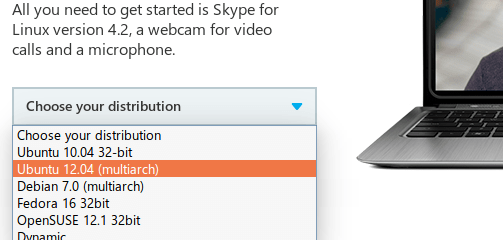
Download the “Ubuntu 12.04 (multiarch)” package from: www.skype.com/go/linux
Click to install the package via Ubuntu Software Center. Or run command below in terminal (Ctrl+Alt+T):
cd ~/Downloads/ && sudo dpkg -i skype-ubuntu-precise_*.deb
Once installed, you’re able to open Skype 4.3 from Unity Dash result: