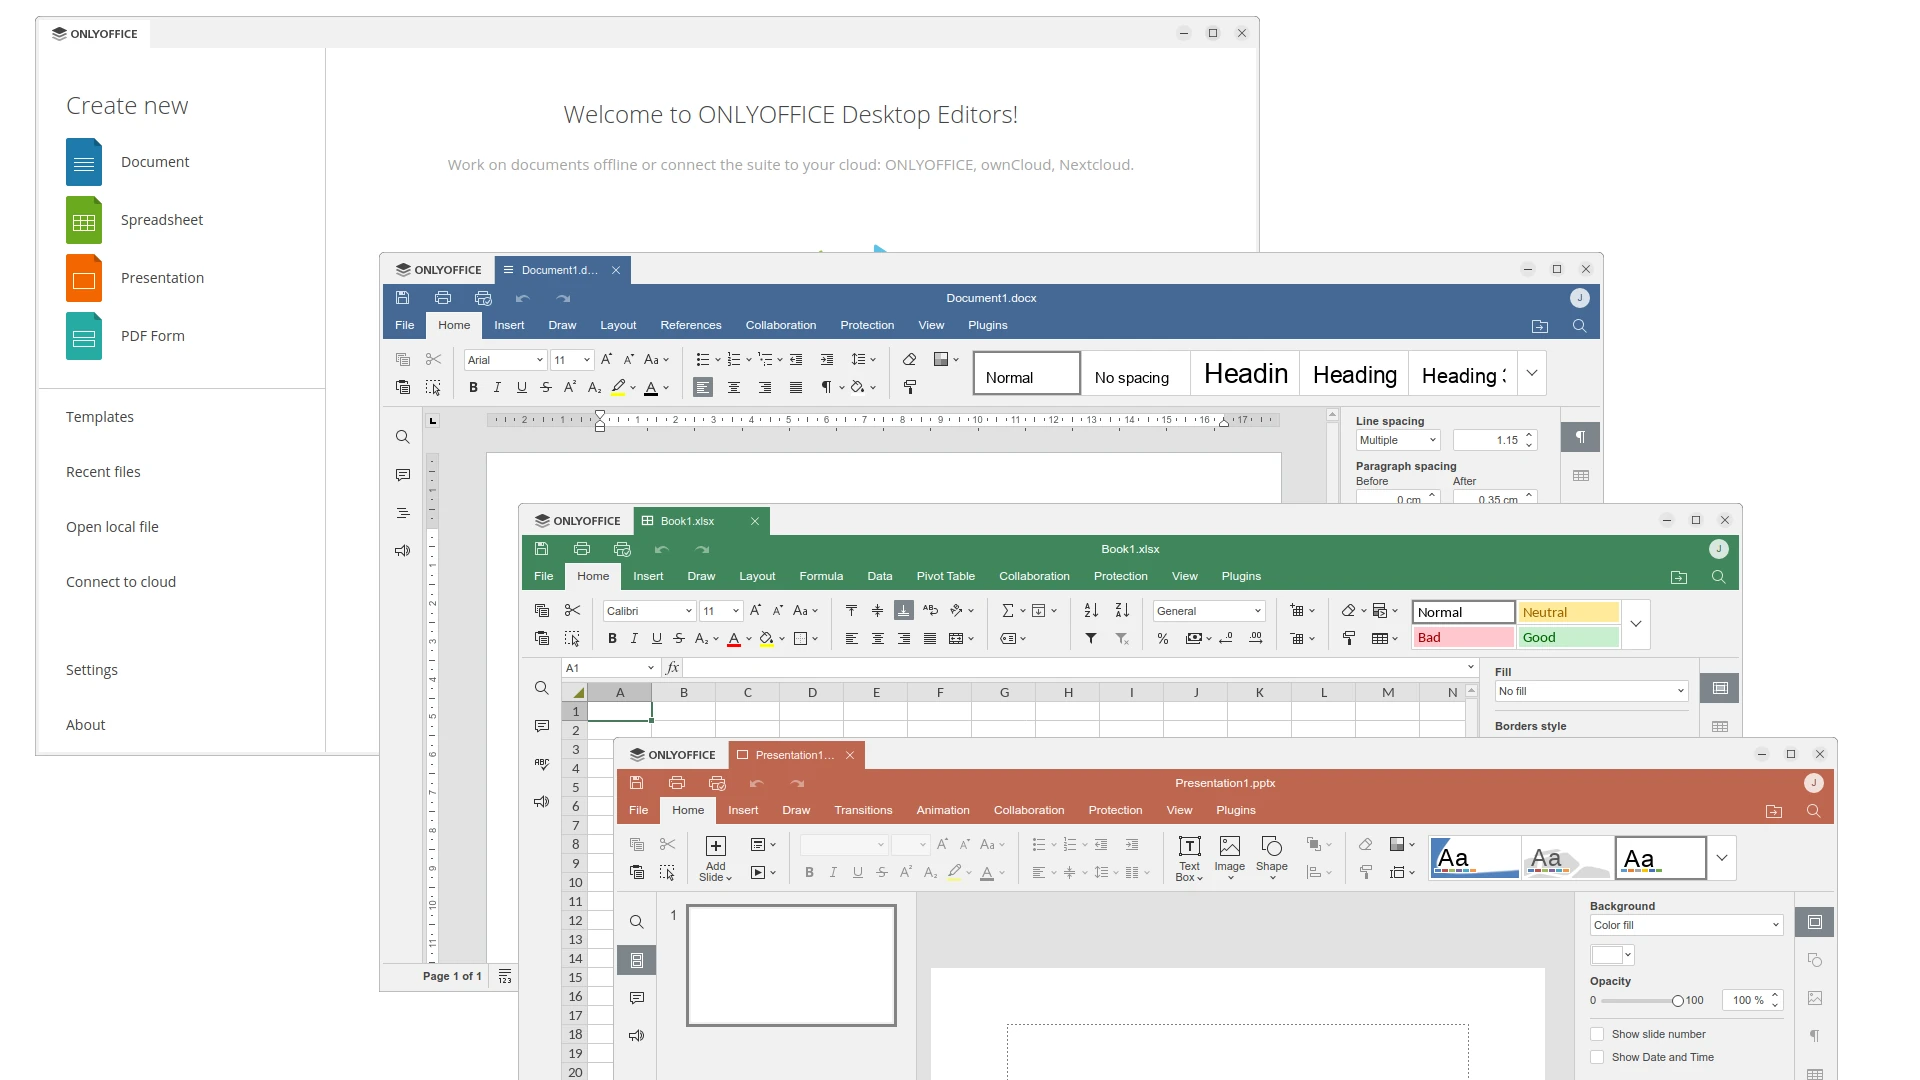
This is a step by step beginner’s guide shows how to install OnlyOffice Desktop Editors office suite and keep it up-to-date in Ubuntu 22.04. Though the title said for Ubuntu 22.04, it also works in Linux Mint (exclude Snap) and Debian.
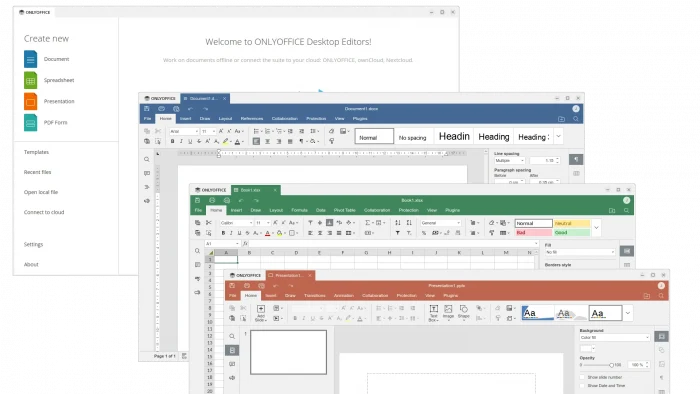
OnlyOffice, formerly TeamLab, is a free office suite. The Desktop Editors is offline version, that’s made up of Document, Spreadsheet, Presentation, and PDF Form. Though, it supports collaborative editing by connecting to a cloud service.
The desktop editors is free and open-source (AGPL-3.0-only license) software works in Windows, Linux, and macOS. There’ also mobile version for iOS and Android, though called OnlyOffice Documents. It’s compatible with MS Office (OOXML) and OpenDocument (ODF) formats and supports DOC, DOCX, ODT, RTF, TXT, PDF, HTML, EPUB, XPS, DjVu, XLS, XLSX, ODS, CSV, PPT, PPTX, ODP, DOTX, XLTX, POTX, OTT, OTS, OTP, and PDF-A.
The office suite is available to install in Ubuntu in 4 different ways. Choose any one that you prefer:
- native .deb.
- universal Flatpak
- universal Snap
- portable AppImage
Continue Reading…