![]()
JetBrains IntelliJ IDEA java IDE has reached the new point release 2017.2.2 a few hours ago. The new release brings some new features, numerous bug-fixes and improvements.
Changes in IntelliJ IDEA 2017.2.2 includes:
- Fix crashes that occurred with the use of using custom fonts
- Fix wrong HiDPI scaling on multiple monitors for Windows 10
- Kotlin pugin updated to 1.1.4
- Support for CSS Modules with LESS and SASS
- XQuery/XPath with Language Injection
- Favorites in the Database tool window
- Fix major performance regression

How to Install IntelliJ IDEA 2017.2.2 in Ubuntu:
JetBrains offers official Linux packages for download at the link below:
Download IntelliJ IDEA for Linux
Just extract and run the executable file to launch the Java IDE.
For Ubuntu 14.04, Ubuntu 16.04, Ubuntu 17.04, Ubuntu 17.10, you can also use the installer script available in the link below.
Run the script will download the official package from JetBrains web server, then install it in your Ubuntu automatically with application shortcut integration.
- Download the script (.deb) for IntelliJ IDEA Community | IntelliJ IDEA Ultimate
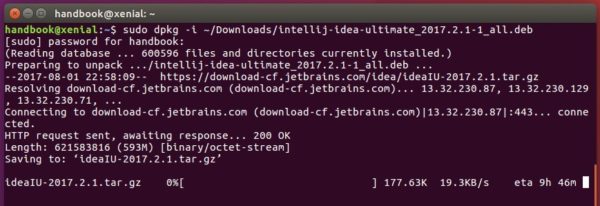
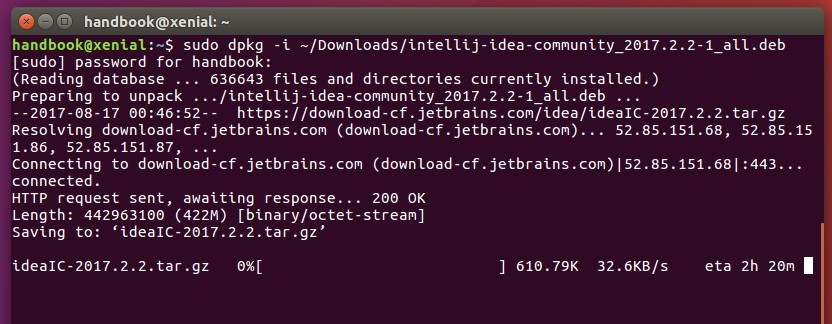
Then install the script via command:
sudo dpkg -i ~/Downloads/intellij-idea-*_2017.2.2-1_all.deb
To automatically update the installer script, add the PPA repository via command:
sudo add-apt-repository ppa:ubuntuhandbook1/apps
Uninstall:
To remove IntelliJ IDEA installed via the script, run command:
sudo apt-get remove intellij-idea-community intellij-idea-ultimate