![]()
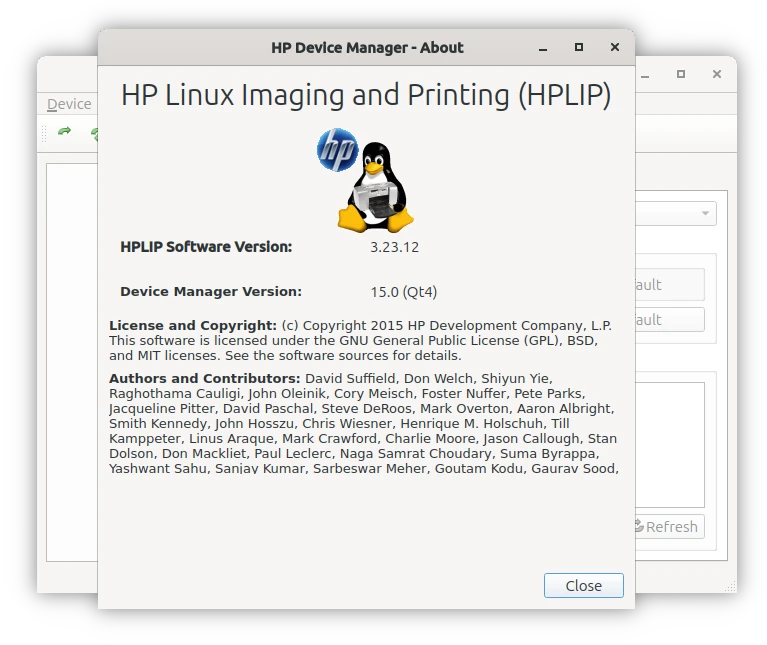
HPLIP, free open-source Linux driver for HP’s inkjet and laser printers, released version 3.23.12 few days ago.
The new release add some new HP devices support. They include:
- HP OfficeJet Pro 9130b series
- HP OfficeJet Pro 9120b series
- HP OfficeJet Pro 9110b series
- HP Color LaserJet Enterprise Flow MFP X58045z
- HP Color LaserJet Enterprise Flow MFP X58045zs
- HP Color LaserJet Enterprise MFP X58045dn
- HP Color LaserJet Enterprise MFP X58045
- HP LaserJet Pro P1106 plus
- HP LaserJet Pro P1108 plus
Nothing else!
If you happen to have a HP printer in the list above, then below is going to show you how to install the driver for it in Ubuntu Linux.
Download & Install HPLIP 3.23.12
HPLIP offers official .run installer available to download at the link below:
It’s “hplip-3.23.12.run“. Once you downloaded the file, right-click on blank area in the ‘Downloads’ folder and select “Open in Terminal“.
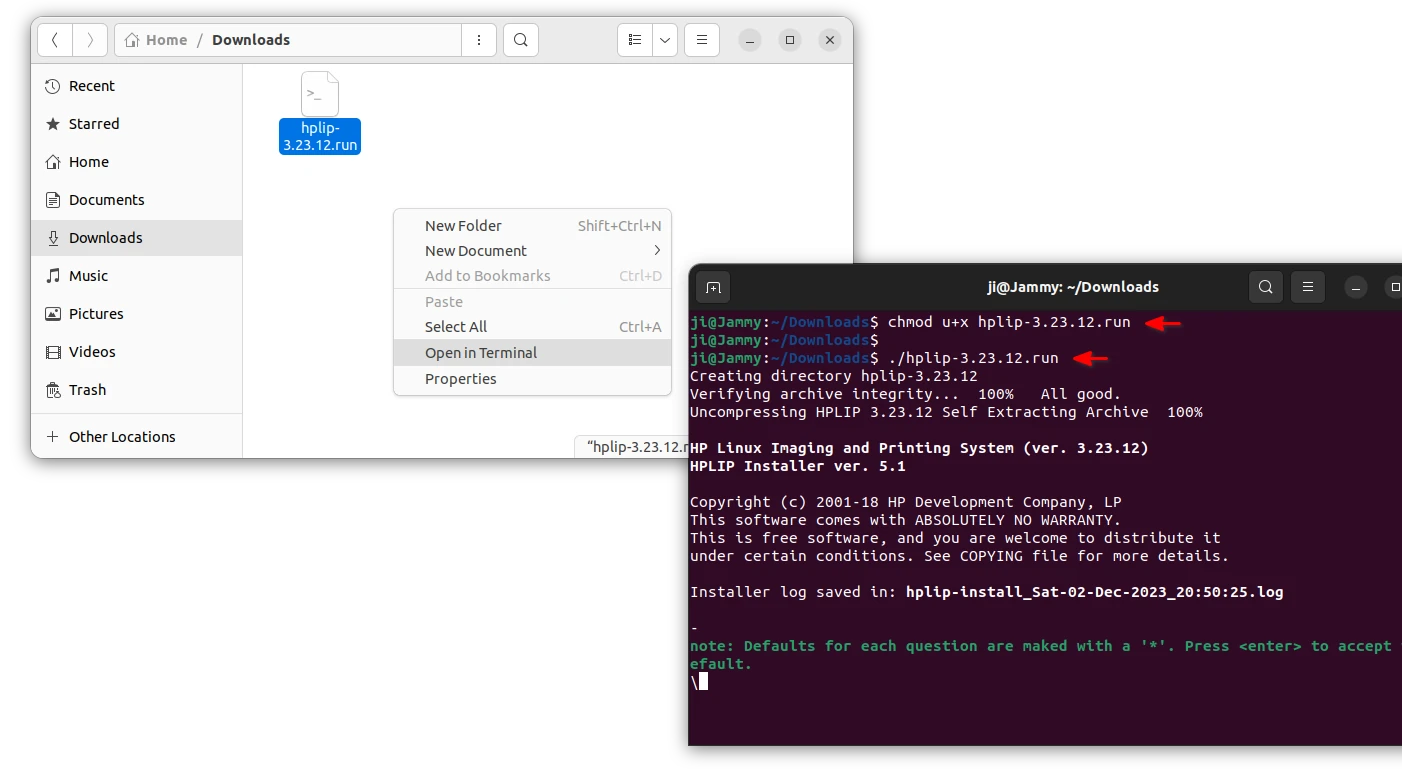
When terminal opens, run the commands below one by one will start the installing process for the new driver package:
- Add executable permission for the file:
chmod u+x hplip-3.23.12.run
- Run the file, follow the on-screen prompt and answer some questions:
./hplip-3.23.12.run
In the terminal output, answer questions by typing ‘y’, ‘n’, etc. Until the command’s done without error, you can plug or re-plug your HP printer for the new driver to work.
Install HPLIP 3.23.12 in Ubuntu 23.10
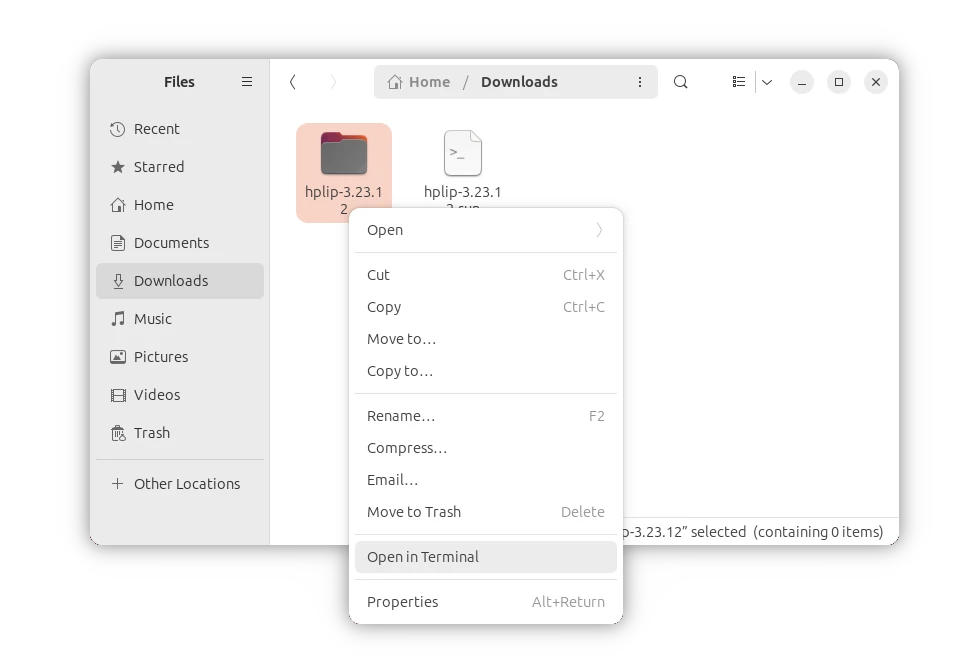
The .run installer so far does not support Ubuntu 23.10! However, running the commands above will generate the source folder in your ‘Downloads’ folder. Right-click on that folder and select ‘Open in Terminal’, then 23.10 user can try running the commands below one by one to build from source:
1. Firstly, in the terminal window run single command to install the build dependency packages:
sudo apt install --assume-yes libcups2-dev libdbus-1-dev build-essential ghostscript openssl libjpeg-dev libsnmp-dev libtool-bin libusb-1.0-0-dev wget python3-pil policykit-1 policykit-1-gnome python3-pyqt5 python3-dbus.mainloop.pyqt5 python-gi-dev python3-dev python3-notify2 python3 python3-reportlab libsane-dev xsane libavahi-client-dev libavahi-core-dev avahi-utils
2. Then, configure the source by running command:
./configure --prefix=/usr --enable-qt5 --disable-qt4
3. Finally, make and install by running the 2 commands below one by one:
make -j4
sudo make install
NOTE: in command -j4 will start 4 threads in parallel to speed up the process. You can skip it, or change number 4 depends on how many CPU cores you have.
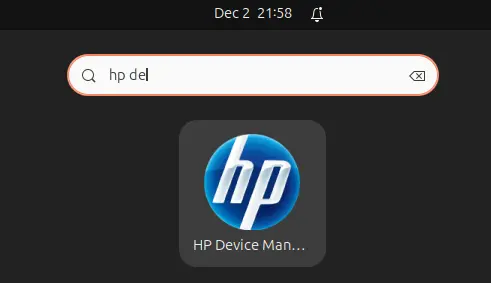
After installed HPLIP 3.23.12, plug or re-plug your HP printer, then you can either refresh the driver in system ‘Printer’ settings page, or launch “HP Device Manager” to set up your printer.
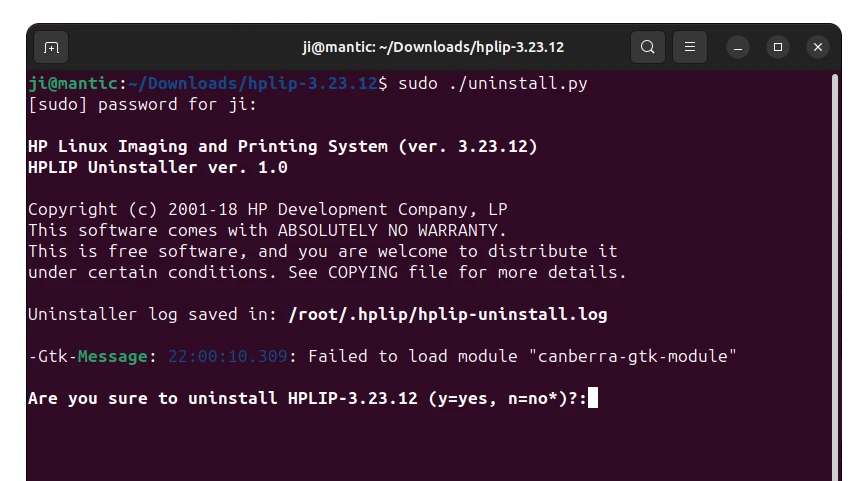
Uninstall HPLIP 3.23.12
As mentioned above, running the installer will create a source folder in user ‘Downloads’ folder.
Right-click on that source folder and select “Open in Terminal”. Then run the uninstall script in pop-up terminal window to remove HPLIP:
sudo ./uninstall.py