![]()
XFE (X File Explorer) is a lightweight Windows File Explorer or Commander like file manager for Unix / Linux X.
It’s small memory footprint, very fast, and only requires the FOX library to be fully functional, and aims to light desktop users.
XFE features include:
- UTF-8 support
- Commander/Explorer interface with four UI modes
- Horizontal or vertical file panels stacking
- Integrated text editor (xfwrite), image viewer (xfimage)
- Integrated RPM or DEB packages installer / uninstaller (xfpack).<.li>
- Custom shell scripts (like Nautilus scripts)
- Search files and directories
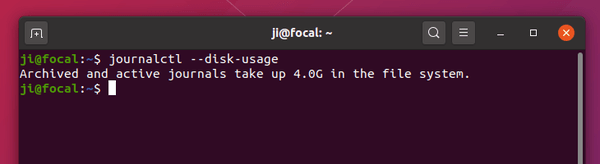
- Disk usage command
- Mount/Unmount devices (for Linux only)
- Color, control, and icon themes (GNOME, KDE, Windows, …)
- Create and extract archives (tar, compress, zip, gzip, bzip2, xz, lzh, rar, ace, arj and 7zip formats are supported)
- File comparison (through external tool)
- Thumbnails image previews
- Configurable key bindings
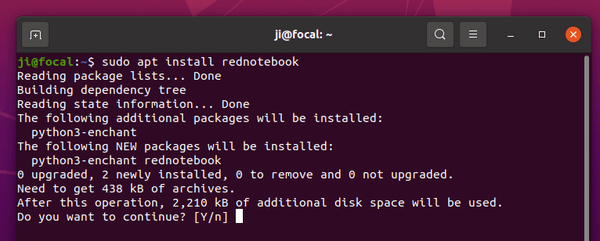
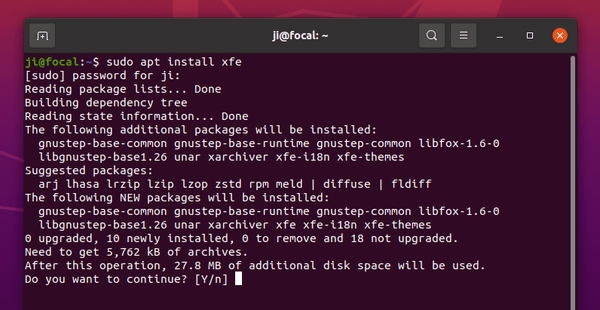
To install XFE in Ubuntu, simply open terminal and run command:
sudo apt install xfe
Refresh package cache by running sudo apt update if the package somehow is not found.
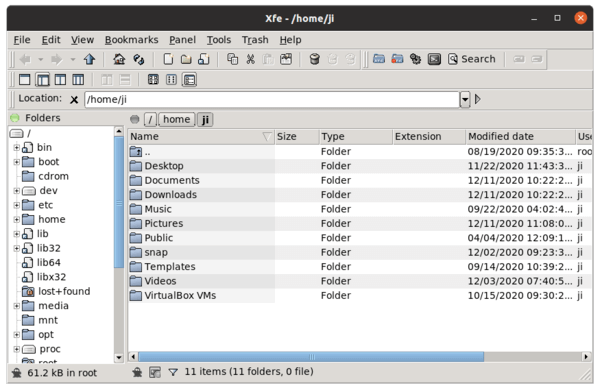
Once installed open the file manager from your system application launcher and enjoy!
(Optional) To remove XFE, run command in terminal:
sudo apt remove --autoremove xfe