![]()
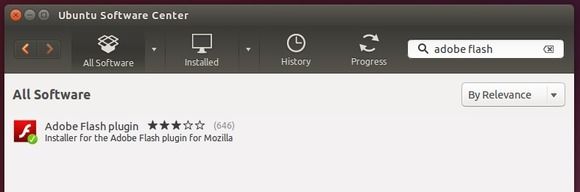
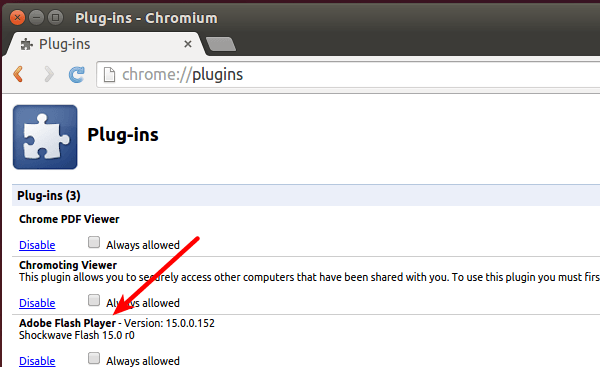
If you’re using a Chromium based web browser in Ubuntu, you may find that the Adobe Flash Player installed from Ubuntu Software Center does not work all the time.
Because ‘Aura’ for Linux, which replaces GTK+, lacks coded support for NPAPI plugins, the “old” Adobe plugin in Ubuntu repositories does no longer play Flash content in Chromium based web browser.
As a workaround, you can use the ‘Pepper Flash’ which is bundled with Google Chrome that provides the latest Adobe Flash Player for Linux.
Chromium with Lastest Adobe Flash
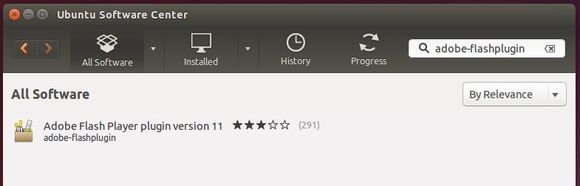
1. Click the link below to bring up Ubuntu Software Center and click the install button:
Click install Pepperflashplugin-nonfree
This will install the package “Pepperflashplugin-nonfree“, which will download Chrome from Google, unpack it and make the included Pepper Flash Player available for use with Chromium.
2. After that, relaunch Chromium browser and Flash should now work. If not, close the browser and run below command in terminal (Ctrl+Alt+T) to tell the plugin location:
sudo update-pepperflashplugin-nonfree --install
That’s it. Enjoy!