![]()
Openshot video editor released version 2.4.4 a few days ago. The stable PPA has built the packages for Ubuntu 14.04, Ubuntu 16.04, Ubuntu 18.04, Ubuntu 18.10.
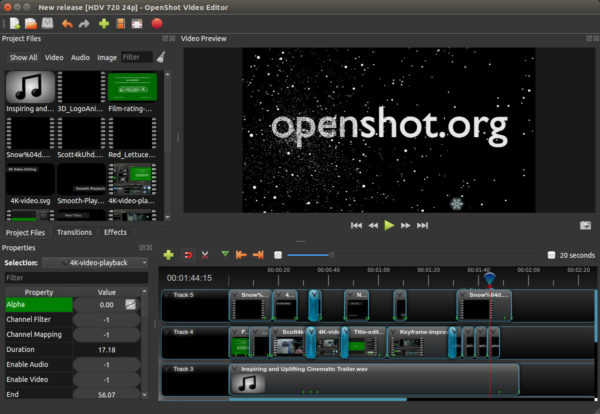
OpenShot 2.4.4 includes fixes and improvements to keyframe scaling, better timeline and preview performance, improved SVG rendering via the resvg library, improved docking & tracks, user-defined Export presets, new translations, constant rate factor support, and various other changes.
How to Install OpenShot 2.4.4 in Ubuntu:
1. Open terminal from software launcher (or press Ctrl+Alt+T), when it opens, run command to add the PPA:
sudo add-apt-repository ppa:openshot.developers/ppa
Type user password (no asterisk feedback due to security reason) when it prompts and hit Enter.

2. Then run following commands one by one to refresh repository cache and install OpenShot:
sudo apt-get update

sudo apt-get install openshot-qt
For Ubuntu 18.04 and higher, apt-get update is not required.
Uninstall:
To uninstall openshot video editor, run following command in terminal:
sudo apt-get remove --autoremove openshot-qt
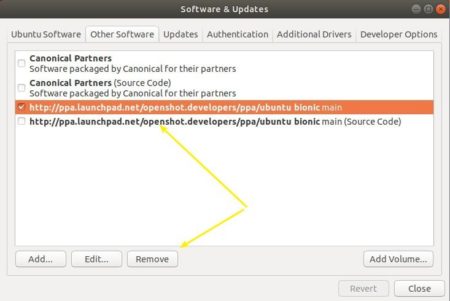
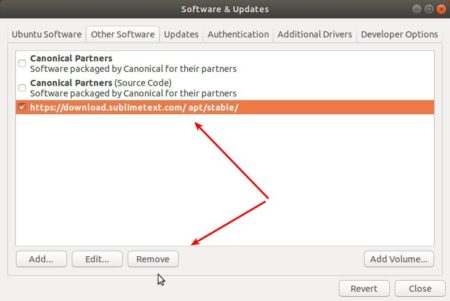
And remove the PPA by launching “Software & Updates” and navigating to Other Software tab.