![]()
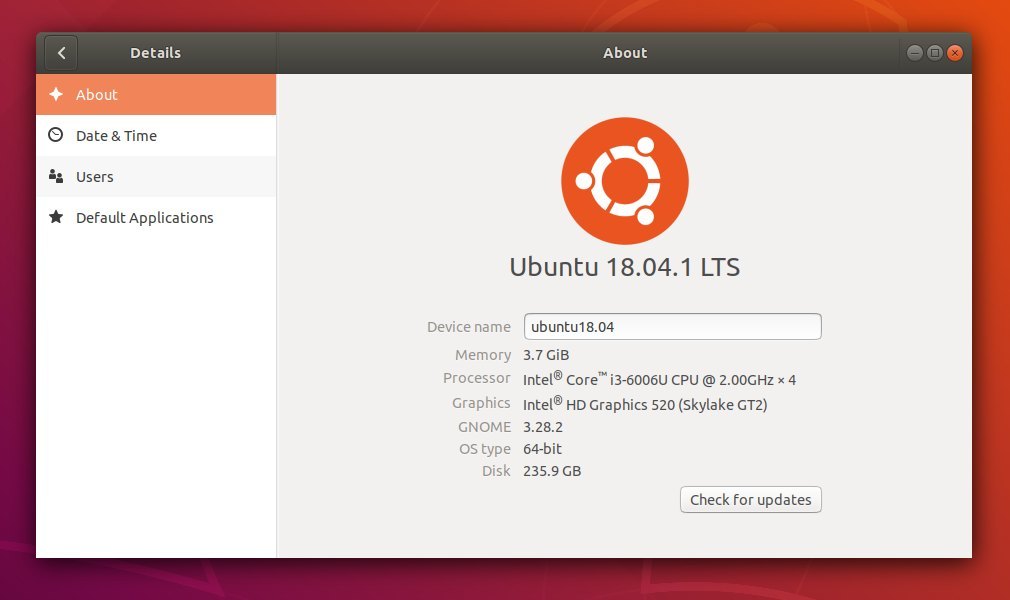
For open-source graphic driver users, the latest Mesa 18.1.5 now is available in Ubuntu-X team PPA for Ubuntu 18.04.
Mesa 18.1.5 was released a few days ago with RADV Radeon Vulkan driver fixes, a number of Intel ANV Vulkan driver fixes, and some fixes to i965, RadeonSI, and even R600g driver.
You can now install Mesa 18.1.5 in Ubuntu 18.04 via following steps:
1. Open terminal by either pressing Ctrl+Alt+T on keyboard or searching for ‘Terminal’ from software launcher. When it opens, run command:
sudo add-apt-repository ppa:ubuntu-x-swat/updates
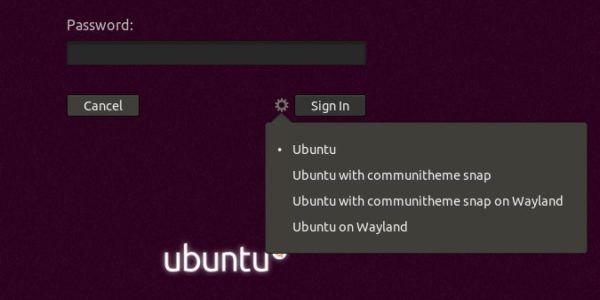
Type your password (no asterisks feedback) when it prompts and hit Enter to continue.

2. After adding the PPA, do system update via command:
sudo apt-get dist-upgrade
apt-get update is not required any more in Ubuntu 18.04 since adding PPA automatically refreshes system repositories.
3. Finally check your driver version via command:
glxinfo | grep "OpenGL version"

Uninstall:
To restore changes and downgrade to the default drives shipped in Ubuntu 18.04, run command:
sudo apt-get install ppa-purge && sudo ppa-purge ppa:ubuntu-x-swat/updates