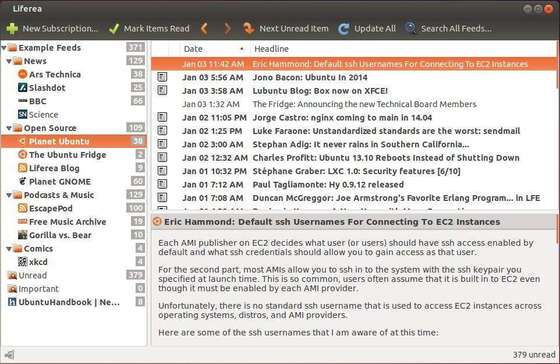
The Liferea feed reader reached the 1.12.1 release earlier today with some bug-fixes. Here’s how to install it in Ubuntu 16.04, Ubuntu 17.04, Ubuntu 17.10, Ubuntu 18.04.
Changes in Liferea 1.12.1 include:
- Fix typo in debug message
- Add patch: appstream data has new format
- Fix that Liferea doesn’t remember the feeds’ custom settings
- Fix assertions/crashes on changing view layouts
- Workaround to avoid GtkPaned shrinking
- Added Indonesian default feed list
- And some translation updates.
How to Install Liferea 1.12.1 in Ubuntu:
For Ubuntu 16.04 and higher, you can easily install the new release from this PPA repository.
1. Open terminal either via Ctrl+Alt+T or by searching for ‘terminal’ from app launcher. When it opens, run command:
sudo add-apt-repository ppa:ubuntuhandbook1/apps
Type your password (no visual feedback while typing) when it asks and hit Enter.

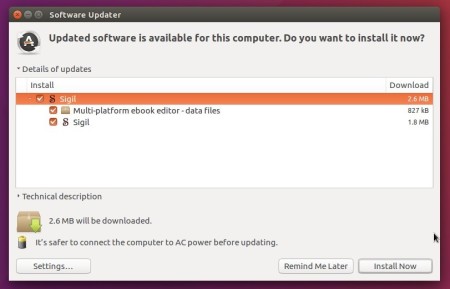
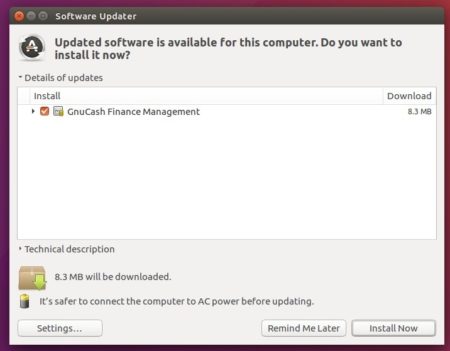
2. Then upgrade Liferea via Software Updater utility:

or run commands one by one to install the Linux feed reader:
sudo apt-get update

sudo apt-get install liferea
Uninstall Liferea:
To remove the software, either use your system package manager or run command:
sudo apt-get remove --autoremove liferea
To remove the PPA repository, open “Software & Updates” utility and navigate to Other Software tab.