![]()
A new release of qBittorrent, a free BitTorrent client in Qt, was released yesterday with a new feature, various bug-fixes and other improvements.
qBittorrent 3.2.4 is the last release in the 3.2.x series. It adds a feature that auto-select the file of single file torrents when opening destination folder, and finally fixes an obscure “hit-and-run” bug with trackers.
- Fix broken .desktop file icon for some locales
- Fix Qt5 nox build on non-windows
- Allow adding torrent link from Torcache
- Fix crash with invalid favicon.
- Move option “Ignore transfer limits on local network” to Speed page
- Move option “Confirm torrent deletion” to Behavior page
- Fix potential crash when memory allocation failed.
- RSS and other fixes, see more details.

Install / Upgrade qBittorrent in Ubuntu:
The new release has been made into its official PPA repository, available for Ubuntu 15.10, Ubuntu 15.04, Ubuntu 14.04, and derivatives, e.g., Linux Mint 17.x and Elementary OS Freya.
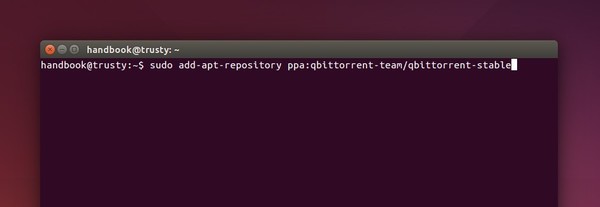
1. Add PPA.
Open terminal from the Dash, App Launcher, or via Ctrl+Alt+T shortcut key. When it opens, run command:
sudo add-apt-repository ppa:qbittorrent-team/qbittorrent-stable
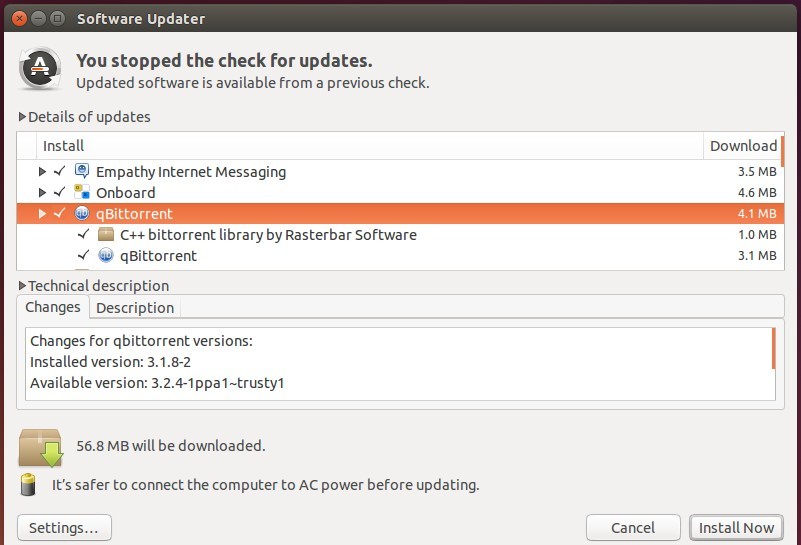
2. For those who have a previous version installed, launch Software Updater (or Updater Manager for Mint, need refresh). You’ll see qBittorrent in the update list
Or run below commands one by one in terminal to update repository cache and install/upgrade the software:
sudo apt-get update

sudo apt-get install qbittorrent