![]()
GNOME, the popular free open-source Linux desktop environment, finally released new major 47 version a day ago on Wednesday!
If everything goes well, the new GNOME 47 desktop will be default in upcoming Ubuntu 24.10 and Fedora Workstation 41, and optional in Arch, Manjaro Linux, etc.
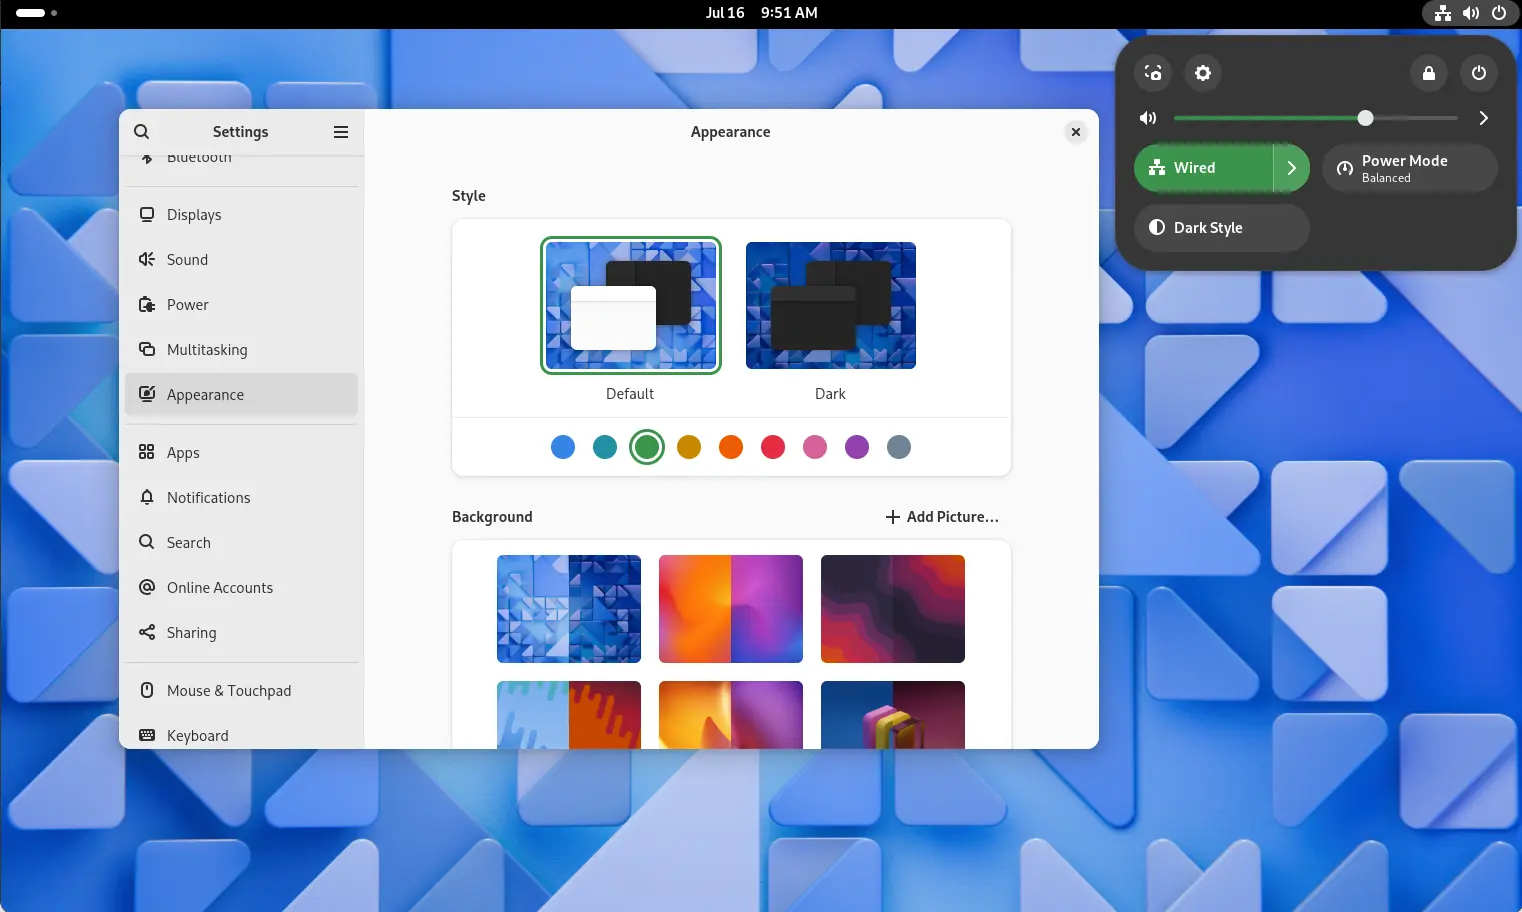
The new release features accent colors in the “Appearance” settings page. With it, user can change the Default Blue color of toggle buttons, slide bars, check-boxes, selection borders, etc., as easy as a single mouse click.
Ubuntu has the feature since 22.04. It has 10 colors while GNOME 47 has 9. They include Blue (default), Teal, Green, Yellow, Orange, Red, Pink, Purple, Slat. And, so far the accent color does NOT apply to the folder icons.