![]()
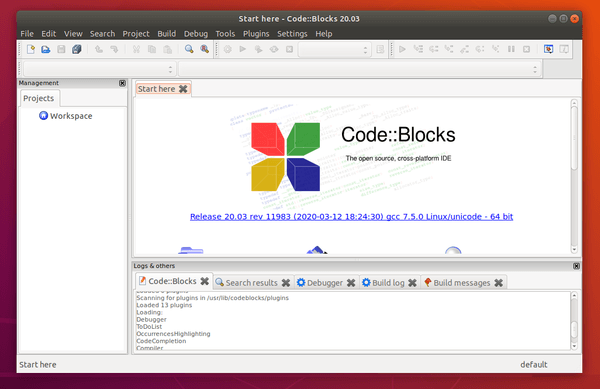
Code::Blocks, open-source C, C++, and Fortran IDE, released version 20.03 a few days ago. Here’s how to install it in Ubuntu 16.04, Ubuntu 18.04, Ubuntu 19.10, and derivatives.
Code::Blocks 20.03 was available for a few days, though it’s not officially announced in its website. The Code::Blocks Developers Team PPA has made the packages for all current Ubuntu releases.
To install the new IDE version, open terminal either by pressing Ctrl+Alt+T on keyboard or by searching for ‘terminal’ from application menu. When it opens, do following steps one by one.
1.) Run command to add the PPA repository:
sudo add-apt-repository ppa:codeblocks-devs/release
Type user password (no asterisk feedback) when it prompts and hit Enter to continue.

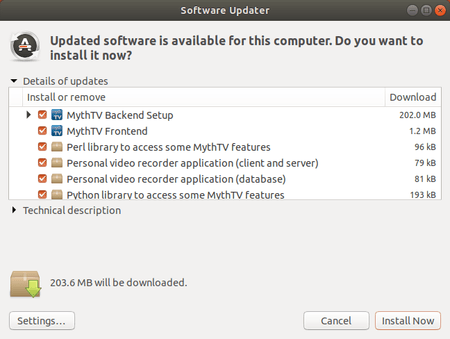
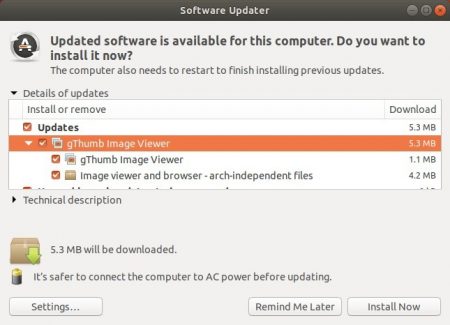
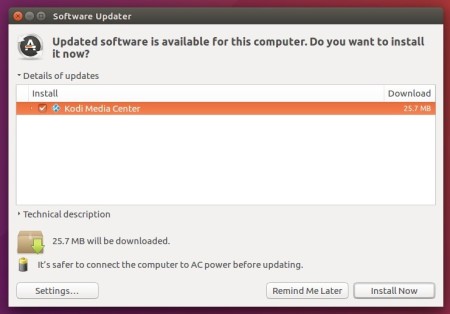
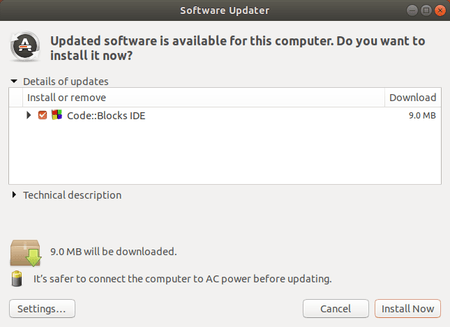
2.) If an old version was installed on your system, upgrade it via Software Updater:
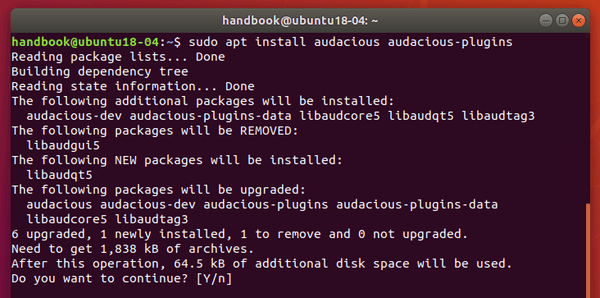
or run commands one by one in terminal to install the IDE:
sudo apt update

sudo apt install codeblocks codeblocks-contrib
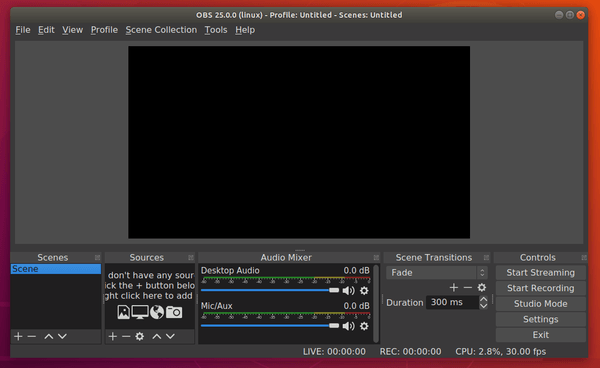
Once installed, launch it from your system application menu and enjoy!
Uninstall Code::Blocks
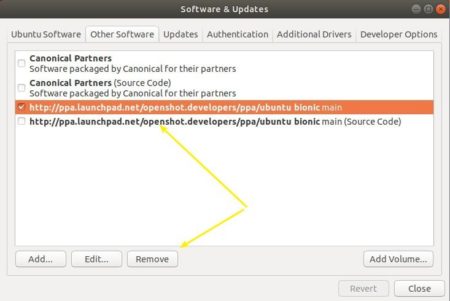
To remove the PPA repository, either go to Software & Updates -> Other Software, or run command in terminal:
sudo add-apt-repository --remove ppa:codeblocks-devs/release
And remove Code::Blocks if you want via command:
sudo apt remove --autoremove codeblocks codeblocks-contrib