![]()
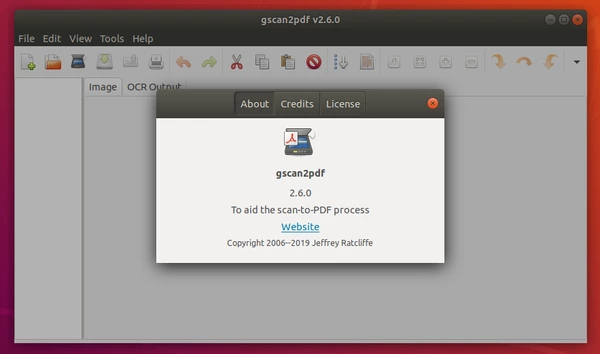
Gscan2pdf, a graphical tool to produce PDF / DjVu from scanned document, released version 2.6.0 a day ago. Here’s how to install it in all current Ubuntu releases.
Gscan2pdf 2.6.0 is a small release. It brings --import-all command line option to imports all pages of the specified file or files. Other changes include:
- New rotate 180° icon.
- Import document metadata when opening PDF or DjVu files.
- Increment/decrement date on save dialog with +/- keys.
- Fixed reload-recursion bug triggered by unusual environment
- Some crash fixes, and updated translations.
How to Install gscan2pdf 2.6.0 in Ubuntu:
The official Gscan2PDF PPA has made the new release packages for all current Ubuntu releases, and their derivatives, including Ubuntu 16.04, Ubuntu 18.04, Ubuntu 19.04, Ubuntu 19.10, Linux Mint 18.x and 19.x
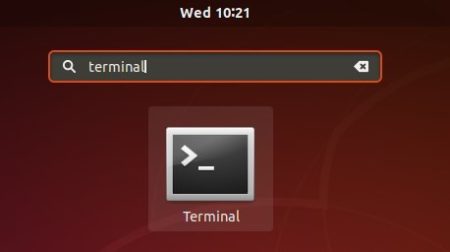
1. Open terminal either by pressing Ctrl+Alt+T on keyboard or by searching for ‘terminal’ from application menu. When it opens, run command to add the PPA:
sudo add-apt-repository ppa:jeffreyratcliffe/ppa
Type user password (no asterisk feedback due to security reason) when it prompts and hit Enter.

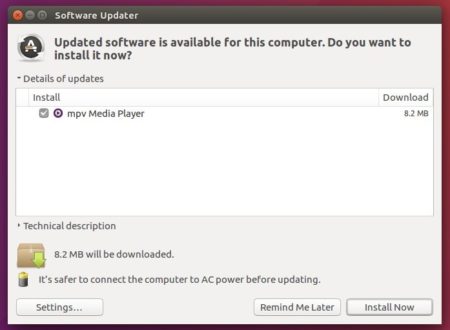
2. For those who have a previous release installed, upgrade it through Software Updater:

Or run following command in terminal to install or upgrade the software:
sudo apt update && sudo apt install gscan2pdf
How to Remove:
To remove gscan2pdf, either use your system package manager or run command:
sudo apt-get remove --autoremove gscan2pdf
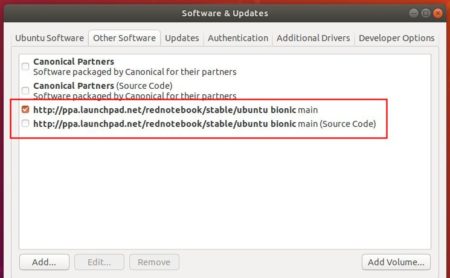
And the PPA can be removed via Software & Updates utility, under Other Software tab.