![]()
MKVToolNix 26.0.0, free and open-source Matroska software, was released a day ago with new features, enhancements, and various bug-fixes.
MKVToolNix 26.0.0 release highlights:
- mkvmerge: chapter generation: if the name template given by
--generate-chapters-name-templateis empty, no names (ChapterDisplay
master elements withChapterString/ChapterLanguagechildren) will be
generated for the chapter atoms. - mkvmerge: chapters: chapter names generated from MPLS files will now use the
name template if one is set via--generate-chapters-name-template. - mkvmerge: mkvmerge will no longer abort with an error message if no audio,
video and subtitle tracks should be multiplexed. This allows copying of
chapters from non-chapter source files (e.g. Matroska or MP4 files). - MKVToolNix GUI: the font size in the tool selector on the left will scale
with the font size the user selects in the preferences. - MKVToolNix GUI: the GUI will no longer automatically resize the columns in
tree and list views to match the content size. Instead it remembers and
restores the widths set by the user. - MKVToolNix GUI: multiplexer: the chapter name template will now be set
automatically to the name template in the preferences’ “chapter editor”
section. Additionally the option--generate-chapters-name-template …will
be passed to mkvmerge in situations when mkvmerge will generate chapters
(either because automatic generation is enabled or if chapters are generated
for MPLS playlists). - MKVToolNix GUI: chapter editor: if the chapter name template is empty,
chapters will be generated without names. - MKVToolNix GUI: chapter editor: added an option to remove all chapter names
to the “additional modifications” dialog.
How to Install MKVToolNix 26.0.0 in Ubuntu:
The official apt repository offers the latest packages for Ubuntu 16.04, Ubuntu 18.04, Linux Mint 19/18, and their derivatives.
Open terminal via Ctrl+Alt+T or by searching it from app launcher. When it opens, do following steps:
1. Run command to add the repository:
sudo sh -c 'echo "deb https://mkvtoolnix.download/ubuntu/ $(lsb_release -sc) main" >> /etc/apt/sources.list.d/bunkus.org.list'
Replace $(lsb_release -sc) with bionic for Linux Mint 19, or xenial for Linux Mint 18.x. And input your password (no asterisks while typing) when it prompts and hit Enter.

2. Then install the key:
wget -q -O - https://mkvtoolnix.download/gpg-pub-moritzbunkus.txt | sudo apt-key add -

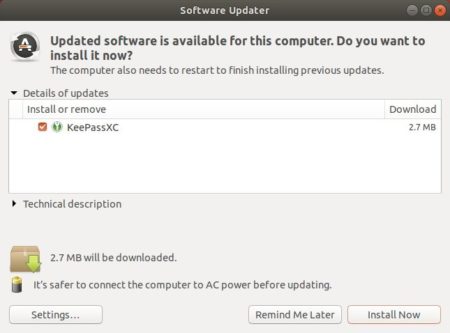
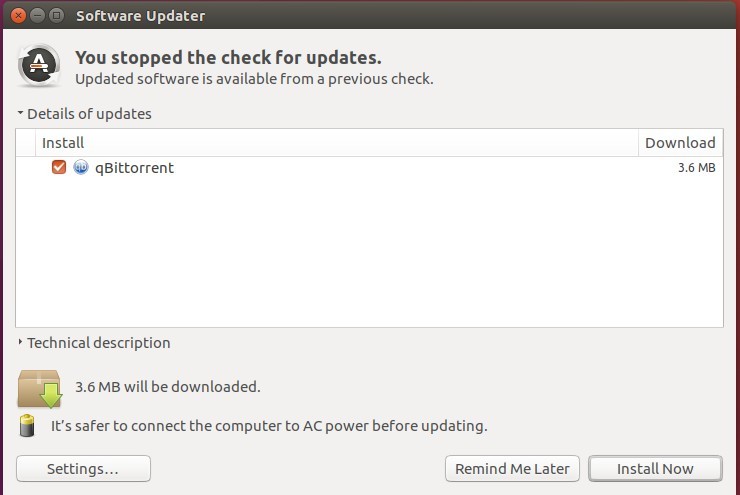
3. Finally either upgrade the software via Software Updater (Update Manager):

or run command to install the software packages:
sudo apt-get update

sudo apt-get install mkvtoolnix mkvtoolnix-gui
Uninstall:
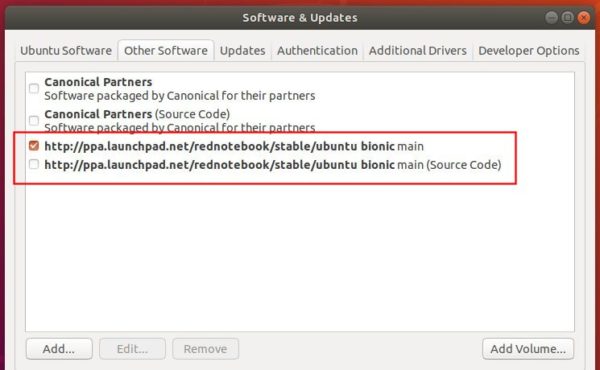
To remove the repository, launch Software & Updates utility and navigate to Other Software tab.
To remove MKVToolNix, use Synaptic Package Manager or run following command:
sudo apt-get remove --autoremove mkvtoolnix mkvtoolnix-gui