![]()
GIMP image editor 2.10.10 was released on Sunday with new features, optimizations, and stability fixes.
GIMP 2.10.10 release highlights:
- Line art detection in the Bucket Fill tool for comic artists
- Various usability improvements in transformation tools
- Sample Merged option added to the Heal tool and fixed in the Clone tool
- Parametric brushes now have 32-bit per channel precision
- Easier brush and pattern creation workflow
- On-canvas layer selection
- Faster saving/exporting and layer groups rendering
- Initial DDS support
- Many improvements in GEGL, the image processing engine
How to Install the latest GIMP in Ubuntu:
GIMP 2.10.10 packages will be available in both PPA repository and Snap store (CHECK the links before getting started) in a few days.
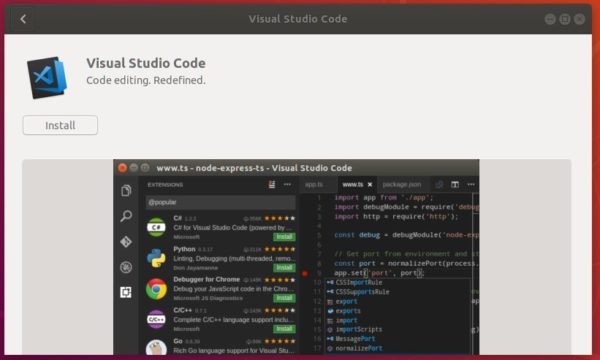
Install GIMP via Snap in Ubuntu:
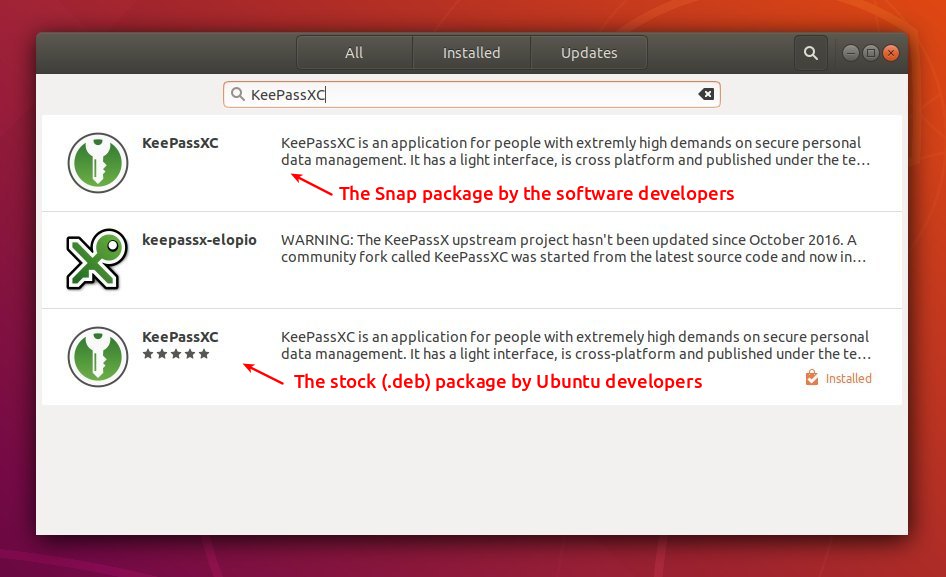
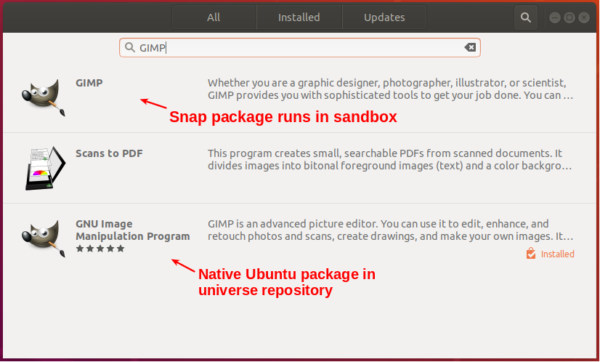
For Ubuntu 18.04 and higher, simply install the snap package from Ubuntu Software (See picture above).
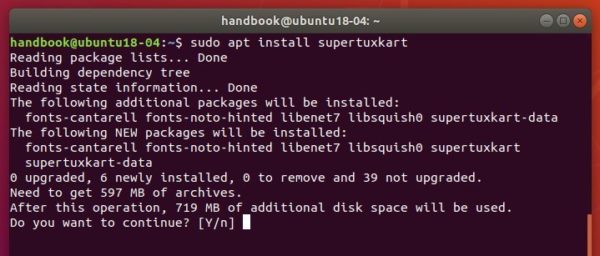
For Ubuntu 16.04, open terminal (Ctrl+Alt+T) and run following 2 commands one by one:
sudo apt-get install snapd

sudo snap install gimp

The snap co-exists with native Ubuntu package, you’ll have two GIMP icons in app launcher if both were installed.
Install GIMP via PPA in Ubuntu:
For Ubuntu 18.04 and Ubuntu 18.10, you can upgrade the native Ubuntu package using PPA repository.
1. Open terminal either via Ctrl+Alt+T keyboard shortcut or by searching for ‘terminal’ from application launcher. When it opens, run command:
sudo add-apt-repository ppa:otto-kesselgulasch/gimp
Type user password (no asterisk feedback) for sudo prompt and hit Enter to continue.

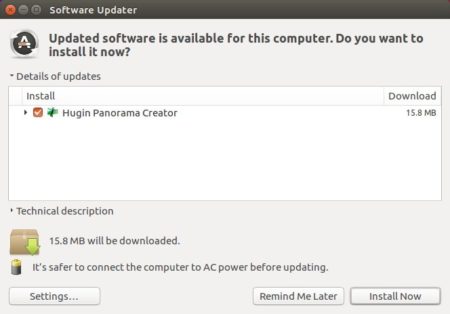
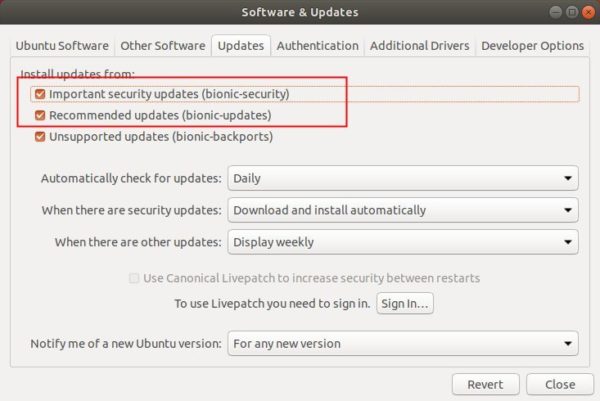
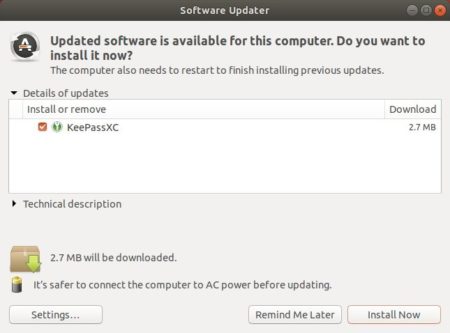
2. After that, launch Software Updater (Update Mananger) and upgrade GIMP after checking for updates:

Uninstall:
To remove the GIMP snap packge, either use Ubuntu Softwrae or open terminal and run command
sudo snap remove gimp
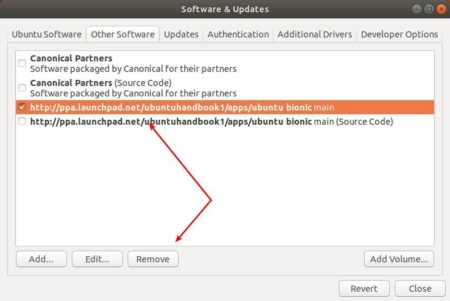
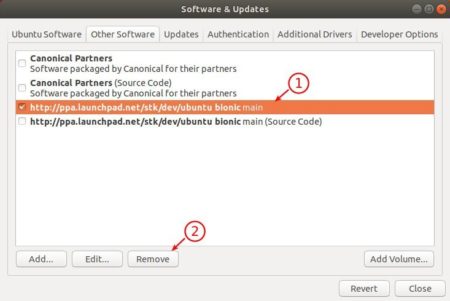
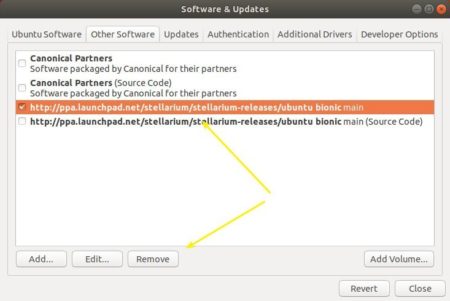
To purge the PPA repository as well as downgrade GIMP to its stock version, run command:
sudo apt install ppa-purge && sudo ppa-purge ppa:otto-kesselgulasch/gimp