![]()
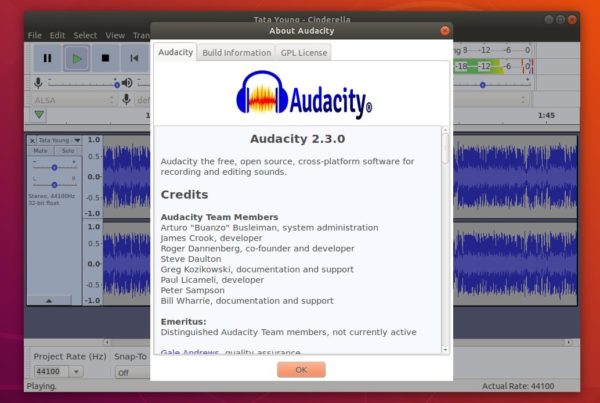
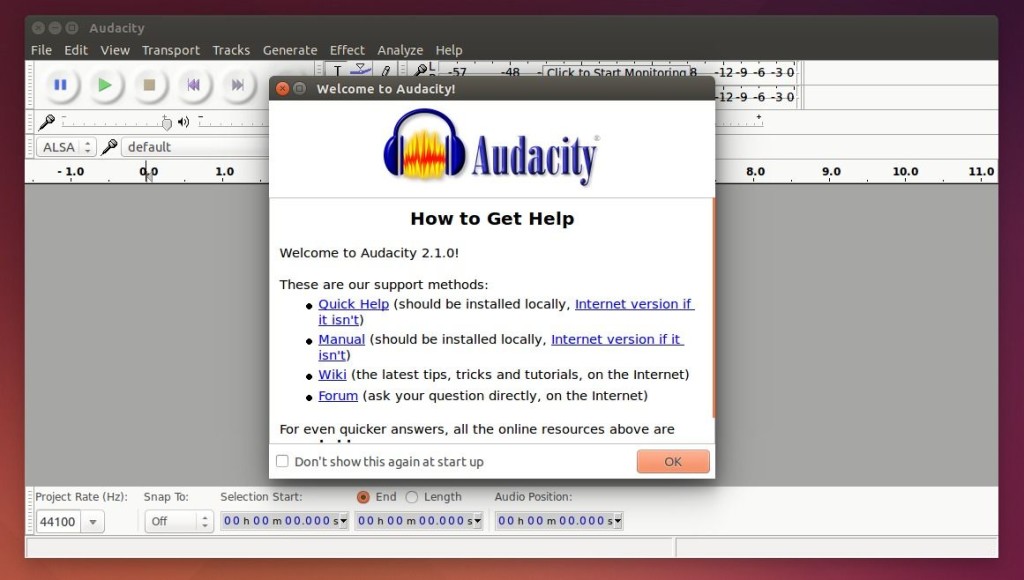
Audacity audio editor and recorder 2.3.0 was released one day ago. Here’s how to install it in Ubuntu 18.10, Ubuntu 18.04, Ubuntu 16.04, Linux Mint 18 and 19.
New features in Audacity 2.3.0 according to the release note:
- New feature – “Punch and Roll Recording”
- Pinned-play-head can now be repositioned by dragging
- Play-at-speed now can be adjusted whilst playing.
- Toolbars controlling volume and speed can now be resized for greater precision
- Macros (formerly ‘Chains’) substantially extended
- New Macro palette
- Macros can be bound to keyboard keys
- New commands: New ‘Tools’ menu, and new ‘Scriptables’ commands
- Nyquist gains AUD-DO command
- Nyquist effects are now translatable and translated
- More dialogs have help buttons now
- Increased legibility of trackname display
- Half-wave option for collapsed tracks
- Sliding Stretch
- Dialog (option) for entering labels
- And numerous bug-fixes.
How to Install Audacity 2.3.0 in Ubuntu:
For Ubuntu 16.04 and higher, the new release package can be easily installed from this third-party PPA.
1. Open terminal via Ctrl+Alt+T or by searching for ‘terminal’ from app launcher. When it opens, run command:
sudo add-apt-repository ppa:ubuntuhandbook1/audacity
Type your password (no asterisks feedback while typing) when it prompts and hit Enter to add the PPA.

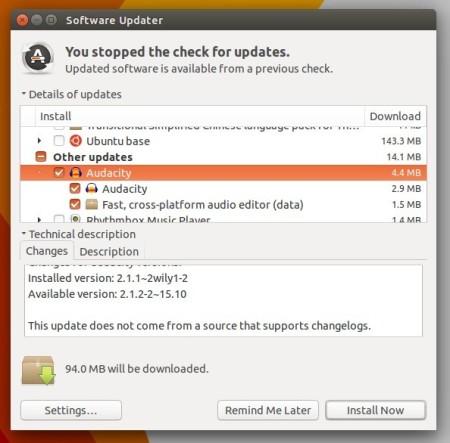
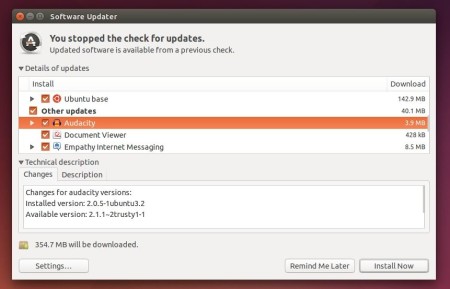
2. If you have a previous version installed, you can upgrade Audacity via Software Updater after adding the PPA.
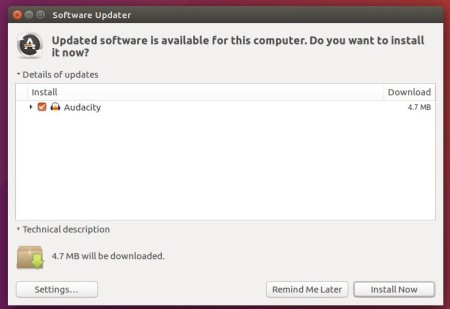
or run following commands one by one to check updates and install (or upgrade) audacity 2.3.0:
sudo apt-get update

sudo apt-get install audacity
Uninstall:
To remove the PPA repository, launch Software & Updates utility and navigate to ‘Other Software’ tab.
To remove Audacity audio software, either use system package manager or run command in terminal:
sudo apt-get remove --autoremove audacity audacity-data


