Archives For November 30, 1999

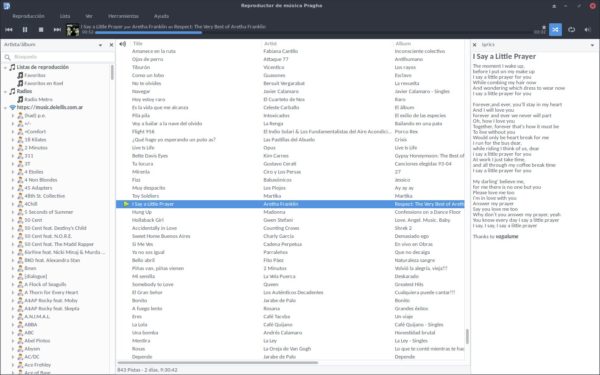
Pragha 1.4 Release Candidate, a lightweight continuation of the Consonance music player, was released a few days ago with new features, performance improvements and some fixes.

After 4 beta releases, Pragha 1.4 RC (1.3.99) may be the last before the 1.4 stable release. The new 1.4 RC features:

  • First implementation of Favorites as a playlist.
  • Sync favorites with Koel and Last.Fm.
  • New Visualizer plugin.
  • Use Alt+Return shortcut to edit the selected song.
  • Add progress indicator to the search entry while it works.
  • Remember last pane used on song info plugin.
  • Allows to customize the styles to the distro packagers.

How to Install Pragha RC in Ubuntu:

There’s an unofficial PPA that contains the latest Pragha packages for Ubuntu 16.04, Ubuntu 18.04, Ubuntu 18.10, and Linux Mint 18.x/19.

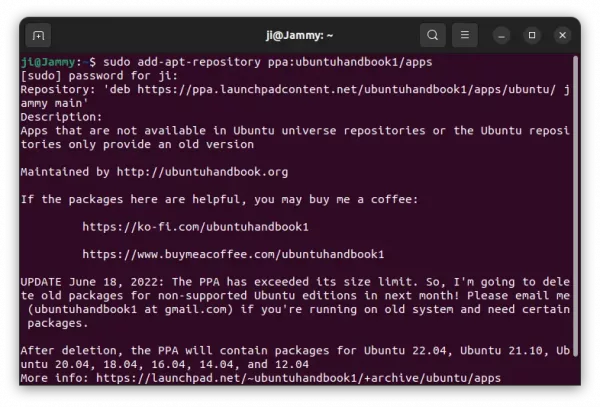
1. Open terminal either via Ctrl+Alt+T or by searching for “terminal” from app launcher. When it opens, run command to add the PPA:

sudo add-apt-repository ppa:ubuntuhandbook1/pragha

Type your user password (no asterisks feedback while typing due to security reason) when it prompts and hit Enter.

2. Then install the music player either via Synaptic Package Manager or by running commands:

sudo apt-get update

sudo apt-get install pragha

Uninstall Pragha:

To remove the music player, either use Synaptic Package Manager or run command in terminal:

sudo apt-get remove --autoremove pragha

And you can remove the PPA via Software & Updates utility under ‘Other Software’ tab.

Audacious music player

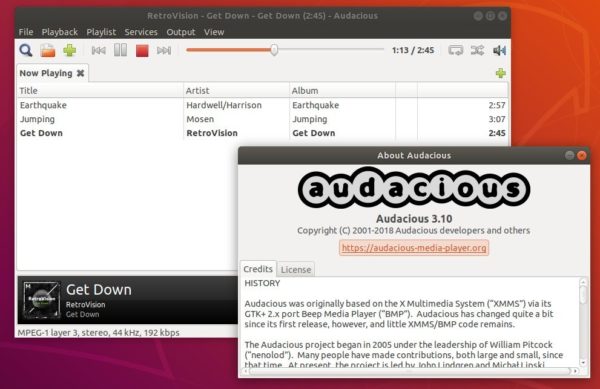
After nearly a year of development, Audacious audio player 3.10 was finally released yesterday. Here’s how to install it in Ubuntu 18.04, Ubuntu 16.04, Linux Mint 19 and 18.

Audacious 3.10, code-named “Not Quite There Yet”, added following new features:

  • Shuffle history is remembered at exit to avoid repeating songs
  • Exported M3U and PLS playlists now use relative paths by default
  • Recursively adding subfolders to the playlist is now optional
  • The URL history shown in the Add/Open URL dialogs can be cleared
  • Toolbar buttons in the GTK UI now show tooltip hints
  • The adplug input plugin has a new settings window
  • The Search Tool can be configured to scan for new files at startup
  • The number of results shown in the Search Tool is now configurable
  • The Delete Files plugin is clearer about which files will be deleted
  • Icons from the desktop theme are used more consistently
  • Scalable icons are now used on Windows for better high-DPI support
  • The bottom info bar now matches the color tone of dark themes
  • The soxr resampler has some new, more detailed settings

There are also many UI improvements and various bug-fixes. See the previous link for details.

How to Install Audacious 3.10 in Ubuntu:

You can install the new release packages in Ubuntu 18.04, Ubuntu 16.04, and their derivatives via the unofficial PPA.

1. Open terminal by either pressing Ctrl+Alt+T on keyboard or searching for ‘terminal’ from software launcher. When it opens, run command:

sudo add-apt-repository ppa:nilarimogard/webupd8

Type your password (no asterisks feedback) when it prompts and hit Enter to continue.

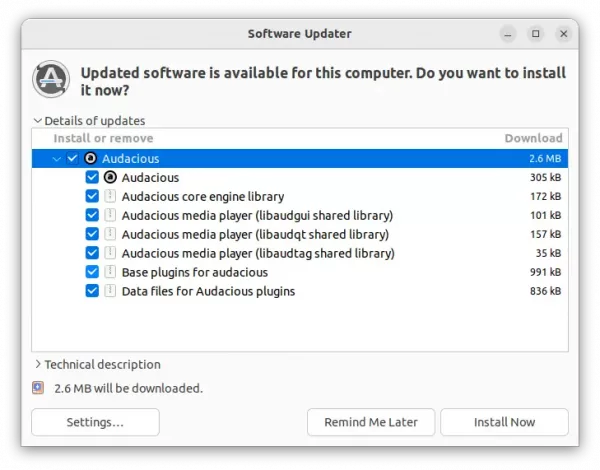
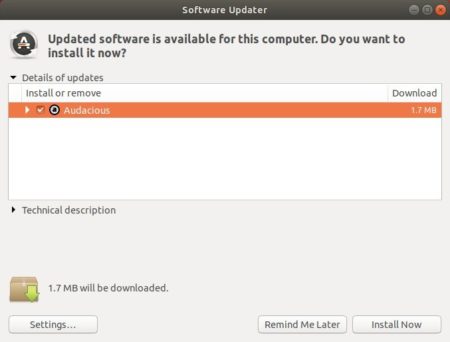
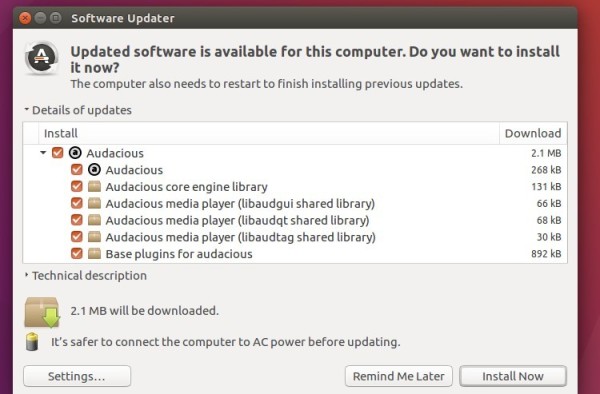
2. Then you can upgrade Audacious via Software Updater:

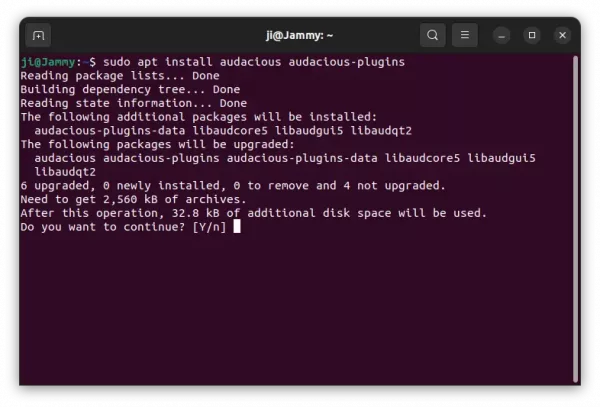
or run commands one by one in terminal to install or upgrade the audio player:

sudo apt update

sudo apt install audacious audacious-plugins
Uninstall:

You can easily remove the PPA either by going to Software & Updates utility -> Other Software tab, or by running command:

sudo add-apt-repository --remove ppa:nilarimogard/webupd8

To remove audacious, either use your system package manager or run command:

sudo apt remove --autoremove audacious audacious-plugins

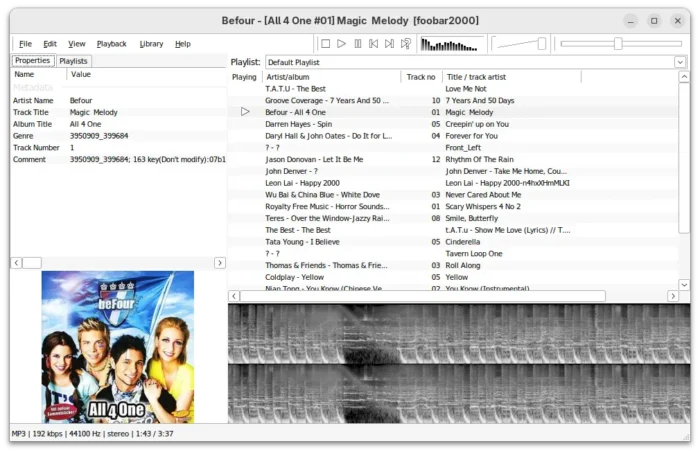
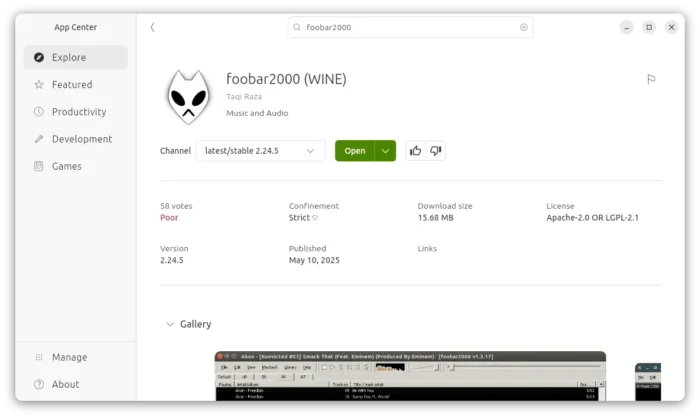
Foobar2000, the popular music player for Windows platform, now can be easily installed in Ubuntu via snap, the universal Linux app packaging format.

This is a Wine based snap package maintained by an open-source project. With it, you can simply install it either via Ubuntu Software or by running a single command.

1. For Ubuntu 16.04 users never installed a snap package, open terminal (Ctrl+Alt+T) and run command to install snapd:

sudo apt install snapd snapd-xdg-open

2. Then install foobar2000 via command:

snap install foobar2000 --classic

--classic flag is required to be able to access files outside the installation directory.

3. To make it work, you still need to run following 3 commands one by one:

sudo snap connect foobar2000:hardware-observe core:hardware-observe

sudo snap connect foobar2000:process-control core:process-control

sudo snap connect foobar2000:cups-control core:cups-control

Finally launch the music player from application launcher (may need re-login) and enjoy, though the UI is kinda age-old.

Uninstall:

To remove foobar2000 snap package, either use Ubuntu Software or run command in terminal:

snap remove foobar2000

Rhythmbox music player

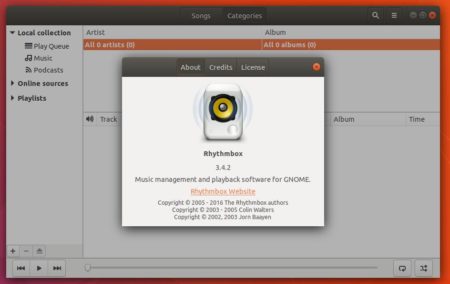
Rhythmbox, Ubuntu’s default music playing application, got a new release update after a year of development.

Besides removing visualization plugin, Rhythmbox 3.4.2 features responsiveness improvements during media player sync, better network buffering when crossfading is enabled, and various bug-fixes (or feature request) including:

  • Critical Assertion Errors
  • Add --version command option.
  • Rhythmbox crashed with SIGSEGV during import
  • Expand playing icon column in entry view
  • Import hangs for special file
  • Playqueue UI improvements
  • Memory leak in error handling of utimes on podcast-timestamp
  • Open settings crashes the app
  • build failure with gcc 7.1.1
  • Keyboard navigation with tab is broken by search entry widget

How to Install Rhythmbox 3.4.2 in Ubuntu:

The project leader for Ubuntu Budgie, fossfreedom, was maintaining PPA with Rhythmbox package and its plugins, though they are not updated for a period of time.

So I uploaded Rhythmbox 3.4.2 into the PPA, available for Ubuntu 16.04, Ubuntu 17.04, and Ubuntu 17.10.

1. Open terminal via Ctrl+Alt+T and run command to add the PPA:

sudo add-apt-repository ppa:ubuntuhandbook1/apps

Input your password (no visual feedback while typing) when it prompts and hit Enter.

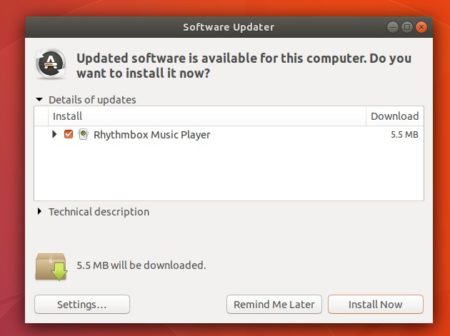
2. Then upgrade the music playing application via Software Updater:

or upgrade your system via command:

sudo apt-get update && sudo apt-get upgrade

How to remove:

To revert back to stock version of Rhythmbox in your Ubuntu, purge the PPA as well as downgrade the player via command:

sudo apt-get install ppa-purge && sudo ppa-purge ppa:ubuntuhandbook1/apps

If it’s working good, you may still remove the PPA repository via Software & Updates utility under Other Software tab.

Audacious music player

Audacious audio player reached 3.9 release a few days ago with many new features, Qt UI enhancements, usability improvements, and various bug-fixes.

Audacious 3.9 release highlights:

  • New ‘View’ menu and additional options in Settings.
  • Full drag-and-drop capability for playlist entries
  • Configurable playlist columns (add, remove, resize, and rearrange)
  • New controls for stream recording
  • Improved playlist search bar, which hides until Control+F is pressed.
  • Integrated menu items and keyboard shortcuts for the Playlist Manager and Search Tool
  • Better high-DPI support and many other cosmetic fixes
  • audtool gains better support for multiple playlists with the --select-displayed and --select-playing commands
  • Recursive adding of folders specified in M3U playlists
  • See the release note for details.
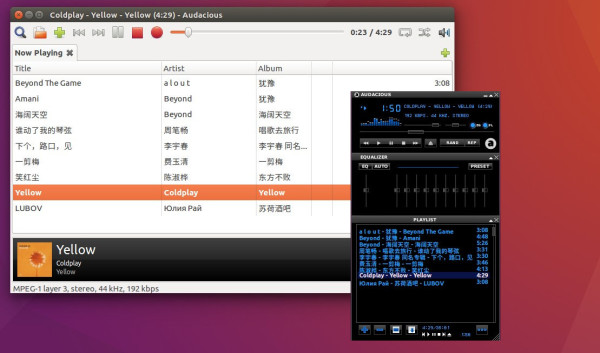
Audacious GTK and Winamp like interface

Audacious GTK and Winamp like interface

How to Install Audacious 3.9 in Ubuntu:

The Webupd8Team PPA has made the packages for Ubuntu 14.04, Ubuntu 16.04, Ubuntu 17.04, Ubuntu 17.10, Linux Mint 18.x, and derivatives.

1. Open terminal via Ctrl+Alt+T or by searching it from app launcher. When it opens, run command to add the PPA:

sudo add-apt-repository ppa:nilarimogard/webupd8

Type in your password (no visual feedback while typing due to security reason) when it asks and hit Enter.

2. Upgrade Audacious via Software Updater (Update Manager) if you have a previous release installed:

Or run following commands one by one to check updates and install the audio player:

sudo apt-get update

sudo apt-get install audacious audacious-plugins

Uninstall:

You can restore the Audacious music player to its stock version in your Ubuntu by puring the PPA via command:

sudo apt-get install ppa-purge && sudo ppa-purge ppa:nilarimogard/webupd8

You can then remove the audio player as you want via Ubuntu Software utility.

Qmmp Qt-based multimedia player

Qmmp, an Qt based and winamp or xmms like audio player, has reached the 1.1.10 (and 0.10.10 for Qt4) release last night.

Changes in Qmmp 1.1.10 & 0.10.10 include:

  • added feature to download playlist from https
  • increased DirectSound buffer size
  • decreased waiting time in the WASAPI plugin
  • improved plugin list in the settings dialog
  • fixed regression in the ‘jump to track’ dialog
  • fixed possible segmentation fault
  • fixed seeking in the ffmpeg plugin
  • fixed null pointer dereference in the mpeg plugin
  • fixed gcc warnings
  • fixed dithering settings
  • fixed 24 bits support in the WASAPI plugin
  • fixed segmentation fault on Ogg FLAC streams
  • fixed XPM skins support
  • fixed Qt 5.9 support in the global hotkey plugin (1.1.10 only)
  • updated translations.

Qmmp 1.10.0

How to Install Qmmp 1.1.10 (or 0.10.10) in Ubuntu:

Qmmp has an PPA repository that offers the latest packages for Ubuntu 12.04, Ubuntu 14.04, Ubuntu 16.04, Ubuntu 17.04, and their derivatives.

1. Open terminal via Ctrl+Alt+T or from app launcher, and then run command to add the PPA:

sudo add-apt-repository ppa:forkotov02/ppa

2. Then update and install Qmmp and its plugins:

sudo apt-get update

sudo apt-get install qmmp qmmp-plugin-pack

The commands install Qmmp 1.1.10 (Qt5 version) in Ubuntu 16.04 & higher, and Qmmp 0.10.10 (Qt4 version) in Ubuntu 14.04 & Ubuntu 12.04.

For Ubuntu 16.04 and higher users who want to install Qmmp 0.10.10 (Qt4 version), run following commands instead:

sudo apt-get update 

sudo apt-get install qmmp-qt4 qmmp-plugin-pack-qt4

Uninstall:

You can manage the PPA repository via Software & Updates utility, under Other Software tab.

To remove Qmmp music player, either use your system package manager or run command:

sudo apt-get remove --autoremove qmmp qmmp-plugin-pack

Install Sayonara Music Player 0.9.1 in Ubuntu 16.04

Last updated: September 16, 2016

sayonara-player-icon

Sayonara is a small and lightweight Linux music player written in C++ with Qt5 framework. It uses Gstreamer as audio backend.

Although Sayoanra is considered as a lightweight player, it holds a lot of features like:

  • Organize even big music collections.
  • ID3-tag editor
  • Equalizer
  • MP3 converter
  • Podcasts
  • Webstreams
  • Stream recorder
  • Speed adjustment
  • Dynamic playlists
  • Radio broadcasting
  • Audio track bookmarks with optional loop function

sayonara-player

sayonara-player-dark-light

Install Sayonara player in Ubuntu:

Sayonara now is at the 0.9.1 release which features cover support in ID3 tag editor, Crossfader support, faster spectrum analyzer, Soma.fm, Last.fm and other improvements, and also lots of bug-fixes.

To install the latest Sayonara 0.9.1 in Ubuntu 16.04, Ubuntu 14.04, Linux Mint 17, 18, do:

1. Open terminal (Ctrl+Alt+T) and add the official Sayonara PPA:

sudo add-apt-repository ppa:lucioc/sayonara

sayonara-player-ppa

2. Update and install the player via commands:

sudo apt update

sudo apt install sayonara

For those who don’t want to add PPA, grab .deb package from the PPA file archive.

3. (Optional) If you dislike the player, simply remove it via command:

sudo apt remove sayonara && sudo apt autoremove

And the PPA can be removed via Software & Updates utility under Other Software tab.

Qmmp Audio Player Logo

Qmmp, Qt-based audio player with winamp or xmms like user interface, now is at 0.9.0 release. PPA updated for Ubuntu 15.10, Ubuntu 15.04, Ubuntu 14.04, Ubuntu 12.04 and derivatives.

Qmmp 0.9.0 is a big release with many new features, improvements and some translation updates. It added:

  • audio-channel sequence converter;
  • 9 channels support to equalizer;
  • album artist tag support;
  • asynchronous sorting;
  • sorting by file modification date;
  • sorting by album artist;
  • multiple column support;
  • feature to hide track length;
  • feature to disable plugins without qmmp.pri modification (qmake only)
  • feature to remember playlist scroll position;
  • feature to exclude cue data files;
  • feature to change user agent;
  • feature to change window title;
  • feature to reset fonts;
  • feature to restore default shortcuts;
  • default hotkey for the “Rename List” action;
  • feature to disable fadeout in the gme plugin;
  • Simple User Interface (QSUI) with the following changes:
    • added multiple column support;
    • added sorting by album artist;
    • added sorting by file modification date;
    • added feature to hide song length;
    • added default hotkey for the “Rename List” action;
    • added “Save List” action to the tab menu;
    • added feature to reset fonts;
    • added feature to reset shortcuts;
    • improved status bar;

It also improved playlist changes notification, playlist container, sample rate converter, cmake build scripts, title formatter, ape tags support in the mpeg plugin, fileops plugin, reduced cpu usage, changed default skin (to Glare) and playlist separator.

qmmp-090

Install Qmmp 0.9.0 in Ubuntu:

New release has been made into PPA, available for all current Ubuntu releases and derivatives.

1. To add the Qmmp PPA.

Open terminal from the Dash, App Launcher, or via Ctrl+Alt+T shortcut keys. When it opens, run command:

sudo add-apt-repository ppa:forkotov02/ppa

qmmp-ppa

2. After adding the PPA, upgrade Qmmp player through Software Updater. Or refresh system cache and install the software via below commands:

sudo apt-get update

sudo apt-get install qmmp qmmp-plugin-pack

That’s it. Enjoy!