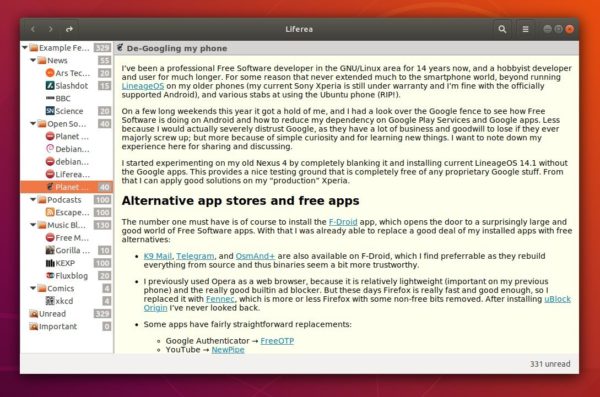
The Liferea feed reader reached the 1.12.3 release earlier today with various bug fixes. Here’s how to install it in Ubuntu 18.04, Ubuntu 17.10, Ubuntu 16.04.
“Today sees a new 1.12 release which addresses some long-standing user concerns. One being accidentally marking all your headlines as read, we have no a confirmation dialog. Another issue addressed is that of custom download tools. The list provided is not always sufficient so we now provide a CLI command you can enter to use you favorite downloader. A lot of refactoring also allowed us to provide a GTK headerbar plugin for all fans of GNOME style window decorations.”
Liferea 1.12.3 release highlights:
- Added setting for custom download commands
- GTK Headerbar support via plugin
- Refactoring UI code to switch to GAction and GtkBuilder
- Item list view column order rework as a preparation for possible real column drag&drop. Introduces a new DConf setting for the column order.
- Mark read toolbar button always disabled for search folders
- Please add a safety question when “marking all read”
- Avoid exception in trayicon.py
- GnomeKeyring plugin fails to activate when keyring doesn’t exist
- Fix feed list selection after DnD
- Big Memory leak in date code
How to Install Liferea 1.12.3 in Ubuntu:
For Ubuntu 16.04, Ubuntu 17.10, Ubuntu 18.04, and derivatives, the new release is available in a third-party PPA repository.
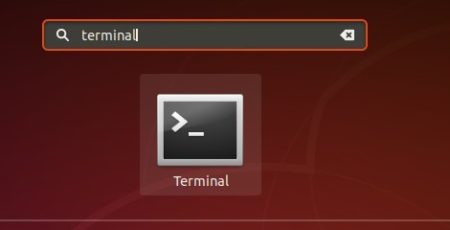
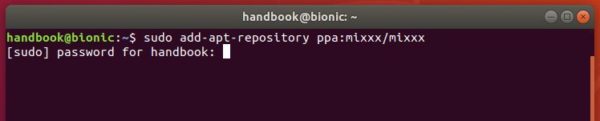
1. Open terminal either via Ctrl+Alt+T or by searching for ‘terminal’ from app launcher. When it opens, run command:
sudo add-apt-repository ppa:ubuntuhandbook1/apps
Type your password (no visual feedback while typing) when it asks and hit Enter.

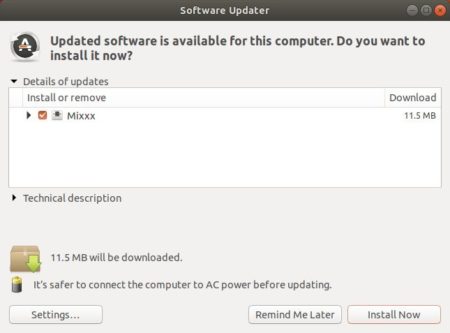
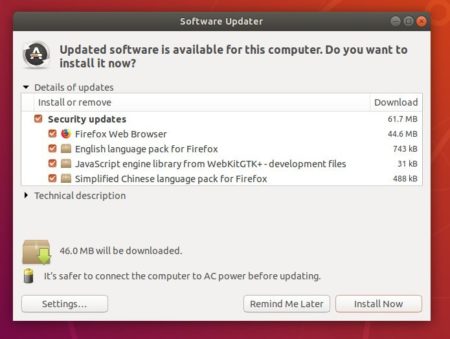
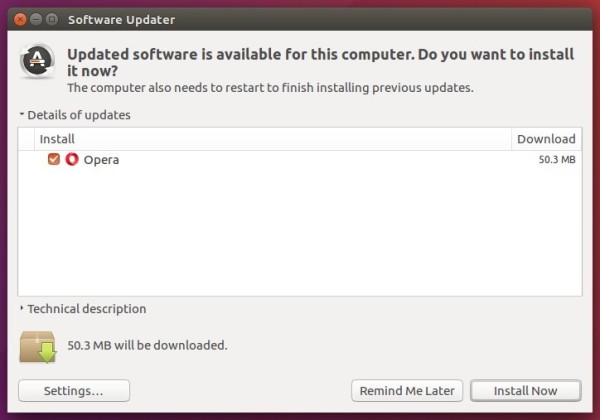
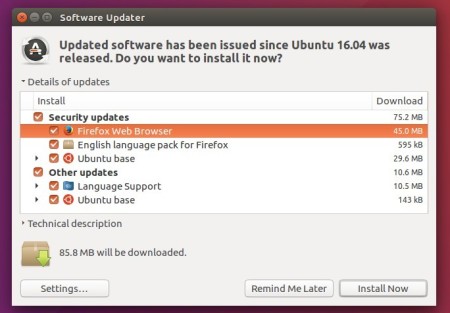
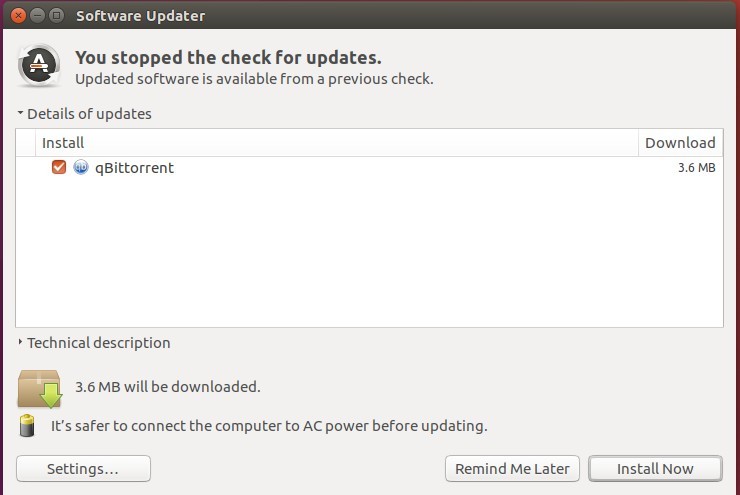
2. Then upgrade Liferea via Software Updater utility:

or run commands one by one to install the Linux feed reader:
sudo apt-get update

sudo apt-get install liferea
Finally launch the news reader from your application launcher and enjoy! (Log out and log back if you don’t see the icon).
Uninstall Liferea:
To remove the software, either use your system package manager or run command:
sudo apt-get remove --autoremove liferea
To remove the PPA repository, open “Software & Updates” utility and navigate to Other Software tab.