![]()
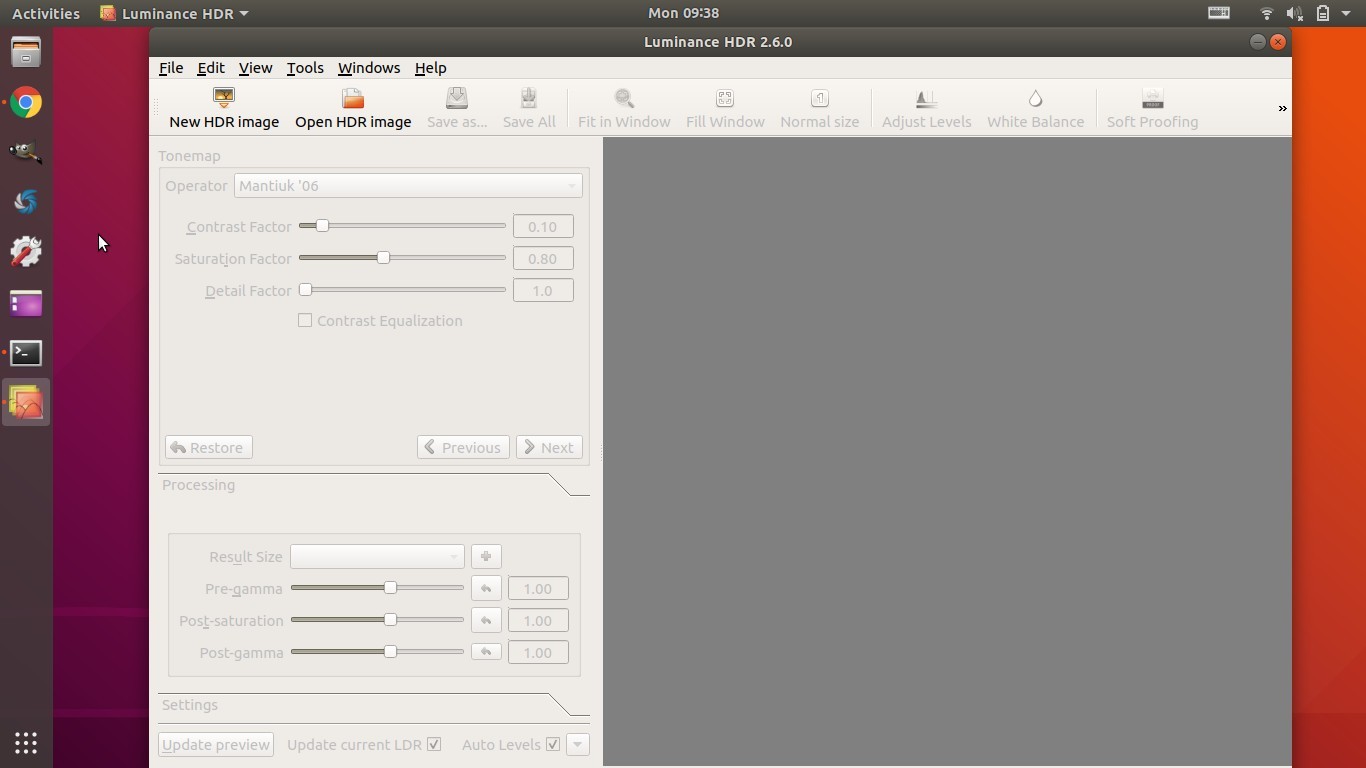
After almost two years of development, Luminance HDR released version 2.6.0 was released yesterday.
Luminance HDR 2.6.0 release highlights:
- Four new tone-mapping operators: ferwerda, kimkautz, lischinski and vanhateren.
- Speed up for hdr creation
- Added post processing gamma and saturation.
- Great speedup and better memory usage for all tonemapping operators
- Preview of created HDR in HDR Wizard
- Other small improvements and bug-fixes as usual.
How to Install Luminance HDR 2.6.0 in Ubuntu 18.04, 19.04
There’s an unofficial PPA contains the latest Luminance HDR packages for Ubuntu 18.04, Ubuntu 18.10, Ubuntu 19.04.
Open terminal either via Ctrl+Alt+T keyboard shortcut or by searching for “Terminal” from application menu. When it opens, run following commands one by one:
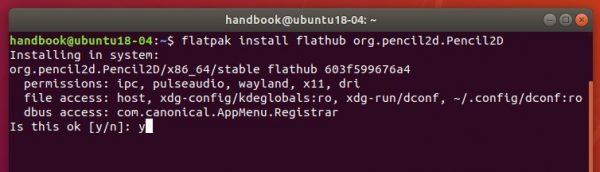
1. Run command to add the PPA repository:
sudo add-apt-repository ppa:dhor/myway
Type user password (no visual feedback due to security reason) when it prompts and hit Enter to continue.

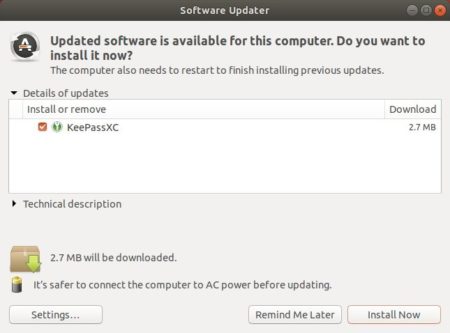
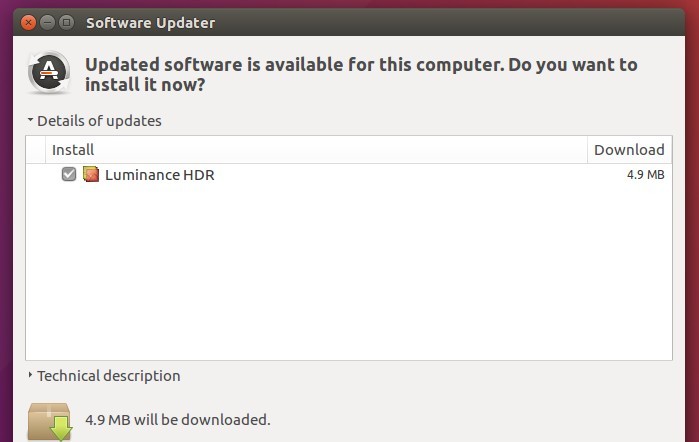
2. If you have a previous release installed, launch Software Updater (Update Manager) and upgrade the software:
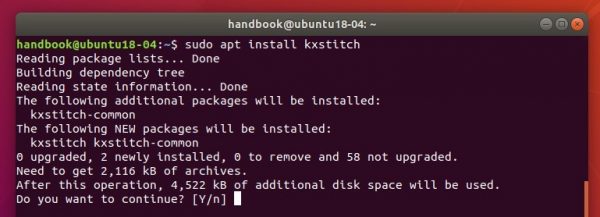
Or run following command to install (or upgrade) Luminance HDR:
sudo apt install luminance-hdr
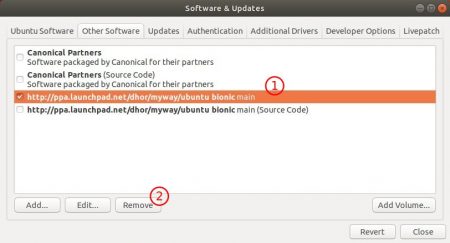
How to Uninstall:
The PPA repository can be removed by going to System Settings -> Software & Updates -> Other Software tab.
To remove the software, either use your system package manager or run command:
sudo apt remove --auto-remove luminance-hdr