![]()
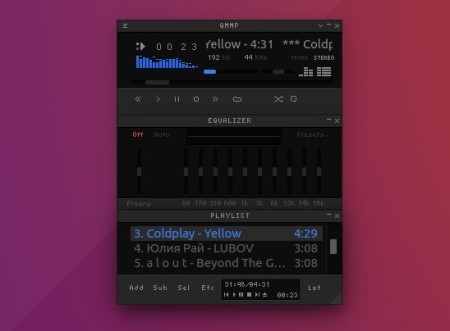
Qmmp, Qt-based multimedia player, 1.3.2 was released last night with new features and various bug-fixes.
Qmmp 1.3.2 (and 0.12.2 for qt4) features:
- added feature to play track on double click in the history plugin;
- enabled mpg123 decoder for Windows;
- using album cover from file by default;
- fixed lyrics plugin;
- fixed API documentation;
- fixed issue with read-only mode for FLAC files;
- fixed issue with missing properties for some CUE tracks;
- fixed shortcuts displaying in context menus under Qt 5.10 or higher (1.3.2 only);
- fixed Qt 5.13 support (1.3.2 only);
- fixed crash under Wayland session (1.3.2 only);
- fixed freezing on some corrupted files in the ffmpeg plugin;
- fixed crash on some streams in the ffmpeg plugin;
- fixed file type determination by content in the mpeg plugin.
How to Install Qmmp 1.3.2 in Ubuntu:
Qmmp 1.3.2 (and 0.12.2 for qt4) are available to install via its official PPA, for Ubuntu 16.04, Ubuntu 18.04, Ubuntu 18.10, Ubuntu 19.04, Linux Mint 18.x and 19.x.
1. Open terminal via Ctrl+Alt+T or from app launcher, and then run command to add the PPA:
sudo add-apt-repository ppa:forkotov02/ppa
Input your password (no asterisks feedback while typing) and hit Enter to continue.

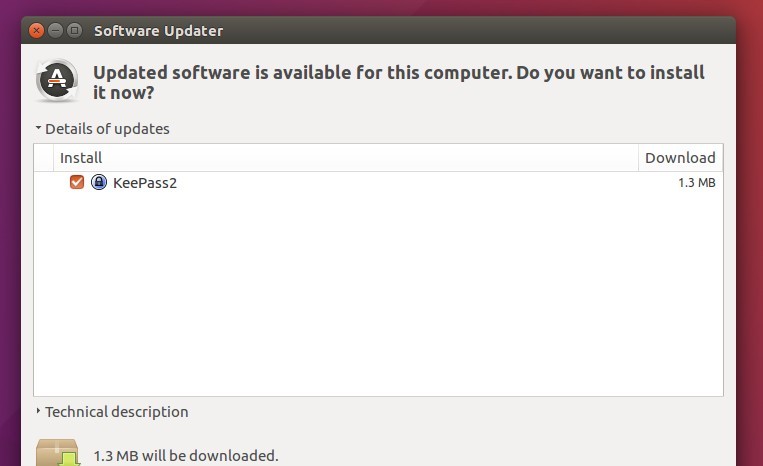
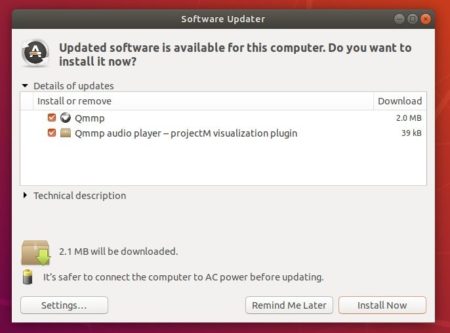
2. If a previous version exists, upgrade Qmmp using Software Updater:
Or run commands to install or upgrade Qmmp and its plugins:
sudo apt-get update

sudo apt-get install qmmp qmmp-plugin-pack
For qt4 version, use qmmp-qt4 and qmmp-plugin-pack-qt4 instead in the last command.
Uninstall:
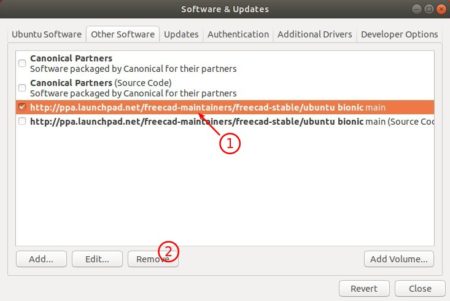
You can manage the PPA repository via Software & Updates utility, under Other Software tab.
To remove Qmmp music player, either use your system package manager or run command:
sudo apt-get remove --autoremove qmmp qmmp-*