This simple tutorial shows how to install the latest Brave web browser in Ubuntu 21.10, Ubuntu 20.04, Ubuntu 18.04, Linux Mint 20.
Brave is a free and open-source web browser based on Chromium. It features faster page loading speed, and blocks ads and trackers by default.
The browser offers an official apt repository. So Ubuntu, Debian, and Linux Mint based systems can easily install the software and receive updates via built-in update manager utility.
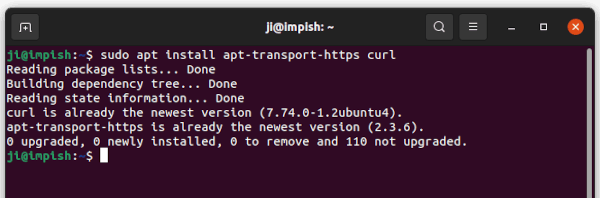
1. Firstly, search for and open “terminal” from your system start menu. When it opens, paste the command below into terminal and hit Enter:
sudo apt install apt-transport-https curl
Type user password (no asterisk feedback) and hit Enter. It will add https support for apt package manager and install curl to grab the GPG key.
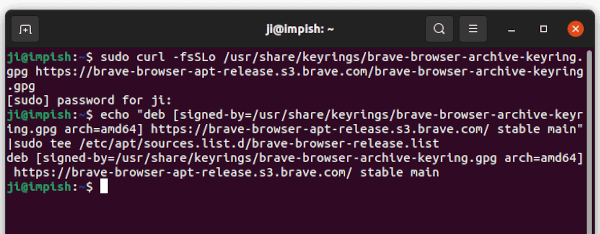
2. Next copy and paste the command below, and run to download & install the GPG key:
sudo curl -fsSLo /usr/share/keyrings/brave-browser-archive-keyring.gpg https://brave-browser-apt-release.s3.brave.com/brave-browser-archive-keyring.gpg
And run command to add the apt repository to your system. So far, only 64-bit PC / laptop is supported.
echo "deb [signed-by=/usr/share/keyrings/brave-browser-archive-keyring.gpg arch=amd64] https://brave-browser-apt-release.s3.brave.com/ stable main"|sudo tee /etc/apt/sources.list.d/brave-browser-release.list
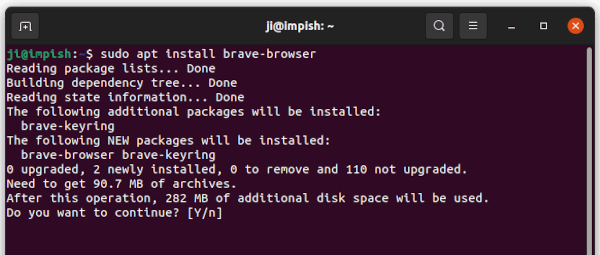
3. Finally refresh system cache and install the web browser by running the commands one by one:
sudo apt update

sudo apt install brave-browser
Uninstall Brave & Apt Repository:
To remove the Brave web browser, run command in terminal:
sudo apt remove --autoremove brave-browser
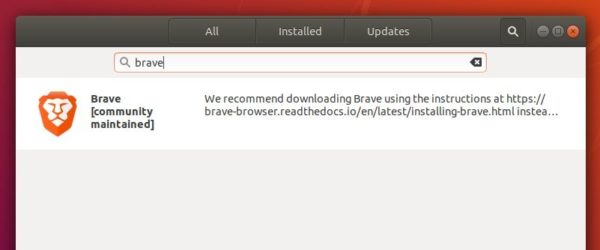
Unlike PPA, Brave’s apt repository does not list in Software & Updates utility under Other Software tab. However, you can remove the config file easily by running command in terminal:
sudo rm /etc/apt/sources.list.d/brave-browser-release.list