![]()
QOwnNotes is an open-source note-taking and todo list manager with markdown support and ownCloud / Nextcloud integration. It works on Linux, Mac OS X, and Windows.
With QOwnNotes, you can:
- write down your thoughts and they are stored stored as plain-text files on your computer.
- Sync notes over devices (desktop & mobile) with ownCloud or Nextcloud sync client.
- Use ownCloud Notes to edit your notes in the web.
The latest release so far is QOwnNotes 17.06.5, a small bug-fix release with also translation updates. See HERE for more details.
How to Install QOwnNotes in Ubuntu 16.04 and Higher:
The official QOwnNotes PPA offers the latest packages for Ubuntu 16.04, Ubuntu 16.10, Ubuntu 17.04, and derivatives.
1. To add the PPA, open terminal via Ctrl+Alt+T and run command:
sudo add-apt-repository ppa:pbek/qownnotes
Type in your password (no visual feedback on typing due to security reason) when it asks and hit Enter.

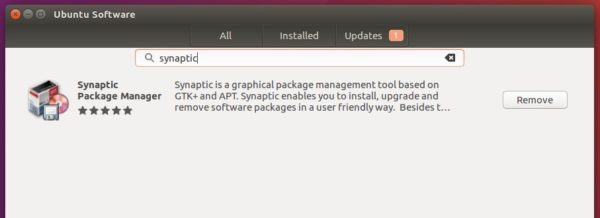
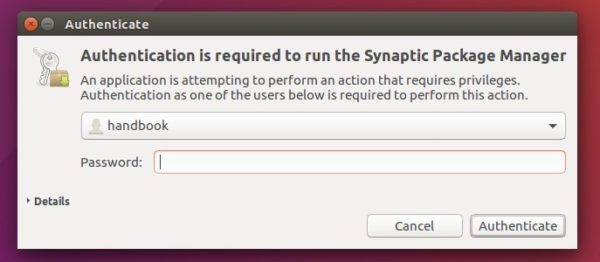
2. Then install the software either via Synaptic package manager or by running commands:
sudo apt-get update

sudo apt-get install qownnotes
Uninstall:
To remove the software, either use your system package manager or run command in terminal:
sudo apt-get remove --autoremove qownnotes
To remove the PPA, launch Software & Updates utility and navigate to Other Software tab.