![]()
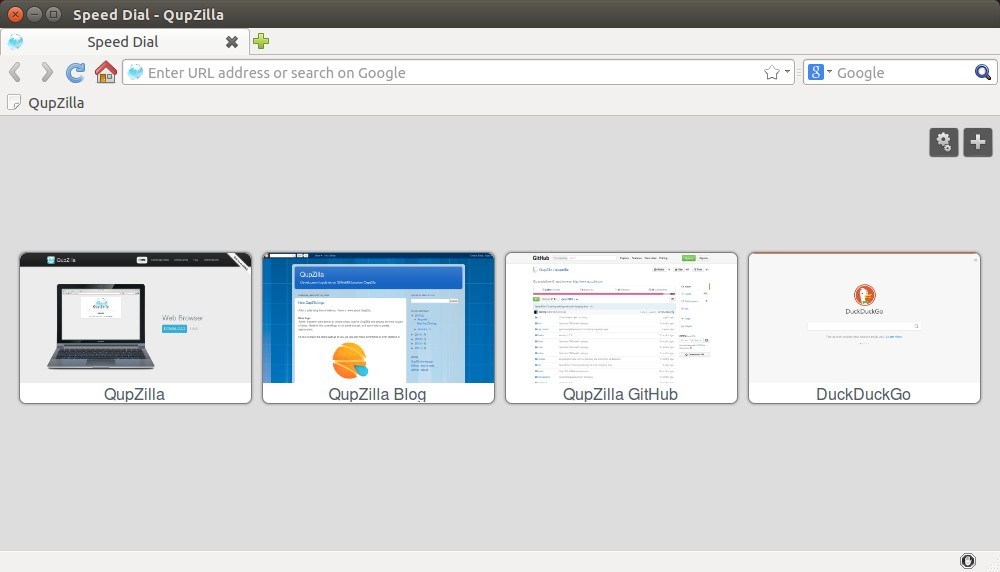
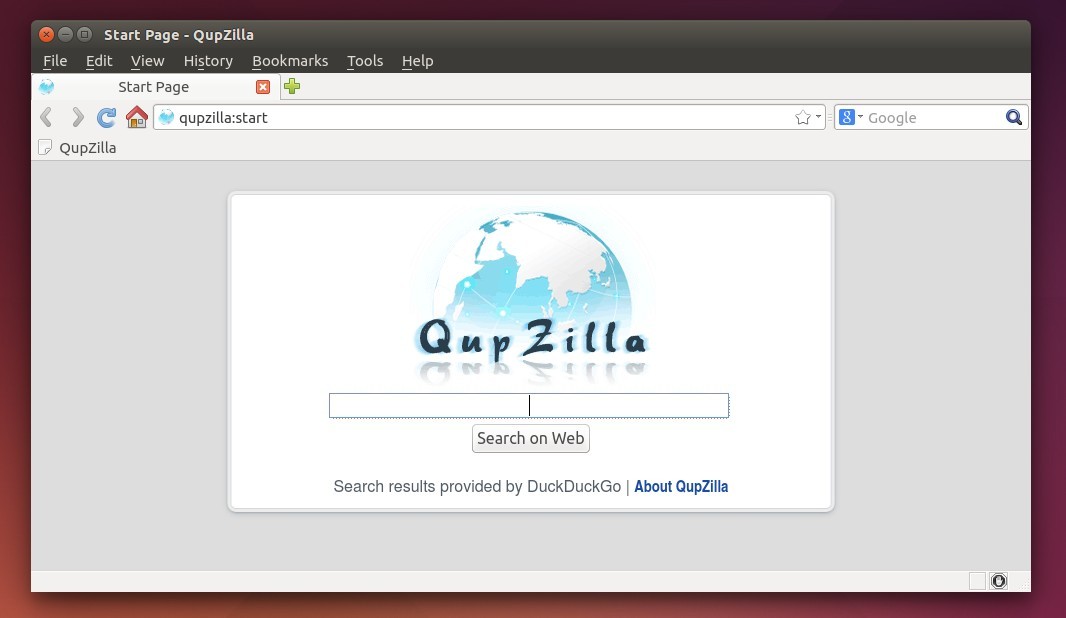
QupZilla web browser 1.8.8 was released a few hours ago. Official builds are now using Qt 5, which bring HTML5 Audio/Video support and a lot of fixes for bugs and crashes for Windows Vista+.
QupZilla 1.8.8 is still using QtWebKit. It’s a bug-fix release that feathers:
- added interface for extensions to show action in Tools menu
- add option to use TabManager as main tabbar replacement
- fix build with Qt 5.5.1
- fix crash when unloading plugin with visible sidebar
- fix possible crash when accessing last active window
- fix sometimes incorrectly loading background non-restored tab
- fix showing speed dials in bookmarks icon
- fix showing messages in statusbar in RTL mode
- fix crash when application style is externally changed
- fix labels color in access keys navigation with dark style
- fix position of autoscroll indicator with site notification visible
- Windows: fix setting as default browser
- Windows: better toolbar background for Windows 10
How to Install QupZilla 1.8.8 in Ubuntu:
Ubuntu packages are now also using Qt 5, and they are available in its official PPA for Ubuntu 15.10, Ubuntu 14.04, and Ubuntu 15.04.
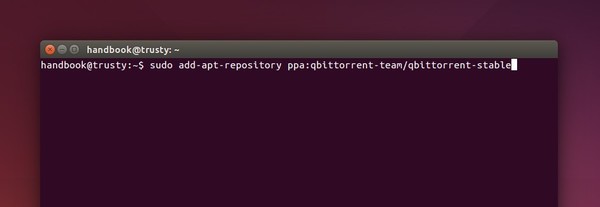
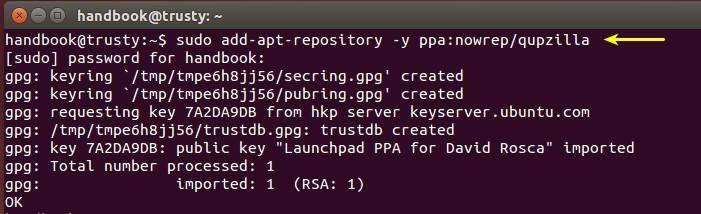
1. Add QupZilla PPA.
Open terminal from the Unity Dash, App Launcher, or via Ctrl+Alt+T shortcut key. When it opens, run below command in terminal:
sudo add-apt-repository -y ppa:nowrep/qupzilla
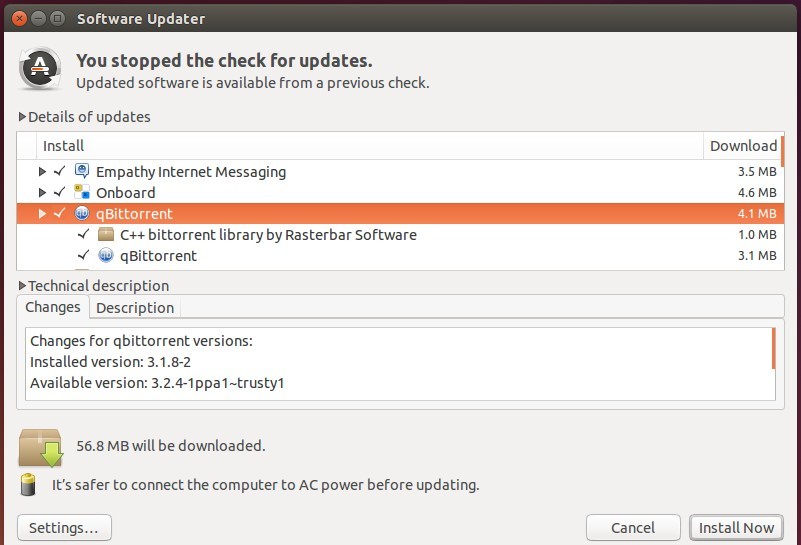
2. If have a previous release installed, run Software Updater (or Update Manager) and upgrade the browser by installing the updates in the list.
Or, run below commands one by one in terminal to refresh system repository cache and install/upgrade the browser:
sudo apt-get update

sudo apt-get install qupzilla
For those who don’t want to add PPA, select download the .deb package directly from THIS PAGE.