![]()
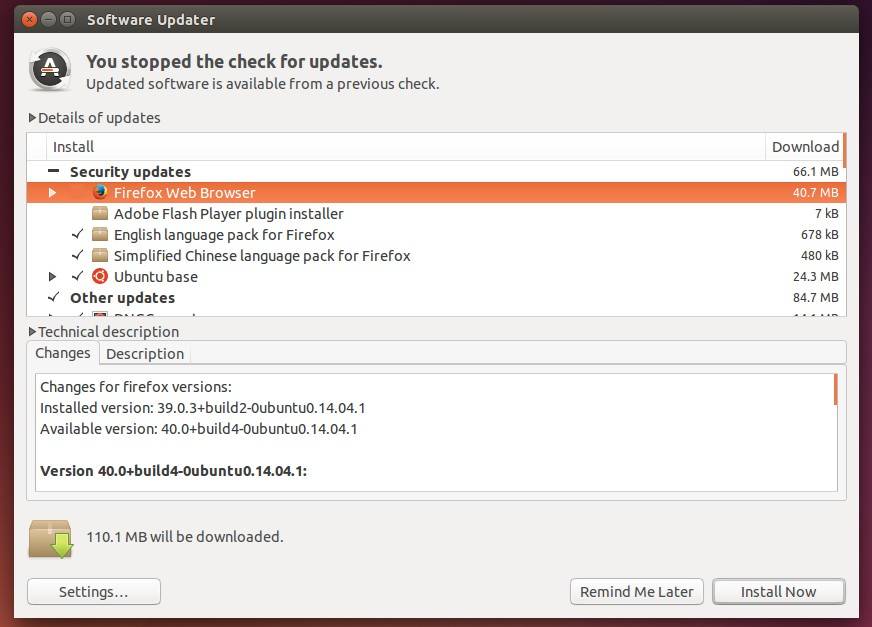
Mozilla Firefox 40 was released yesterday and available for upgrade in Ubuntu 15.10, Ubuntu 15.04, Ubuntu 14.04 and Ubuntu 12.04 repositories.
Release highlights according to the official release note:
- Support for Windows 10
- Added protection against unwanted software downloads
- User can receive suggested tiles in the new tab page based on categories Firefox matches to browsing history (en-US only).
- Hello allows adding a link to conversations to provide context on what the conversation will be about
- New style for add-on manager based on the in-content preferences style
- Improved scrolling, graphics, and video playback performance with off main thread compositing (GNU/Linux only)
- Graphic blocklist mechanism improved: Firefox version ranges can be specified, limiting the number of devices blocked
- Add-on extensions that are not signed by Mozilla will display a warning
- NPAPI Plug-in performance improved via asynchronous initialization
- Smoother animation and scrolling with hardware vsync (Windows only)
- JPEG images use less memory when scaled and can be painted faster
- Sub-resources can no longer request HTTP authentication, thus protecting users from inadvertently disclosing login data
- IndexedDB transactions are now non-durable by default
- Implemented AudioBufferSourceNode.detune to modulate playback rate in cents, a logarithmic unit of measure used for musical intervals
- Improved Performance tools in the developer tools: Waterfall view, Call Tree view and a Flame Chart view
- New rules view tooltip in the Inspector to tweak CSS Filter values
- Console API messages from SharedWorker and ServiceWorker are now displayed in web console
- New page ruler highlighting tool that displays lightweight horizontal and vertical rules on a page
- Inspector now searches across all content frames in a page
- Fix that Kannada text does not display properly in built-in pdf viewer
- security fixes.
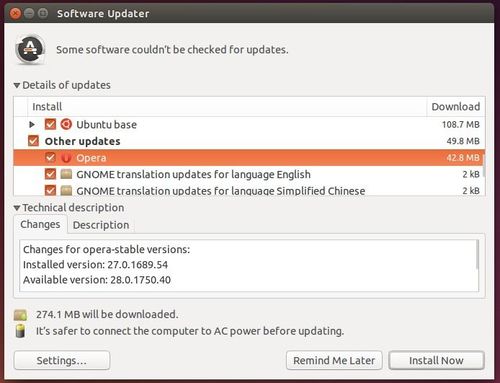
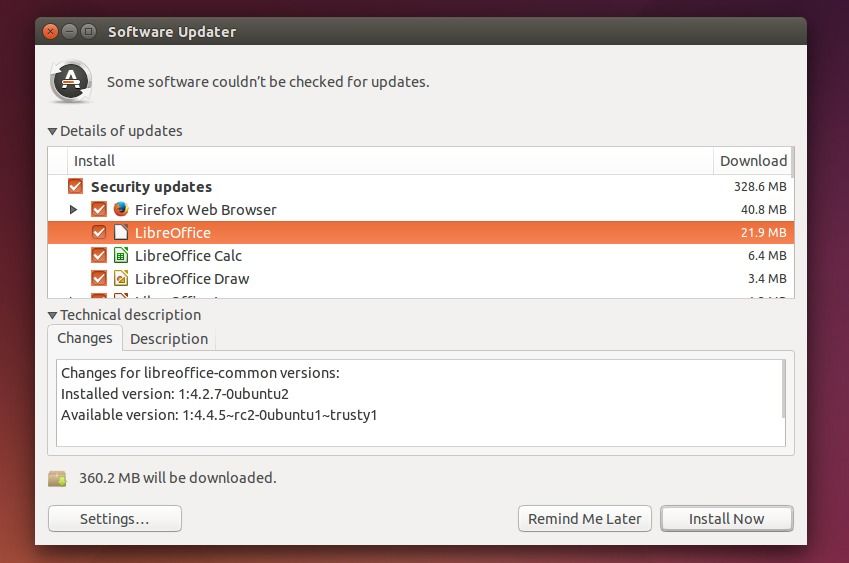
How to upgrade:
The packages has been made into Ubuntu updates and security repositories. Just search for and launch Software Updater and install the updates after checking for updates: