 Have an old graphics card that is no longer supported in the regular NVIDIA Unified Graphics Driver? Well, here’s how to install the Legacy Driver which supports the old Nvidia GPUs.
The Nvidia Legacy Drives support the old GPUs that are no longer supported in the regular NVIDIA Unified UNIX Graphics Driver. It will be updated periodically to add support for new versions of Linux system components (e.g., new Linux kernels, new versions of the X server, etc).
The Linux 304.* legacy driver series is the last to support the NV4x and G7x GPUs and motherboard chipsets based on them. Support for new Linux kernels and X servers, as well as fixes for critical bugs, will be included in 304.* legacy releases through the end of 2017. See the full list of supported GPUs.
Install / Upgrade NVIDIA 304.108
So far, the latest is 304.108 and it’s available for downloading at the official links below:
NVIDIA Legacy Driver 304.108 for 32-bit Linux
NVIDIA Legacy Driver 304.108 for 64-bit Linux
You may check you system type (32-bit or 64-bit) by System Settings -> Details.
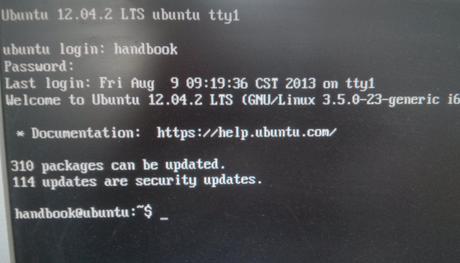
To install it in Ubuntu 13.04, Ubuntu 12.10, Ubuntu 12.04 and Linux Mint, you have to press Ctrl+Alt+F1 to switch to command console. Login with your username and password. When you’re in, follow below steps:
1.) Stop graphical session. For the default Unity Desktop, run below command to stop it.
sudo stop lightdm
2.) Give executable permission for your downloaded package.
chmod a+x ~/Downloads/NVIDIA-Linux-*-304.108.run
3.) Run the installer and follow the on screen prompts to start installing Nvidia Driver:
sudo sh ~/Downloads/NVIDIA-Linux-*-304.108.run
4.) Restart your computer via below command:
sudo reboot
If for some reason the new drivers do not work properly, run below commands in Ctrl+Alt+F1 command console to remove Nvidia Driver:
sudo stop lightdm

sudo ~/Downloads/NVIDIA-Linux-*-304.108.run --uninstall

sudo restart


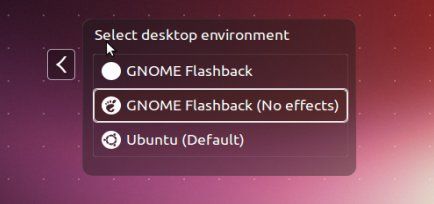
 This quick tip is going to show you how to install the Classic Gnome Desktop Environment in Ubuntu 13.10 Saucy Salamander.