![]()
This tutorial shows how to install the most recent Chromium web browser as native .deb package in Ubuntu 24.04 and Ubuntu 22.04.
Like Firefox and Thunderbird, the popular Chromium web browser in Ubuntu repository is a Snap package that runs in sandbox environment.
For those who don’t like Flatpak and Snap packages, there are few other sources to install the Chromium browser via native Deb package.
Debian and Linux Mint repositories are the trustworthy repositories that I used to use, which however either has few different dependency libraries or lacks of arm64/armhf platform support.
So, in my opinion an Ubuntu PPA can be the better choice for beginners. It’s easy to install and maintain, though less trustworthy since Chromium does not have an official PPA.
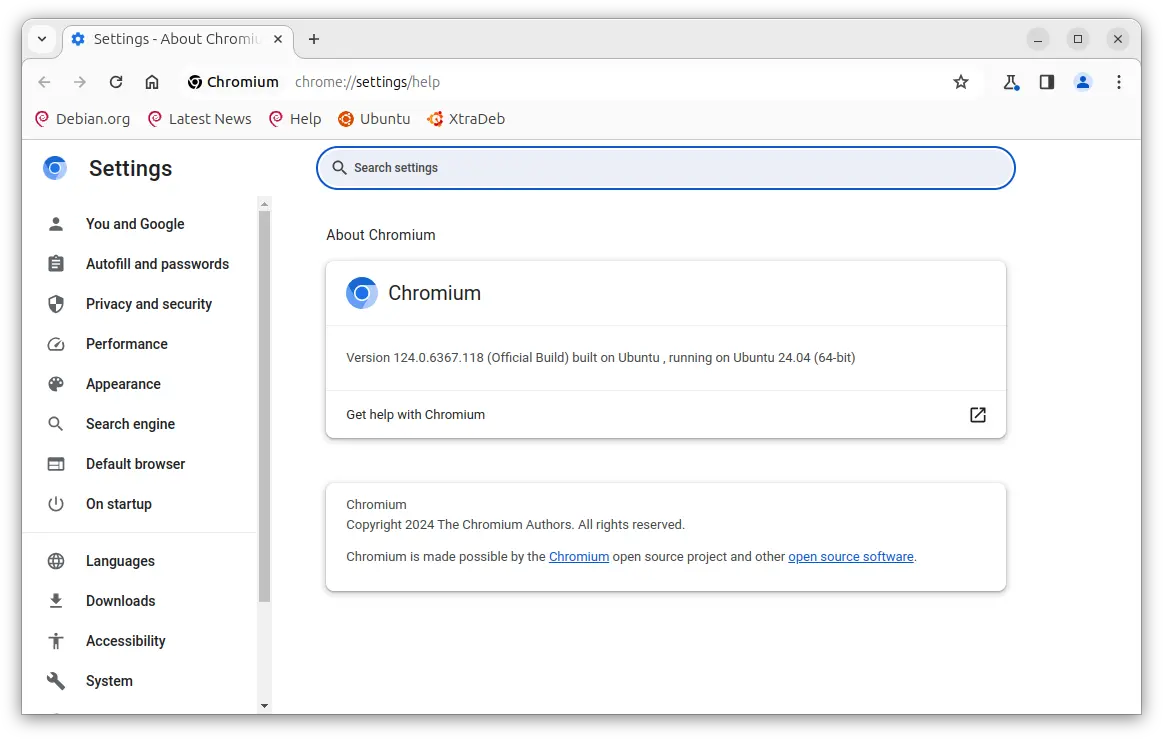
Chromium Browser (.deb package)