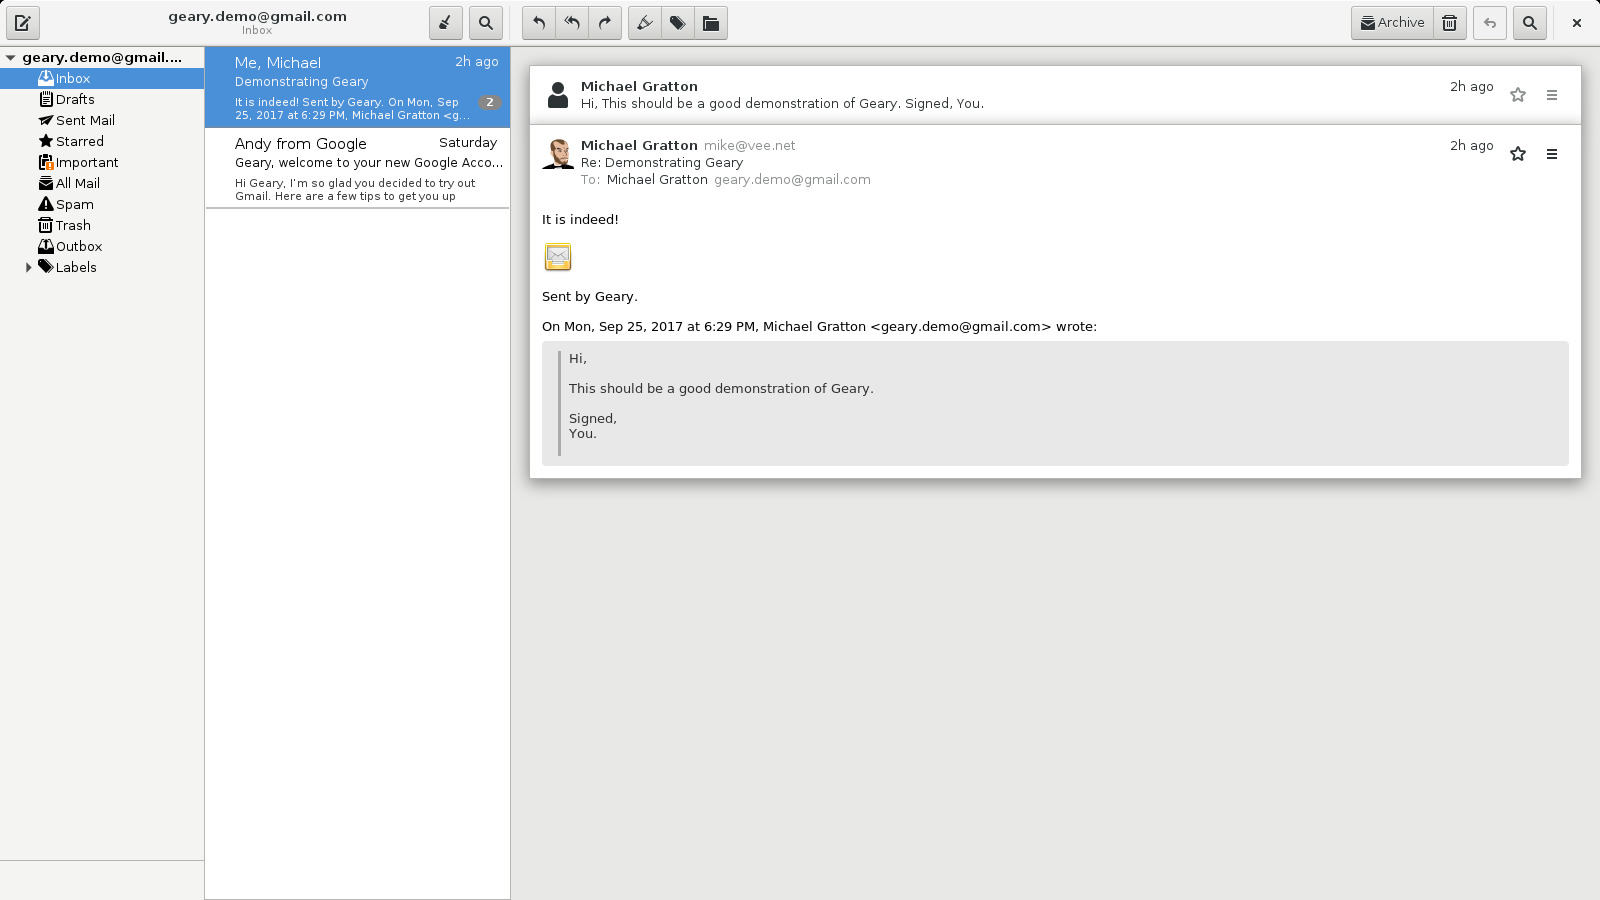
Geary is a free and open-source email client formerly developed by Yorba. Now, it’s a community maintained app for GNOME Desktop.
The source code of the email client is available in this Gitlab page. And, features include:
- Quick email account setup
- Shows related messages together in conversations
- Fast, full text and keyword search
- Full-featured HTML and plain text message composer
- Desktop notification of new mail
- Compatible with GMail, Yahoo! Mail, Outlook.com and other IMAP servers
The graphical interface of this app is a little bit lag behind, since GNOME is porting to GTK4 plus Libadwaita, though it’s still working good. And, users can install it in all current Ubuntu releases, through either Deb package or Flatpak package.
How to Install Geary in Ubuntu:
Option 1: Deb package
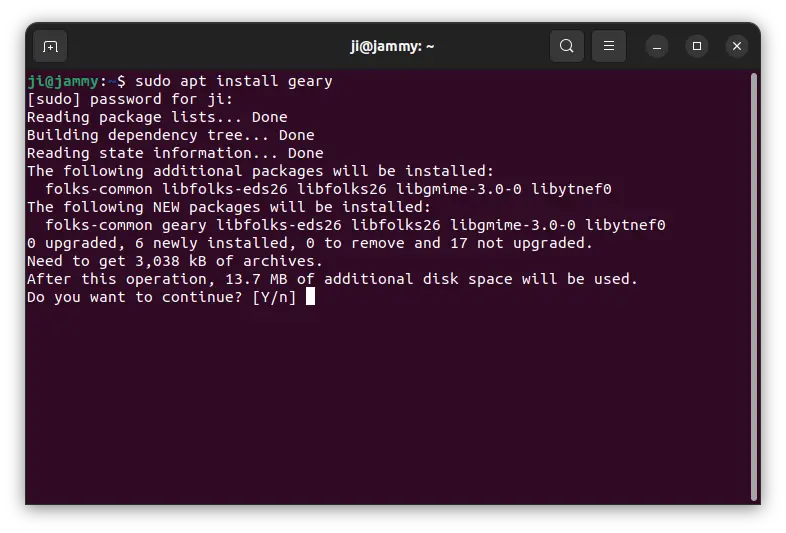
For those who prefer the native .deb package format, Geary is available in system repository, though it’s a bit old.
To install it, simply press Ctrl+Alt+T on keyboard to open terminal. Then run commands below one by one:
sudo apt update
sudo apt install geary
Option 2: Flatpak package
If you want the most recent version, then it’s available to install as Flatpak package which runs in sandbox environment, and can be installed in most Linux.
Linux Mint 21+ and Fedora 38/39+ can directly search for and install the package from either Software Manager or GNOME Software.
While Ubuntu users can install the Flatpak by running 2 commands below one by one in terminal (Ctrl+ALt+T):
- First, enable Flatpak support:
sudo apt install flatpak
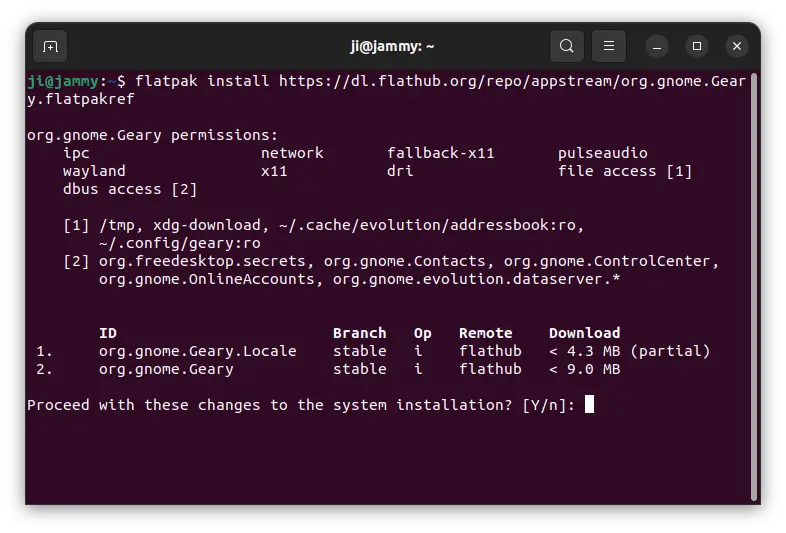
- Then, run command to install the email client as Flatpak package:
flatpak install https://dl.flathub.org/repo/appstream/org.gnome.Geary.flatpakref

- For future updates, use command to update it:
flatpak update org.gnome.Geary
NOTE: If you’re first time installing an app as Flatpak package, then you may need to log out and back in for the app icon visible in start menu or Gnome ‘Show Apps’ screen.
Uninstall Geary:
To remove Geary email client, simply run command in terminal:
sudo apt-get remove --autoremove geary
For the Flatpak package, use this command instead to uninstall:
flatpak uninstall --delete-data org.gnome.Geary